First job was to glue up the keel underneath where the tube was to sit. As you can see I used the threaded rod to put some clamping pressure on the keel. I had sprayed them with silicon and thought I could get them out after. DON'T DO THIS! They are in there for the long term now and I had to get a spanner and wind each of the nuts all the way up and off. They were to be permanently epoxied into the keel, just not this early. I worked with them in place from then on and will have to all the way up the keel.

Second job was to close off the stern tube from the inside so I could pour epoxy in from outside to fill up the gaps.
First behind frame 8. I packed out around the tube with 25mm high by 20mm wide Hoop Pine left overs and a ply cover. It was epoxied up first, and once dry was drilled for 14g x 30mm screws to go through the wood and up into the hull ply to hold it in place until the epoxy/glue set between it and the hull. At the same time I coach screwed an extra hardwood cross piece across the frame to take the keel load and spread it a bit. May not have been needed but I cut out some of the original hardwood cross piece so why not! After it dried I drilled the keel bolt holes down through it from on top.
Before:

And after:

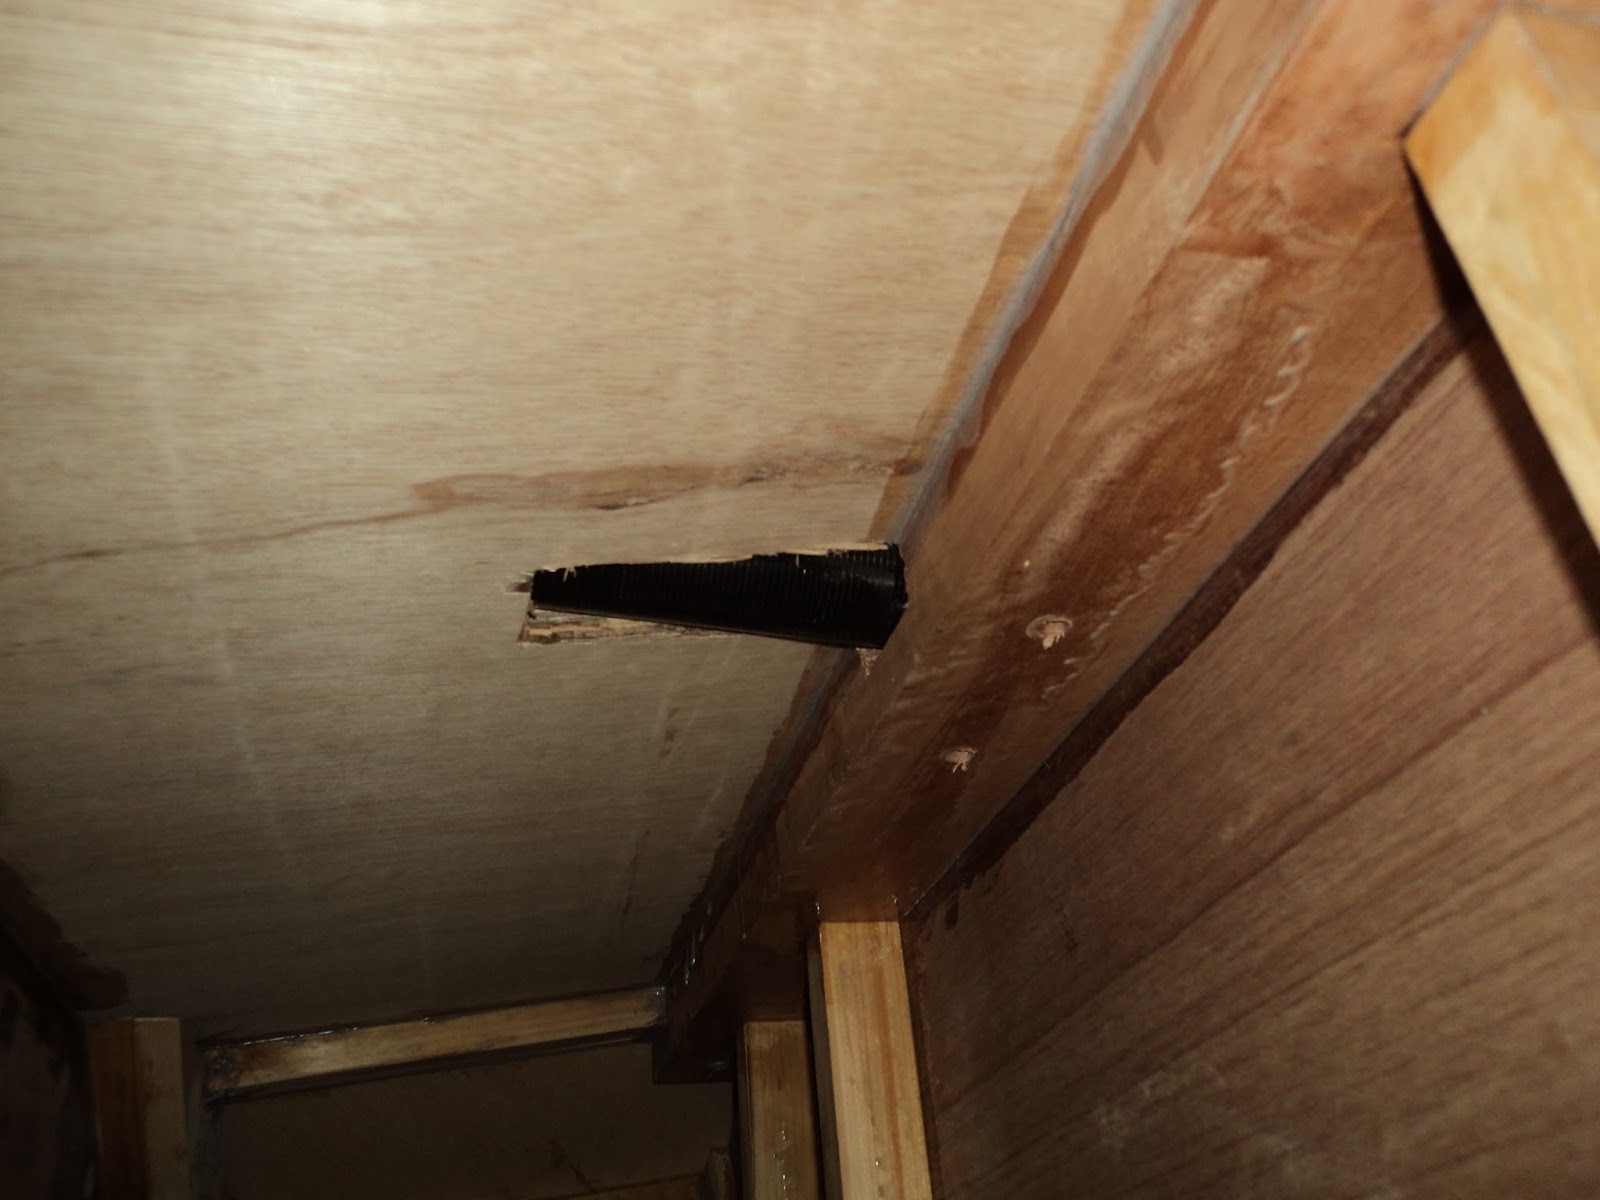
Where the tube came through frame 8 and out over frame 7 I shaped some ply and packers (there was a gap you can see (below close up) where the ply of the frame did not go all the way to the hull at the top) and epoxy/glued and screwed it over the hole. Thick epoxy/glue was pushed up over the top of the tube to seal up completely.
Before (bad shot earlier sorry):

After from a distance:

And close up:

Then I used lengths of 50mm x 50mm hardwood packing pieces to sit each side of the tube on the keel support to match the 150mm wide bit underneath. After drilling holes and trimming the wood to length I epoxy/glued them in place. A nice thick bed underneath the side pieces of wood means that later on I can fill the gap around the tube without the epoxy running out.
I did put a bit of epoxy in around the tube but it did not have glue powder in it so was very running and went out. Concentrate on just having a thick layer under so you can tidy up the outside and have a good squeeze out on the inside beside the tube. Last thing to do was to sit on top and pour normal epoxy down where the tube goes into the hull. Because the inside was sealed, as it ran inside into the hollows I just kept topping it up slowly. Leave a bit of time between as it runs in for the air to get out and keep topping up until it is full.
You can see the straight mixed epoxy on the right has hopefully filled all the support box (shown earlier) behind frame 8 and up to the top where the tube leaves the hull:

Whilst the epoxy was setting I used scrap nailed to the keel to help clamp down on the 50 x 50 wood each side. I also placed a large piece of 150mm keel wood sitting across to hold that in place near where the tube went into the hull. I used epoxy/glue powder to fill in where the tube leaves the end of the keel and a small amount down the other end near the tube/hull entry. The remaining space will be filled when I finish the keel.

A final shot from the side, note the lighter scrap used to clamp onto:

Apart from gluing a bit down the front until it is level, the remainder of the keel will be build up 'dry' and then assembled/glued down once it is all ready. Once level as close to the 3600mm full lengths will be used.
Next is to build up the front at the stem cap to level.