As I worked forward I ran out of 200mm wide planks when I was one and a half plank short on each side. A quick brainstorm and I decided to just to the final two as large sections of 6mm ply each side, which worked out well because I was going to be left with a very narrow piece last or would have to custom fit one in between two planks. Happy days. Below is the starboard one, told you there were lots of screws.

And close up:

The second layer fully dry fit:

If you look just in front of the sampson post you will see two holes. These are shown below in close up, and contain 8mm gal cup head bolts which go through both layers of the deck, the 20mm thick hardwood king plank and also the laminated beam to tie everything strongly together. The heads are countersunk and covered with epoxy when the whole deck is down.

Once I had fully dry fit the planks I removed them all to epoxy in one go, note all the screws sitting ready for final attachment. The cordless drill batteries are taking a beating.

Then it was the usual mad scramble to mix epoxy, thickly spread it and screw down the planks. I worked both sides forward together and the holes for the bolts even lined up when I got to the anchor well. Looking forward, note lead ingots holding down planks that were sitting up a bit with the twist.

And looking aft:

Once the epoxy had set I removed the lead and clamps. Had a bit of a fright when I walked up the bow, due to all the weight the boat moved a bit. Walked much slower after that!

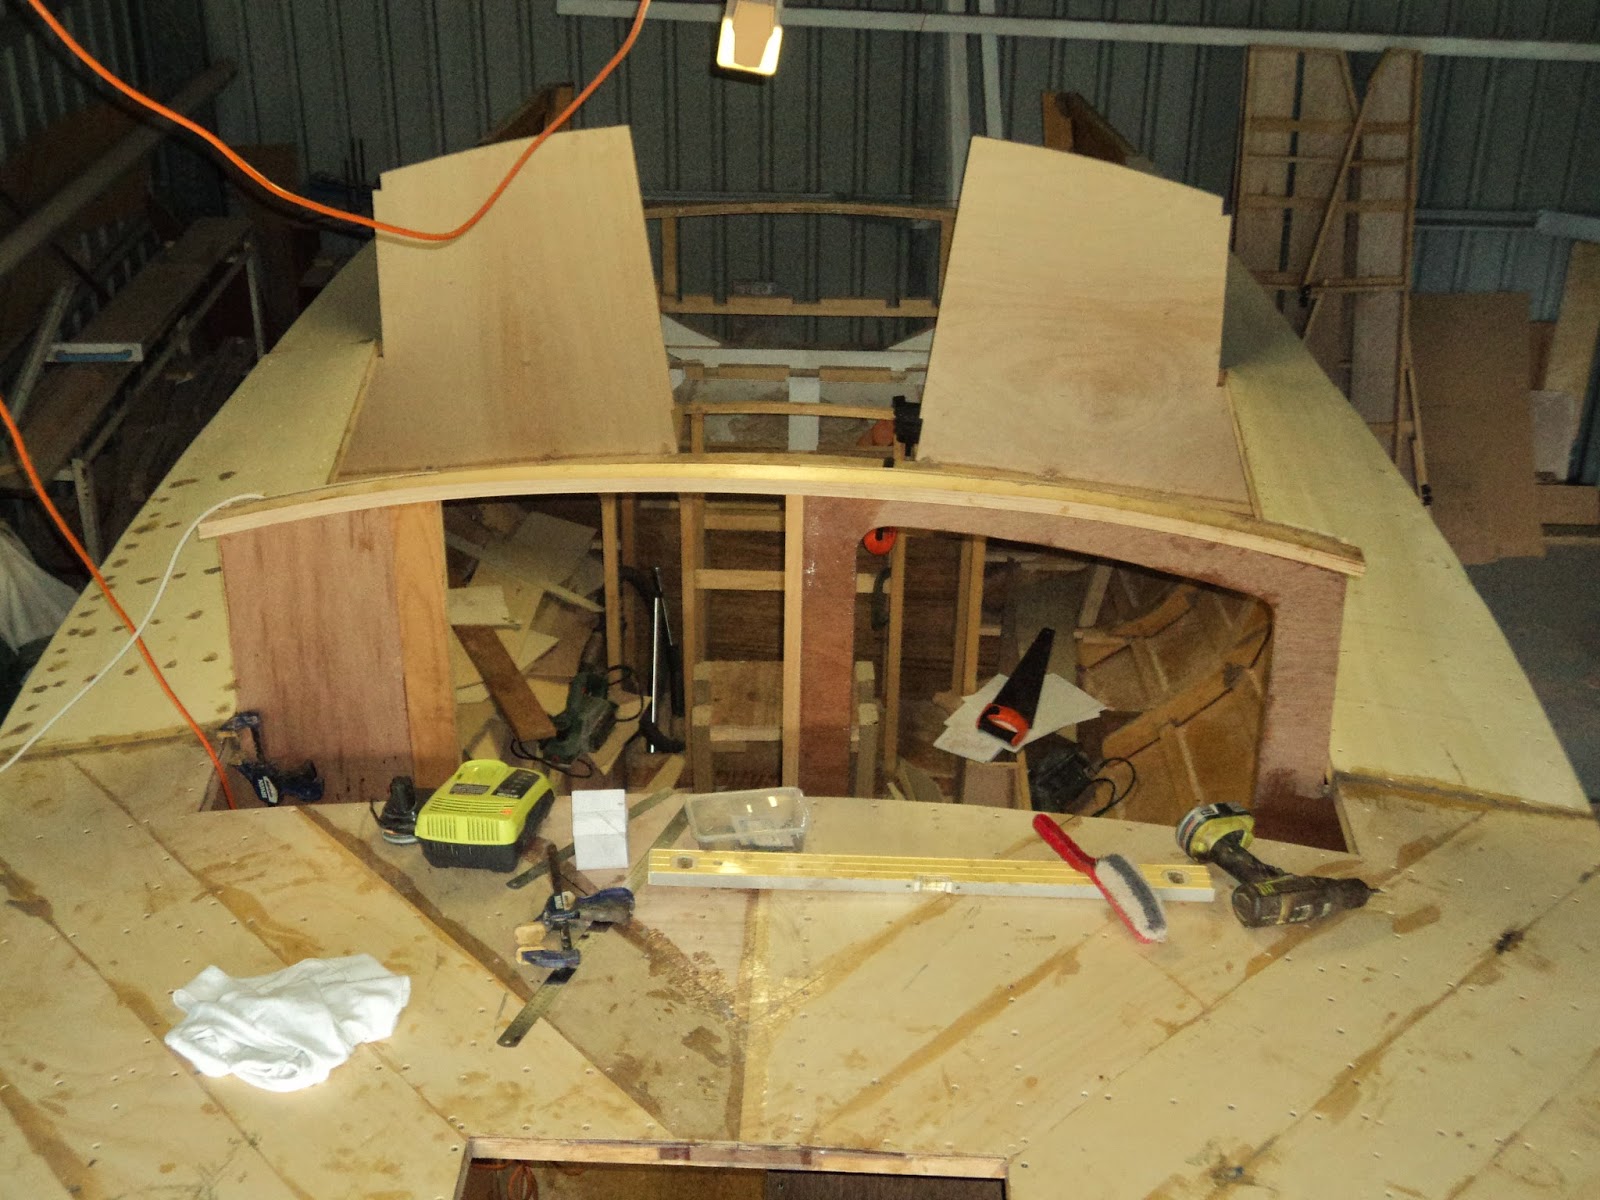
Looking forward with the hatch space cut out:

The side decks were a piece of cake, two straight runs of 6mm ply overlapping the joins in the first layer. Below is the starboard side:

And a final shot looking aft showing the front/side deck join:
I now have to fill all the screw holes and fibreglass tape down the king plank join, then prep for taping the side/deck join and glassing the entire decks.