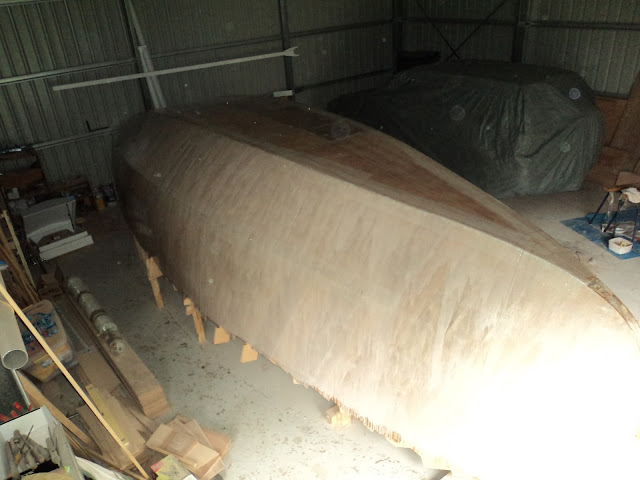
With the sides fibreglassed and one coat of epoxy on them I cut the mat for the bottom. I had continued the side mat up over the side/bottom join and onto the bottom a bit, so cut the mat to overlap that but not go all the way out to the side. I worked front to back in a single sheet and trimmed it carefully from on top of the hull.

Mixed a big lot of epoxy and spread from the front working back, carefully climbing down to mix more as I went. Was not too bad as the almost flat surface meant the epoxy didn't run like it did down the sides. Below is after fully wetting out.
I left it overnight and when I came back gave the sides and bottom a light sand, then coated them again with epoxy using the roller. I did the sides first (I had a plan) and then stood on the ladder and did the bottom with a piece of wood jammed into the roller as a handle. You can see it leaning on the saw horses above. By the time I had done both sides, then the top (with numerous epoxy mixes) the sides were tacky so I could put a third coat on them.
I wasn't sure if I needed a third coat on the bottom so stopped. When I came back it turns out being flat I had put two good coats on it so the weave of the mat was fully covered, as it now was on the sides.
I cannot believe how much epoxy I used, I seemed to have empty 4 litre bottles everywhere. Had to make an emergency trip to Boatcraft Pacific to stock up.
In preparation for fairing (sanding to make sure the surfaces are even and smooth) I mixed epoxy with light filler powder and spread it all over both sides using a 4mm notched tile adhesive spreader. My initial mixes were a bit runny, but this is only the first coat and once a bit of sanding has been done I will have to fill any low spots anyway.
Below is an overhead shot while the sides are still wet.
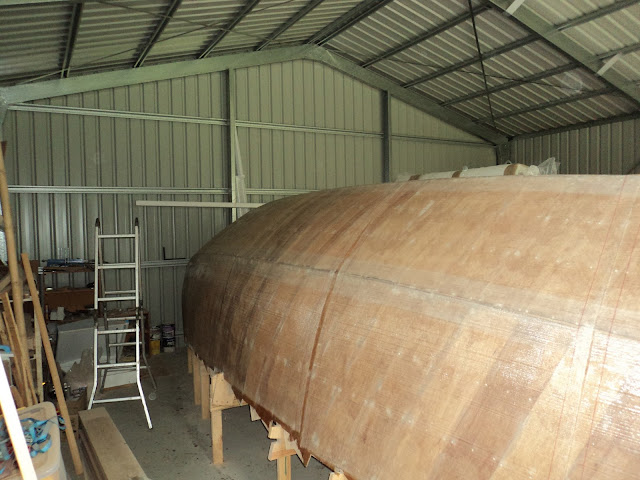
And one from the side. It looks a lot more uneven than it actually is, but once it is dry I will take some more photos before I start sanding.


