This post goes on a bit, get yourself a coffee.................
With fresh memories of John Welsford's website and their three or four hour rollover I summonsed the tradesman (Dad), gathered some equipment (borrowed some from my brother in law, a lot of dad's and ended up not being enough) and we began.
Day One (about 6 or 7hrs)
First thing to do after prepping everything was to have smoko. Mum catered the sultana scones, jam and coffee:

I had hired a 1 ton chain hoist, but we decided to use a small 6 ton hydraulic jack and chocks to lift it rather than pulling it from up near the roof on the shed supports. I was worried about the ability of the uprights to take the load so instead would use the chain hoist to lower once it had passed the tipping point. We also had multiple ratchet cargo straps to the shed on each side to hold it in place.
We began jacking up the boat on the building jig, and when the 8cm or so of travel was reached we used wooden chocks to hold the boat while we lowered the jack and packed it up in the air for the next jacking up. Below is the lift off, you can see the silver jack under the building jig:
We began jacking up the boat on the building jig, and when the 8cm or so of travel was reached we used wooden chocks to hold the boat while we lowered the jack and packed it up in the air for the next jacking up. Below is the lift off, you can see the silver jack under the building jig:

And chocking up, chain hoist just visible in the upper left from the top of the shed to the top of the roll over cradle ready to lower once the boat had gone past the tipping point and was hanging on the chain:

We continued like this taking small increases but felt like we were in control. It did take much longer than just pulling it over from the other side with the chain hoist, but we liked the slow pace and there was no worry of the concrete floor taking the weight.

Up and up it continued, with me getting more concerned about the angle and finding suitable chocks (see lessons learnt at the end). We used large pieces of wood both sides clamped vertically to lock it in position and were careful to have it locked in with straps whenever we moved around. Slowed us down, but safer.
Below was the end of the first day, you can see we lowered it onto a piece of hardwood to pivot on the right hand side so we did not have to jack so high. Also just to the left of the worker is one of the vertical props in hardwood. So much for 4hrs to roll over!
Below was the end of the first day, you can see we lowered it onto a piece of hardwood to pivot on the right hand side so we did not have to jack so high. Also just to the left of the worker is one of the vertical props in hardwood. So much for 4hrs to roll over!

Day Two (2 or 3 hrs)
After a break for two days at work and thinking about how it was going I went down and hired two Acro props (see lessons learnt at the end) which I should have done in the first place. Much safer and stable. Below is a close up of the chain hoist and one of the Acro props which adjust from 1.1 to 1.8m.
With a few hours after work before dark we got stuck into it. The props were fantastic and sped the whole process up. One would jack up a few centimeters, the other would wind up the props, then repeat until the jack needed to be moved. The hardest part of the lift had already been done the first day, and it was hanging on the chain in no time. We still maintained the use of wooden props on the other side so if it went over and we lost control it could only fall a few centimeters before it landed on props. Did slow down the process as you had to move them up when they got to the floor (see lessons learnt at the end), but safety first!
Below is on the prop and chain (note orange strap on the left to back up the chain):

And from the other side showing the props clamped to stop it dropping if the chain failed:

We propped both sides to move the attachment point of the chain, the blue cargo strap visible on the bottom of the cradle above and below. Also note the cargo strap back up to the left and right, dad standing on the feet of the building jig:

Quickly we were on the ground. Below you can see the right hand side on rollers to move, on the left jacking it up to remove the hardwood we pivoted on:

From the other side showing inside when sitting just on the rollers:

Beers all round!
Day Three (8hrs)
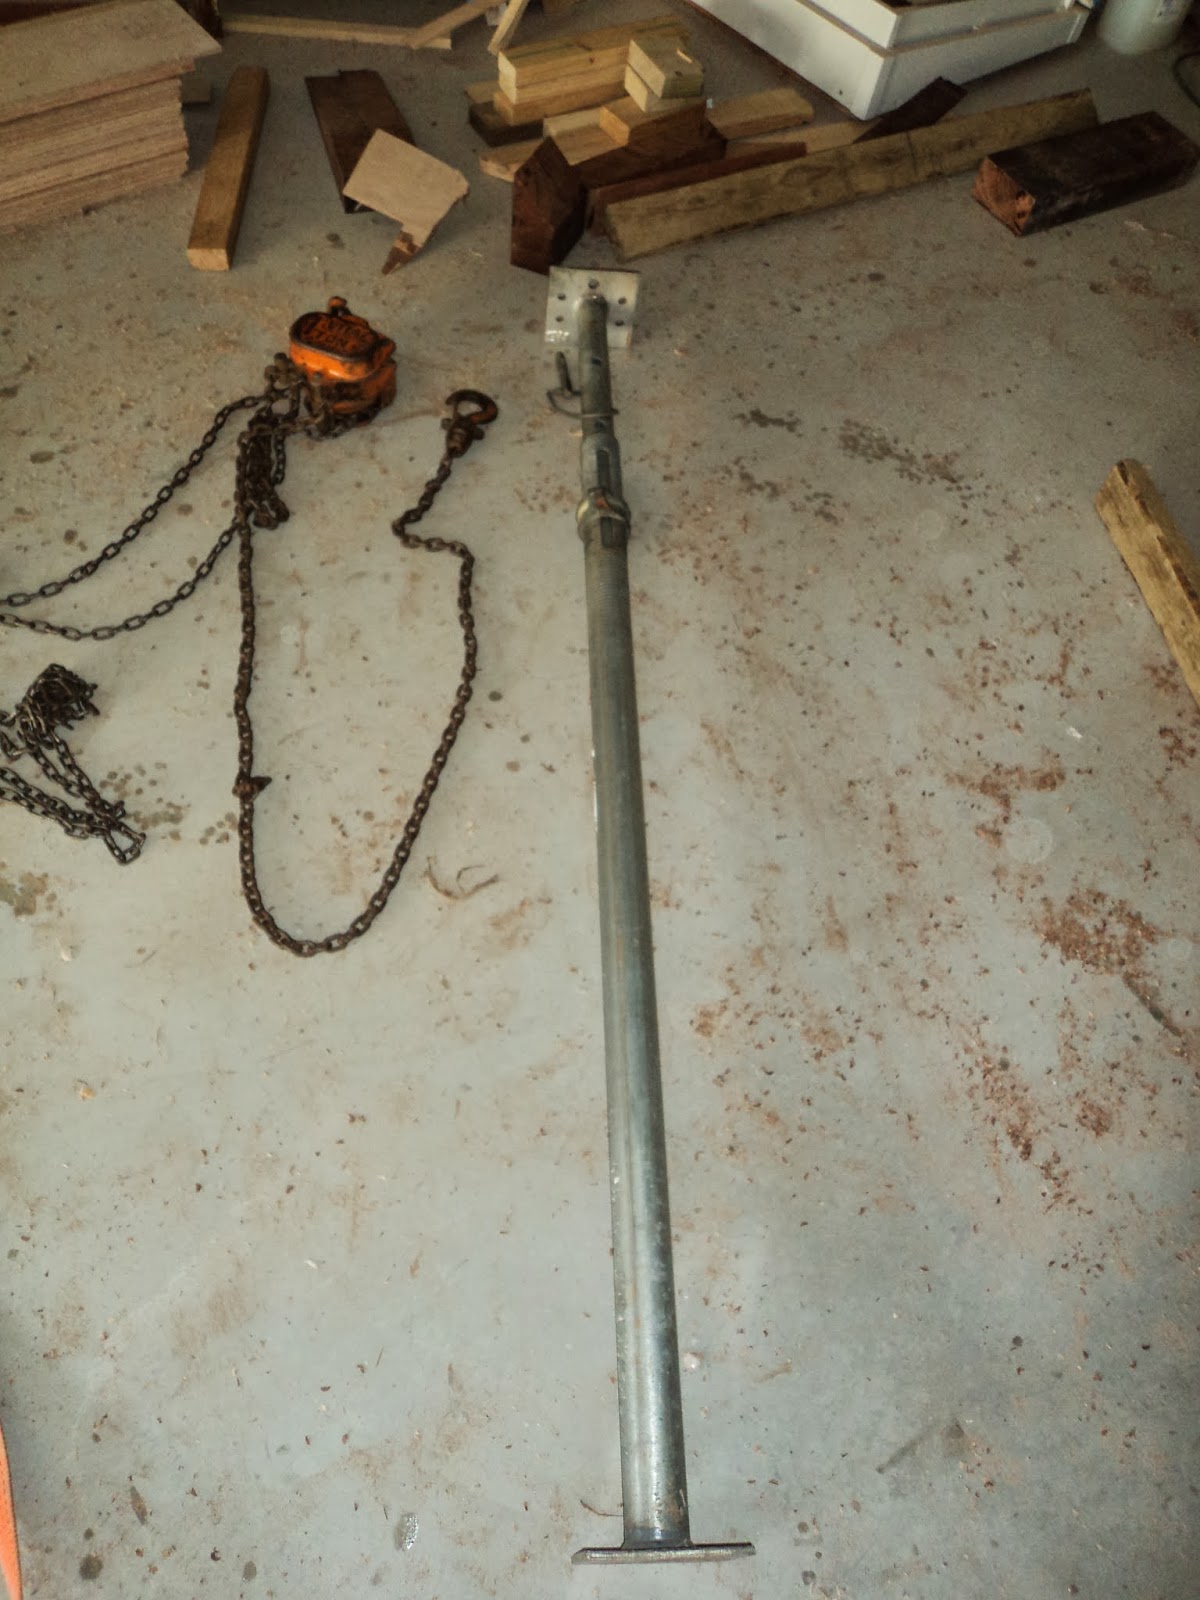
Now we knew what we were doing we grabbed another small hydraulic jack because we removed the building jig (the support holding the frames when it was all upside down) and could only jack from each side of the cradle (see lessons learnt at the end).
We had to move the boat back over the other side of the shed so we could roll it the rest of the way to upright. My dad had brought with him eight stainless steel rods 12mm in diameter. I looked at them, I looked at him, I looked at them again. I was expecting massive metal pipe, told you he was the tradesman. We jacked up slightly and placed them underneath:

Then attached a chain and pulled. Hardly any effort, just place the ones it had rolled off around in front for it to roll on and keep pulling on the chain. And you could push on the bow to straighten it up. I could not believe it worked so well, to the extent that mum, dad and I pushed the boat forward after the roll over was complete without even using the chain block. Below is moving sideways:

Then it was jacking and propping again and again until it was on the chain:


and quickly down:

Rolled it back in position, we pushed it forward on the rollers after aligning them forward instead of across and took out all the frame cross pieces.
Beers all round.
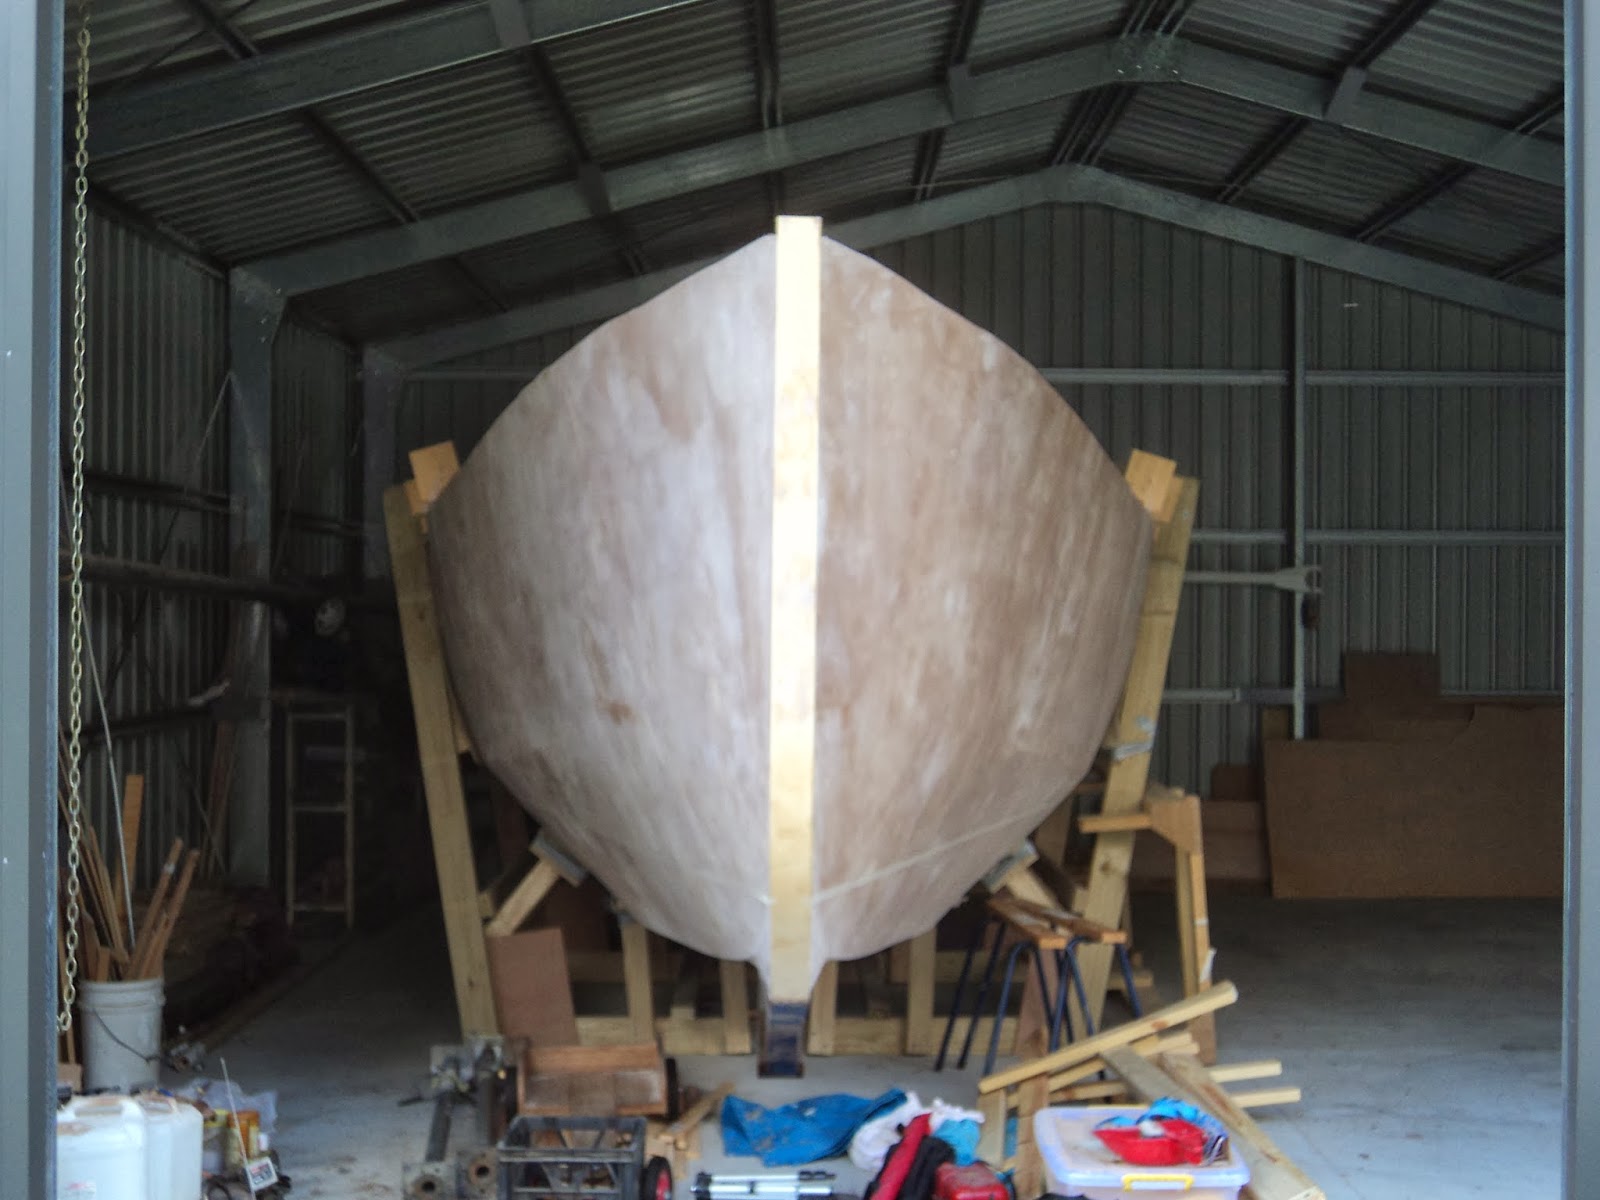
Then photos. From the front a bit off center to the left:
From the side:


And from the front:

Lessons learnt and what I'd do differently:
- If you can pull with a chain block from both sides it will be much quicker, but I would still have props for safety in case you want to stop for any reason rather than just leaving it on the chains.
- Get Acro props, two small and two larger from the start. Much quicker and safer than chocking with wood once it gets up a bit on the jacks.
- When you are lowering on the chain and using props on the other side for safety, put the prop a good distance up and put a number of chocks underneath it. That way you can pull out each of the chocks as the props come down until they reach the floor rather than having to stop and move the props all the time (we figured this out on the final lower, would have saved heaps of time stopping, securing everything and moving them up again).
- Once the boat is on its side, don't take out the building jig until you have jacked it up a few feet. You have many more options to jack against rather than just the cradle and it is still easy to remove when a couple of feet past vertical.
- Take your time. It feels like it is taking forever but if you drop it, worst case onto yourself or someone else, or even onto the ground you will regret trying to save a few hours.
- Take lots of photos, you will be busy but they help you remember and celebrate the success!


