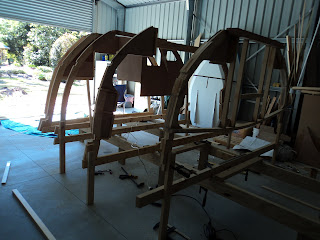
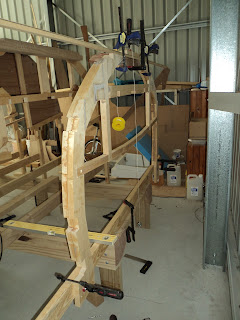
But now time to gloat!
Started with frames 4 (galley front) and 5 (galley rear) as per the building instructions from John Welsford. I spent extra time getting the frames at the right height from the strongback (1106mm) as all the waterlines etc are taken from here. Once they were stood up you screw the 12mm ply galley front bottom piece (which is the top when you build upside down!) to stiffen the two frames.
And from the side with frame 3 in front:
Then I worked back from frame 5 to the transom. Each frame was levelled vertically, horizontally and using a string and nail from the centreline was positioned at 90 degrees to the centreline (hopefully). Below is 3 - 7:
Fr 3 - 7 from the front side:
Continue on to the transom which is actually 15mm above the waterline (below when building upside down) hence the packer under my string line to get levels right at the sides. In front you can see frame 10 and 9 which is the solid one:
And from the side:
Once I got the transom done it was time to dynabolt the wooden ground supports for the stem and frames 1 -2:
Then I stood up frames 1 - 2:
You will see in the below photo some extra legs. One of the lessons learnt is to follow the plans exactly. Some of my frames needed to be raised above the cross pieces, but this actually worked out well because I could put in a vertical leg to take some of the weight and also support the frames:
Then this morning it was finish attaching frame 1, then cut the stem and glue. This took much longer than I thought. Below is the cut down stem:
Glued in place:
And from the side:
Once they were all up, I went along and nailed them to each other, across the tops and back to the strongback in a few places. This took a while as I was checking everything again, below shows the ones across the top, the earlier photo of the legs shows one of the angle ones in the background:
From a distance from the front:
Inside from fr 8 towards fr 1:
Frame 5 - 1 inside
Frame 6 to the transom:
Now have to organise the wood for the stringers.


No comments:
Post a Comment