Below is the space between fr#7 and fr#8 (waterproof bulkhead for aft third of the hull) from above:
I needed something for the tank to sit on, looked around and saw the sink cut out. I couldn't be that lucky that it would fit. Some minor modification of a cut out and slight trim of the solid wood underneath (the screw lines) and it went in on the supports (horizontal pine on the bottom of the first picture above):
Cut a groove in the doubler on the fwd side of fr#8 (the pine running up and down) so the seam of the tank would not be pushed in) and it slid in fairly securely. From above:
And the side looking from the quarter berth on the stb side. I will make the end piece of the bunk and the vertical piece that covers this area removable for access.:
Next thought was how to secure it in place. I went through a few options then decided to use two ratchet straps which are rated for 250kg each. I attached shade cover stainless anchor points to the hardwood cross piece on the aft side of fr #7, each rated for 275kg.
On the back I could not use similar attachment as the ratchet piece was two large. I used two eye bolts which went through the mounting wood piece rather than just the ply base. I wanted the tank firmly attached to the hull. Through these I looped the tape back up to the top:
And a final shot in place. I tied a loop in the tape just above the fwd anchor points long enough to just clear the forward side of the tank. Into this I put the hook of the ratchet and fed the other end from the aft loop back up the side onto the top where it is fed into the ratchet. Allows you to tighten it all up on top and check it easily. On the left of the tank is the fuel inlet, the black middle inspection port and the right side are the fuel intake and return fittings.
During this time my supervisor returned from holidays so we melted down all the filings from when I routed the top of the lead keel:
Each ingot is about 1.5kgs. I have around 120kg left for trimming ballast or later sale. Below shows what some look like when cool.
Of course, once we finished with the fire it was time for a beer and a camp oven roast. Hard work this boat building.
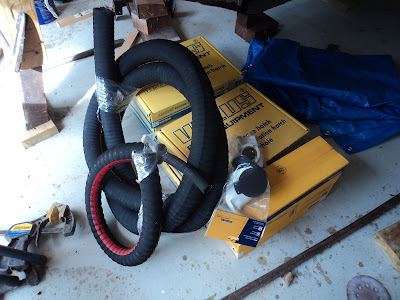
Here is what was holding me up partly, port holes and hoses:
One of the Vetus hatches, worth the wait because through a mate of a mate I got a good price.
So ends the update, hope you enjoy it and thanks to Rik for the hurry up!


Good stuff Mal. Very cool port hatches! I wish I could look through them during some stormy weather, nice and dry...
ReplyDeleteI'll be happy to get them in and see something other that the shed Rik!
ReplyDelete