Friday, 10 May 2013

Second layer hull sides complete - planking detail

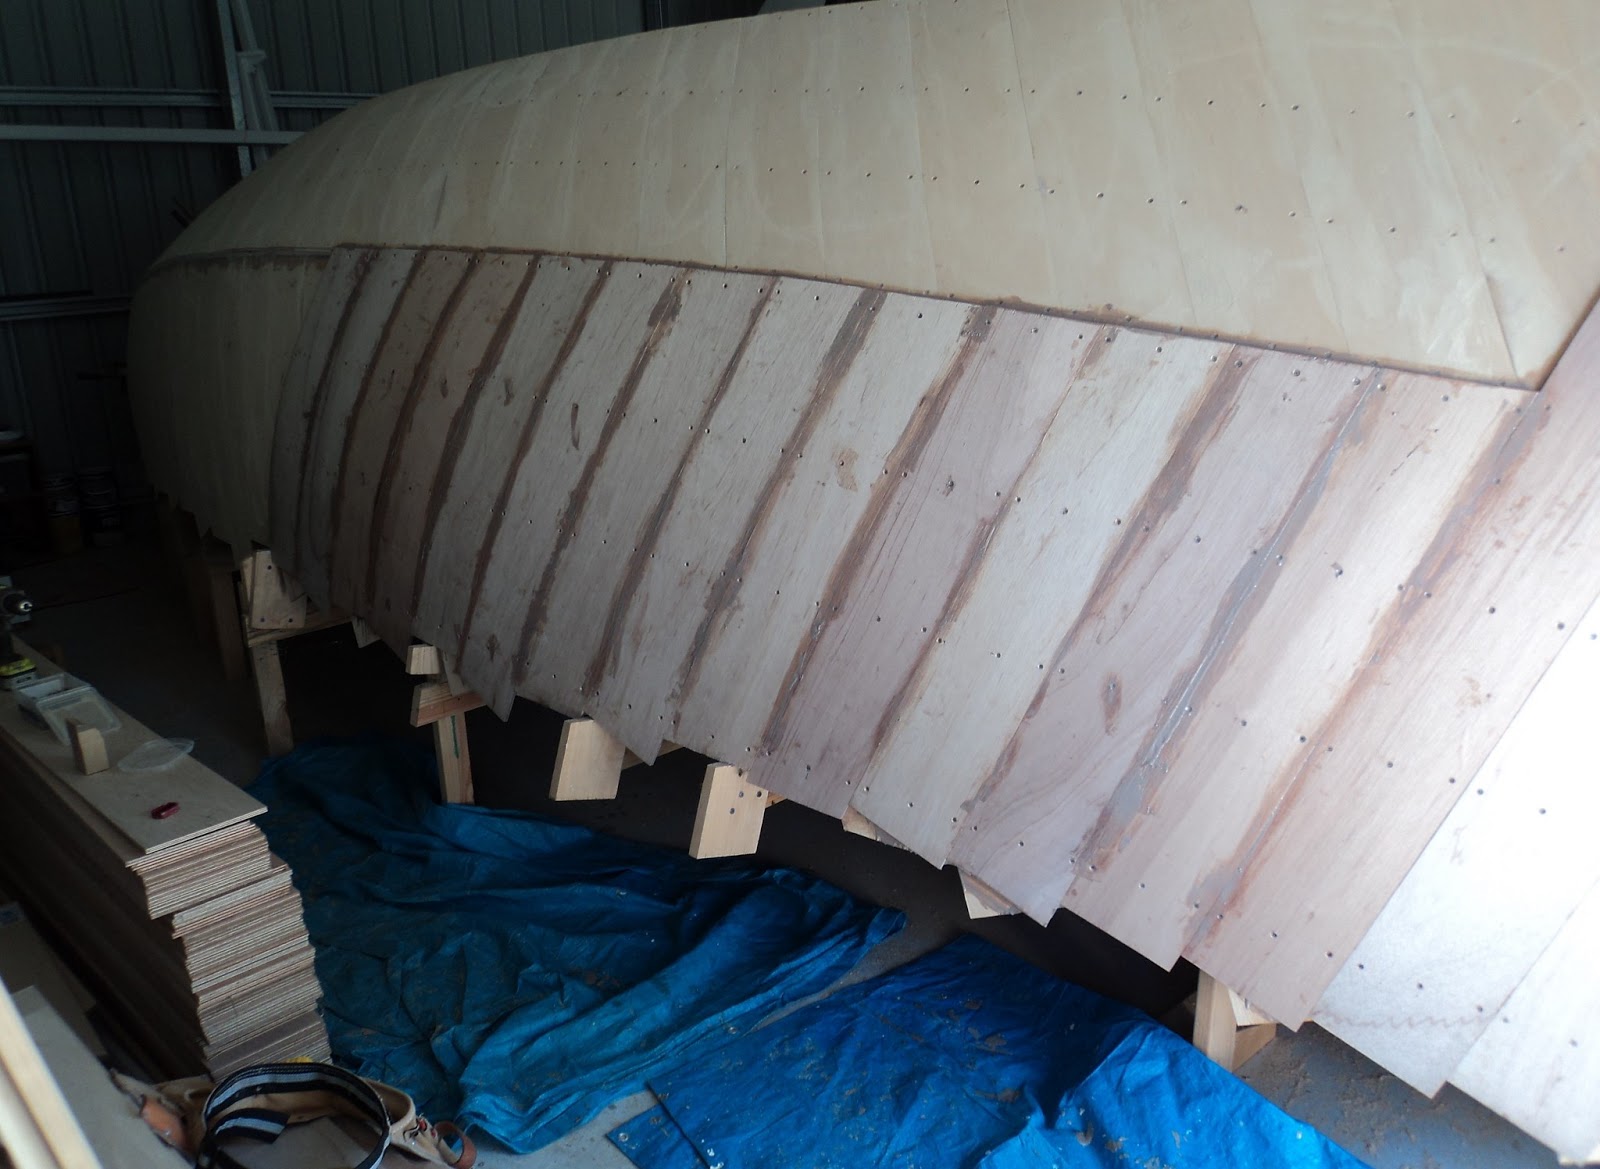
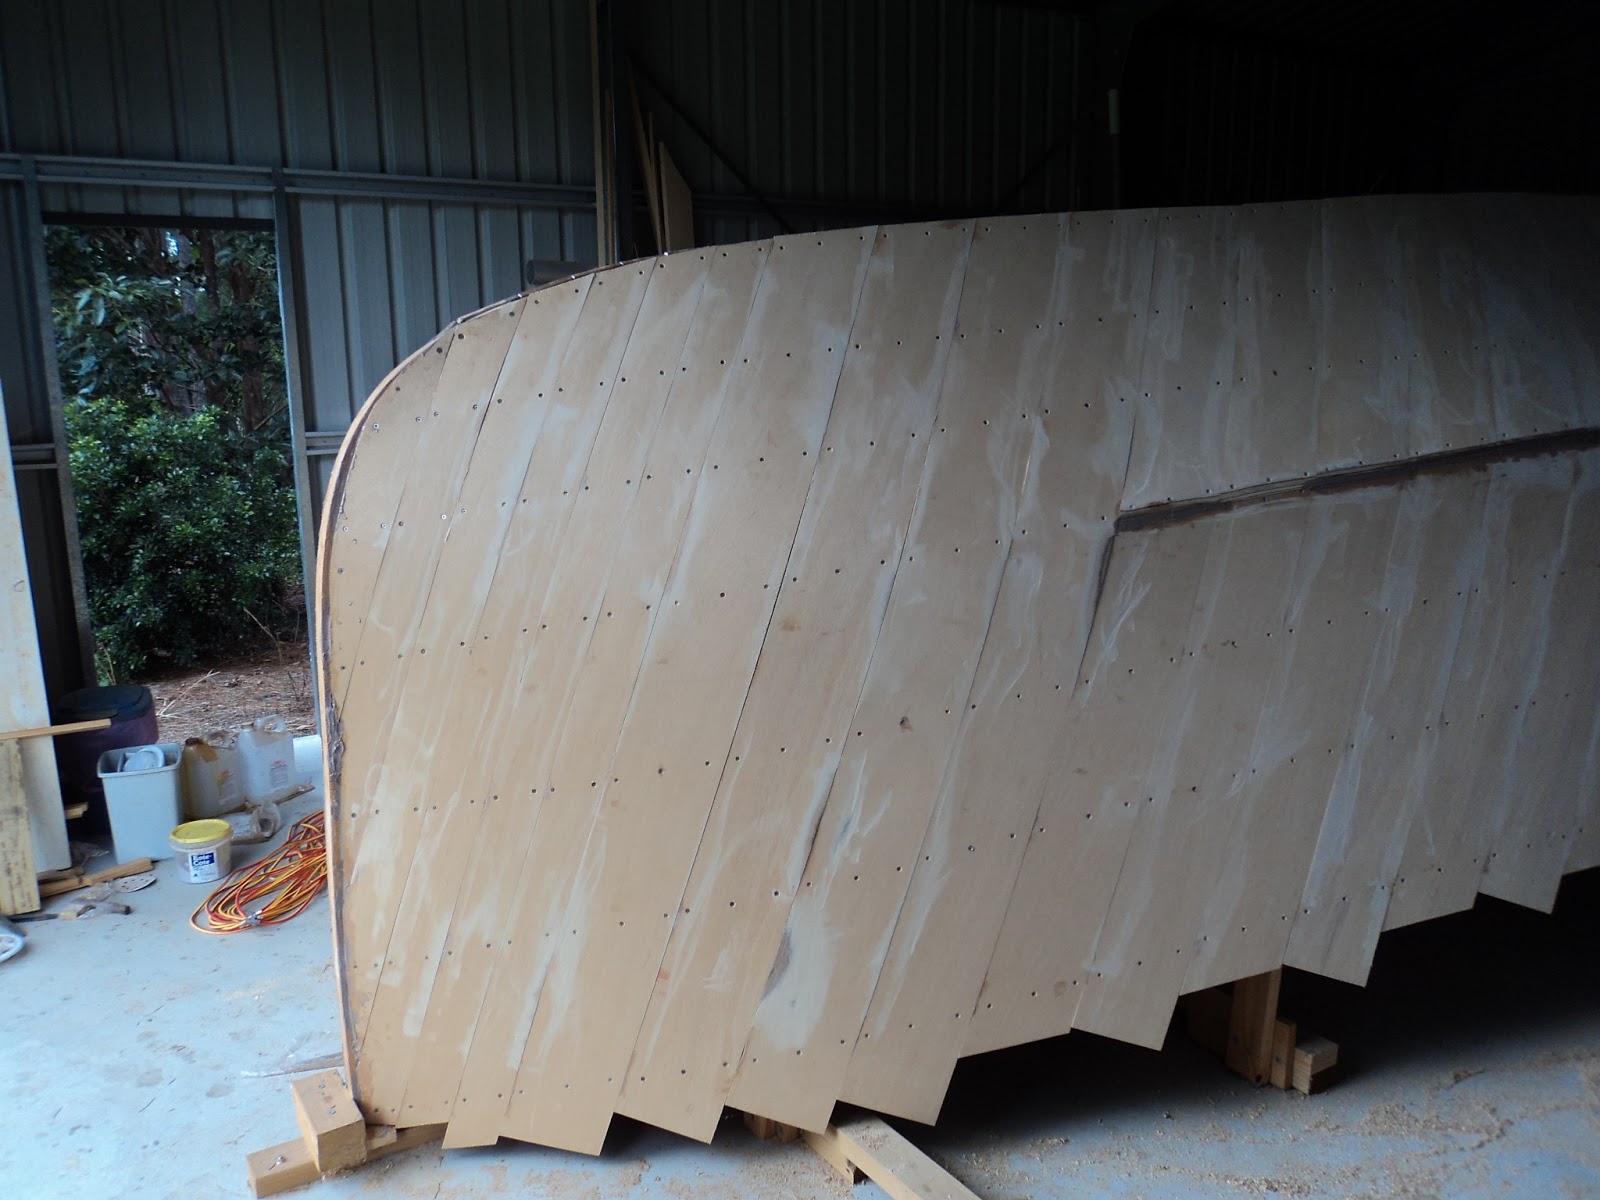
I have now completed the other side top curved section meaning the two layers on both sides are done.  After dry fitting and removing all the planks one day I epoxy/glued them in one go the next.  I increased to spreading epoxy/glue on four planks at a time resting on saw horses and seemed much quicker and easier.

Below are a few shots firstly from the front:


Looking down the side towards the transom:


Looking from the side at the transom:


And from the front:


Now that the sides are done I will include a few photos showing how the layers fit together.  Firstly the transom from a distance:


And below is a close up of the overlap between the layers, note that the top curve final layer is yet to be trimmed to a curve edge.  As you can see (as we look at them) the bottom curve is overlapped by the top first layer, which is overlapped by the bottom second layer and finally the top second layer.  Plenty of epoxy/glue with no voids that I can see.


The shot below shoes the two layers of the top curve where they overlap the ply bottom first layer.  This will be planed flat and then have a second flat bottom layer place over the top.


Planing the top curve to take the second layer of the bottom is next.


Saturday, 4 May 2013

Top curve first side

After tapering the top edge of the bottom curve section on both sides it was time to start the top curve.  The planks on this are smaller than the bottom one, so less epoxy and quicker progress.

I managed to work my way down the side dry fitting, the middle was high off the ground so had to resort to a ladder.

Here is the first half dry fit:


From the side:


I then continued to the transom and then took them all off again.  It is a bit sad how quickly a lot of time cutting, adjusting and dry fitting can be disassembled in.  I know I said I wouldn't do it again, but I epoxy/glued the whole lot in one go, only took four hours this time!

Looking towards the transom:


Looking down the side:


From the front slightly offset:


From a distance:


Thursday, 25 April 2013

Second layer Bottom Chine done

Planking of the second layer continues.  I will start with a few photo's of how I am fitting them.  The planks are dry fit first then removed.  Once you have done enough planks, generally about 8 to 13 I epoxy them in one session.

First you put epoxy/glue onto the hull:


Then onto the planks, I did two to three at a time.  The red plastic scrapers to the left of the planks I use for spreading the epoxy.  On the hull a flat one, on the planks I spoon the thickened mixture on then spread it with the larger one which has a series of notches cut into it.  Disregard the thin one, it was too small so I went with two large ones.


The you screw it on and repeat.  I found if you screw from the unplanked side towards the existing planks as you move across the screws it helps force epoxy across the plank and up through the gaps between the second layer planks.  This should help eliminate hollow sections between the two layers.

End result on the first side half done:


And the other side.  I did the epoxy of the entire length of the second side in one go but it was hard work over about four and a half hours.  Make sure you get inside and scrape away the extra epoxy that is squeezed out on the inside joins as well otherwise you will have a lot of work to do when you flip it.

From the front:


And looking across at the transom:


Next step is to plane the chine join for the upper chine to overlap.

Sunday, 14 April 2013

Second layer bow completed

After some minor sanding it was time to start the second layer.  I decided to do the front where the full length planks are and move back from there.  Firstly was the positioning of the first plank, which I lined up with the spot where the chine met the full length planks on the first layer but is placed on an angle toward the bow.

The process was the same as the first layer, but was a bit more effort as you can only clamp on the bottom and work your way up from there.  Four full width planks with three screws per stringer, 9 more narrow ones with two screws each stringer and a large piece to finish (some will be cut away for the bowsprit after flipping).

Wasn't too bad, used the screw lines of the first layer to line up the second ones, only hit a couple and had to re-drill the holes.  Did a full dry fit first each side prior to epoxy/glue, then pulled them all off. But make sure you run a pencil down the rear edge of the first plank and mark somewhere on the hull and plank to line it up.  On each one I also put a pencil line across the join so I could line the planks up on final fit.

From the front:


Below is the first side:


And a series of shots to show how it has changed along the way:


Next step is the lower chine curve (as we look at it) both sides to the transom.

Thursday, 4 April 2013

Layer one done - prep for layer two

Managed to epoxy and screw on the remaining planks to finish the first layer.  It looks exactly the same as the previous dry fit photos but I'm happy with that.

Prep for the second layer required the adjustment of the chine join for the second layer to overlap.  First I used an electric plane and then a belt sander lightly to tidy up.  I then went over both sides where a few plank joins were sitting up.

Below is the first side before, showing the overlap:


And after trimming the extra and sanding:


From further near the bow:


And after:


Looking from aft forward:


Below is a close up of the join.  The second layer on the bottom is next which will overlap this join:


Other side:


Looking towards aft, the dark at the join is drying epoxy/glue where there was a small gap to fill:


And an overhead shot standing on top:


Onwards to the second layer.

Saturday, 23 March 2013

First layer all but done

Have been slowly working down the other side to complete the first layer of 9mm ply planks.  Nothing new, just clamping in place, marking, cutting, drilling and countersinking and moving on the next one.

The photos are dry fit only, I have taken them all off now and will epoxy them on tomorrow but it will look the same so here they are.

Before shot:


After:


Looking forward:


Showing the transom:


And inside shots.  First looking past the galley forward to bulkhead one:


Forward over frame 2 to one:


Inside cabin looking back:


Cockpit:


After the epoxy is set I will plane off the extra at the chine both sides, sand a few edges that are sitting up a bit and generally prep for the second layer.

Saturday, 9 March 2013

First layer one side finished

The hull continues, with the first side complete.  It still has to be faired a bit before the second layer, I will leave that until I have finished the other side.

Side shot looking aft:


Side shot looking forward (dry fit):


From the front:


All the next were when dry fit only, but it looks the same.  Inside showing cockpit:


Inside cabin, frame six bookcase on right, galley on left:


Looking into the forward berth: