Thursday, 1 August 2013

Fairing part one

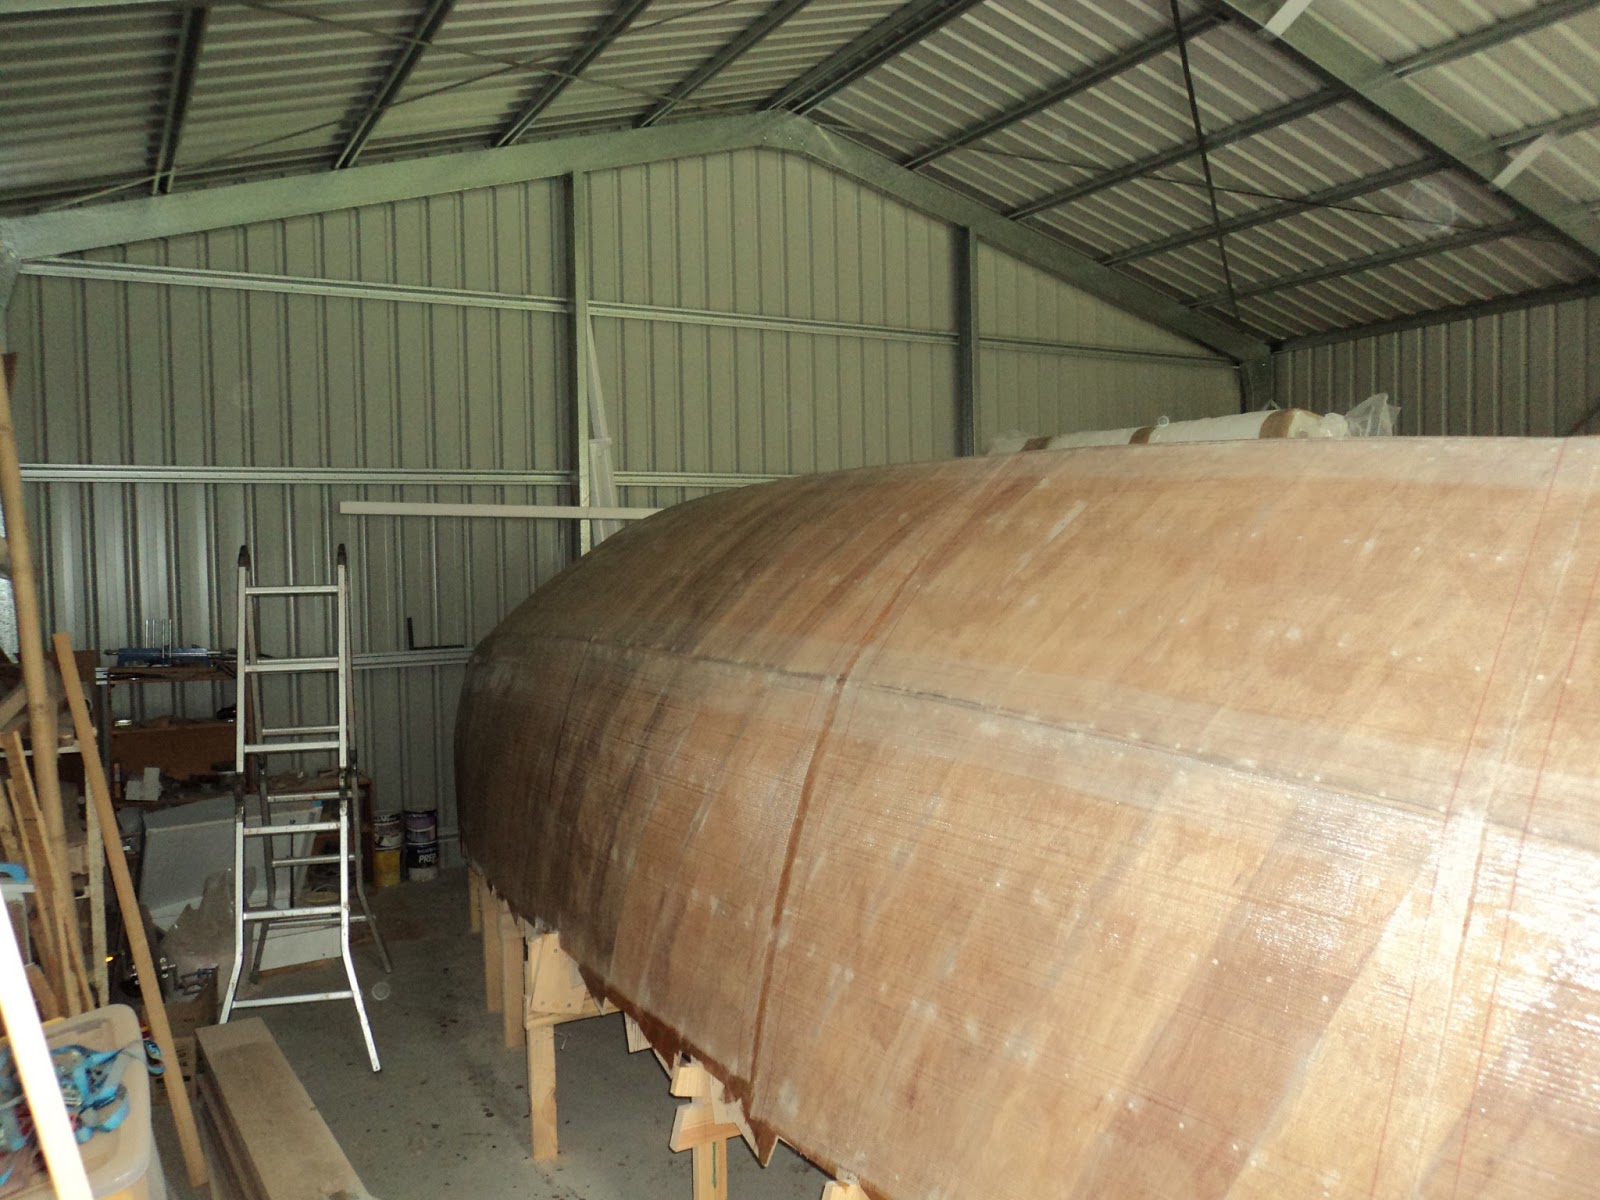
Had a few computer problems so have not updated for a while.  The fairing of the hull continues, this would have to be the worst part so far but I am getting there.

After the first layer of epoxy/filler powder was dry I started.  First I made a sanding board so I could sand the curves.  These are also known as torture boards, and with good reason.  The ply is 6mm so I can bend it around the curve, I cut slots near each end to feed in sandpaper from a roll and screwed extra ply on top to hold it in place.  Couple of handles screwed on and away I went.  The idea is you sand in different directions/angles and the bend in the ply stops you sanding flat spots because it will take the curve of the hull as you press in on the handles.


I also have another sanding block similar to a bricklayers trowel with a handle, very useful as well.

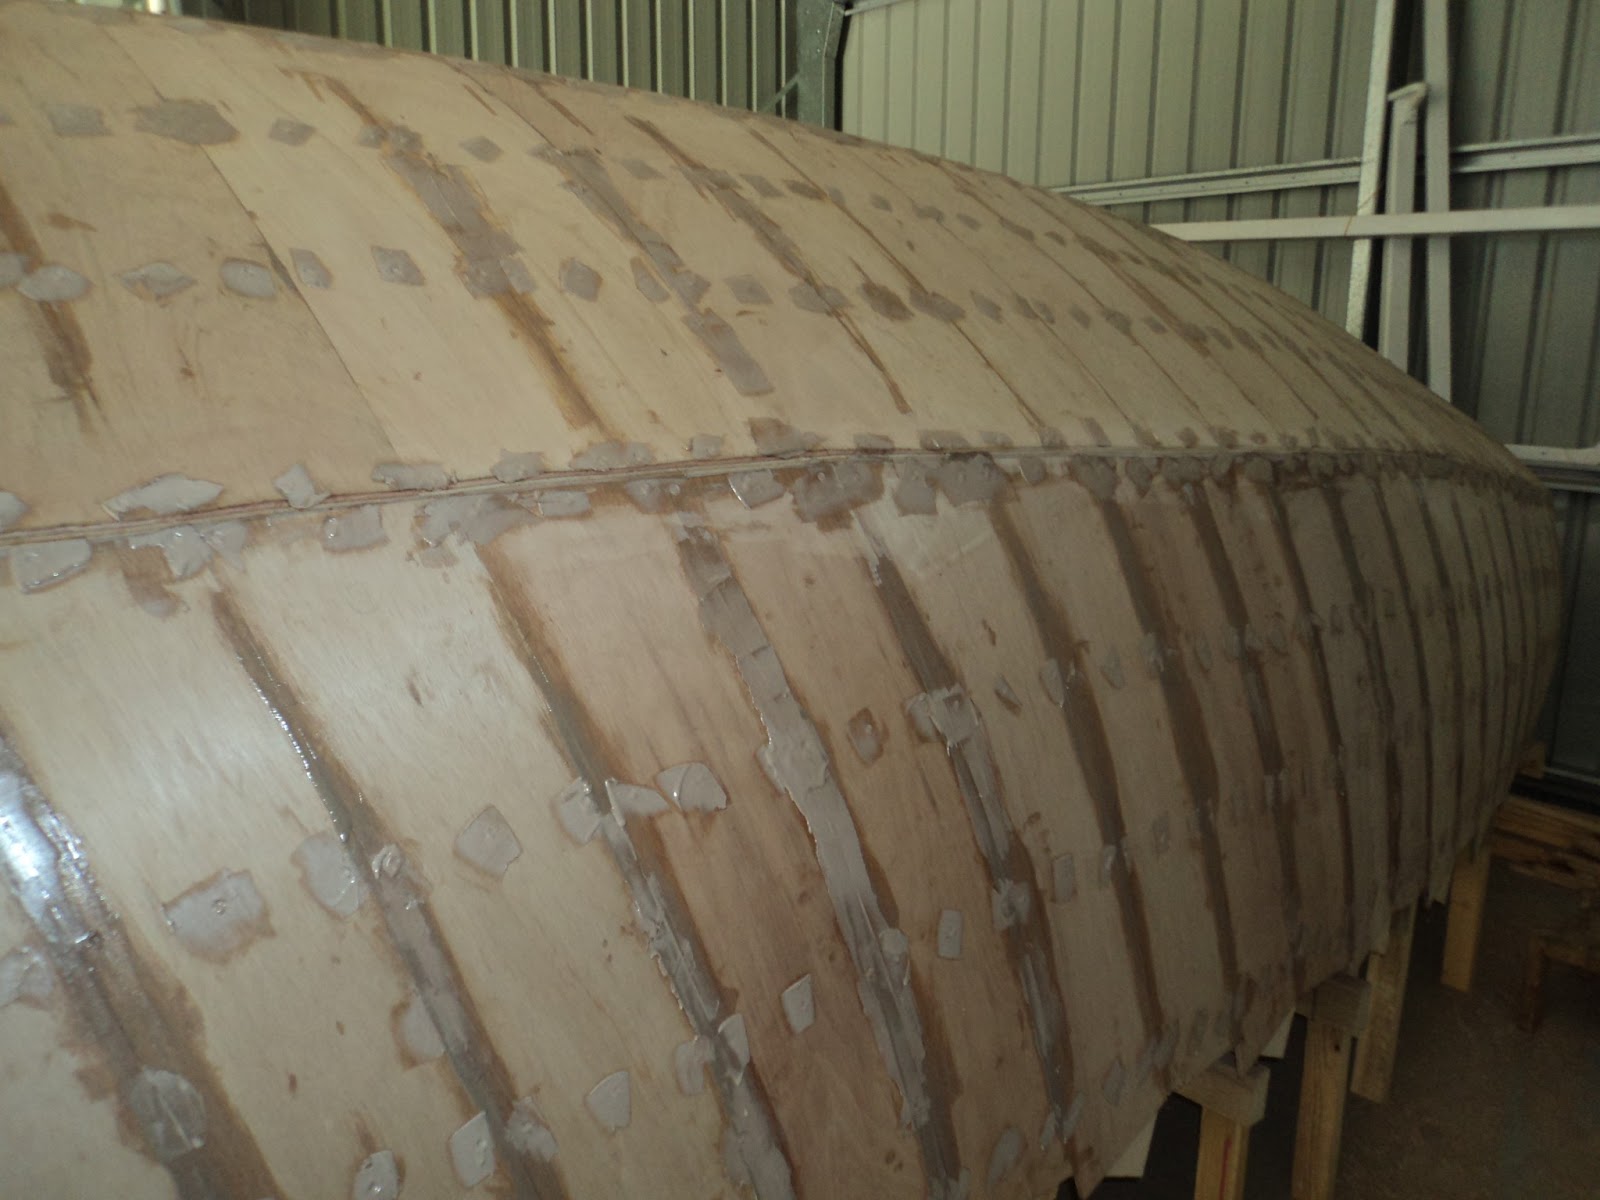
Although I thought the hull was quiet smooth I soon discovered all the little dimples in the hull.  The pattern of the fibreglass mat, even though I coated it a number of times, was still there.  I tried using a notched spreader with the epoxy, the idea being you sand it hitting the high points and then fill in the hollows.  I didn't mix the epoxy thick enough and it ran together instead of leaving peaks.  Luckily I only did the front on one side as an experiment.  I'll let you know because it is on the second side I've just started. 

After starting sanding the entire hull and putting on a second coat I decided to work on a single side at a time for my mental health.  That way I could see progress as I did each coat.  I have left the bottom until after I have made the keel.

This the side I did first after sanding:


The other side:

The next coat going on:


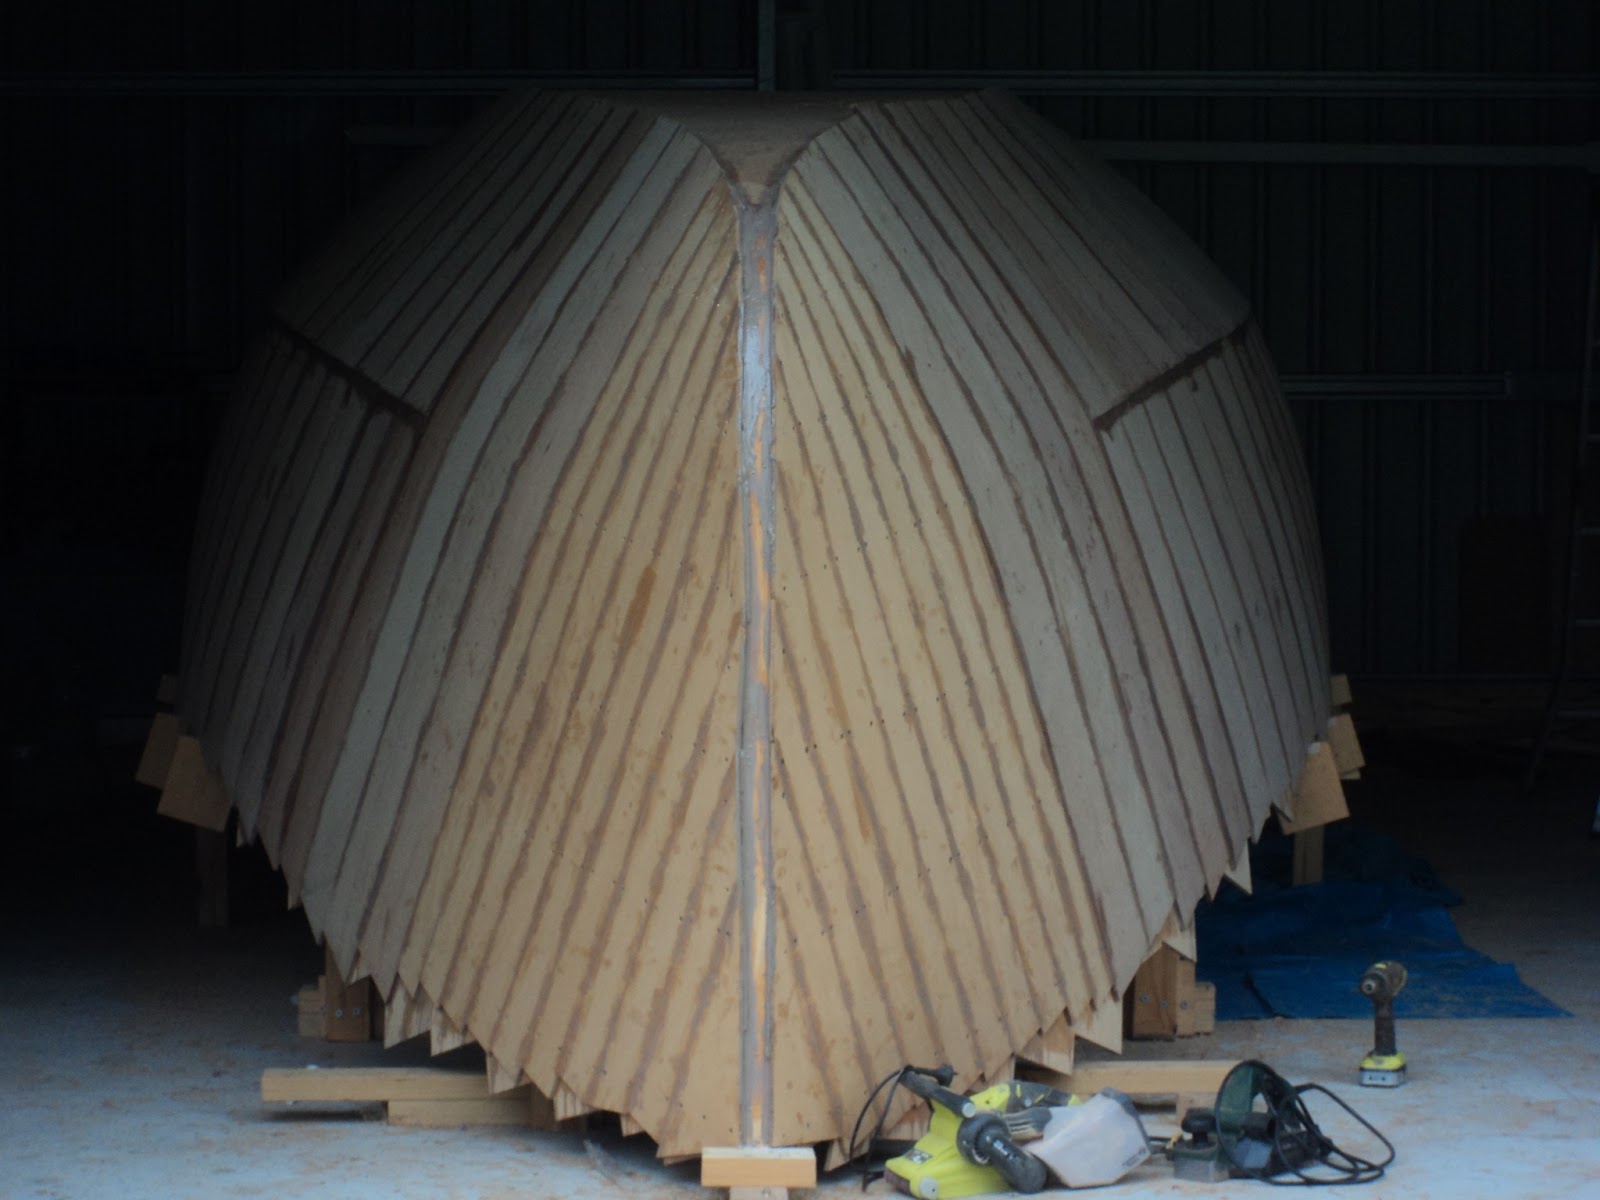
Sanding and re-coating a couple of times I found a thin layer scraped with a wide plastic spatula was better than doing thick coats which ran and needed lots of sanding.  This is the front:


And looking towards the transom:


I still have a few spots to sand after today, I had a bit of mixture left over so went back to a couple of small hollows.  The above photo was when it was still wet, the shine goes with the final fine sand.


The other side which I am now working on, this is early sanding:


 And the most recent layer today:


And looking towards the transom:


I will continue on sanding and layering, and will continue with the next post including final shots.  But this takes a while!

Thursday, 20 June 2013

Bottom fibreglassed and prep for fairing

Don't get too excited.  I have done quite a bit of work on the boat, but unfortunately other than denting my boat fund it doesn't look too much different.

With the sides fibreglassed and one coat of epoxy on them I cut the mat for the bottom.  I had continued the side mat up over the side/bottom join and onto the bottom a bit, so cut the mat to overlap that but not go all the way out to the side.  I worked front to back in a single sheet and trimmed it carefully from on top of the hull.


Mixed a big lot of epoxy and spread from the front working back, carefully climbing down to mix more as I went.   Was not too bad as the almost flat surface meant the epoxy didn't run like it did down the sides.  Below is after fully wetting out.


And a close up looking across the bottom from the ladder you can see above left:


I left it overnight and when I came back gave the sides and bottom a light sand, then coated them again with epoxy using the roller.  I did the sides first (I had a plan) and then stood on the ladder and did the bottom with a piece of wood jammed into the roller as a handle.  You can see it leaning on the saw horses above.  By the time I had done both sides, then the top (with numerous epoxy mixes) the sides were tacky so I could put a third coat on them.

I wasn't sure if I needed a third coat on the bottom so stopped.  When I came back it turns out being flat I had put two good coats on it so the weave of the mat was fully covered, as it now was on the sides.

I cannot believe how much epoxy I used, I seemed to have empty 4 litre bottles everywhere.  Had to make an emergency trip to Boatcraft Pacific to stock up.

In preparation for fairing (sanding to make sure the surfaces are even and smooth) I mixed epoxy with light filler powder and spread it all over both sides using a 4mm notched tile adhesive spreader.  My initial mixes were a bit runny, but this is only the first coat and once a bit of sanding has been done I will have to fill any low spots anyway.

Below is an overhead shot while the sides are still wet.


And one from the side.  It looks a lot more uneven than it actually is, but once it is dry I will take some more photos before I start sanding.


Sunday, 9 June 2013

Sides fibreglassed

Managed to get both sides fibreglassed over a few days.  Prep required standing on the top and unrolling the mat so that I could cut to length.  The sheet is a bit over 1200mm wide, it is 450 gsm biaxial  which you drape down the sides, and overlap up onto the bottom over the tape along the side/bottom join.

Below is a photo of cutting one piece to length, I marked vertically with pencil on the hull so I knew where to put the epoxy prior to fitting.


The first day I did all the full sheets on one side, but I only had a very narrow roller so putting on epoxy was like painting a house with a one inch brush.


A quick trip for some throw away big rollers and I was in business.  I cut the sheets for the other side and the ones for front and back which I left on the first day.  Those ones were put on oversize and then trimmed once placed on but before fully wet out.

First step is to apply epoxy to the area to be covered:


Then carefully position the sheet, and apply more epoxy towards the edges ensuring there were no creases.  This thing took a LOT of epoxy to wet out the sheets.  I found putting a thick layer on the wood helped hold the mat in place, but you had to get it in position well before you pressed it on with your gloved hands.  You will see on some of the side shots that there are gaps between the edges, some bigger than others.  Due to the shape I decided just to get the edges as close as I could without overlapping them as this would then have to be sanded down.  I figure it will have two more layers of epoxy, then extra layers when I fair it so those little spaces will be well protected.

End results:

From the side, the front is the one you can see me putting epoxy on in the above photo.


Other side front:


Same side looking towards the transom:


And a front on shot.  Still have the bottom to glass:


As I said, glass the bottom, then it is time to put on a few coats of epoxy.  After that comes a couple of coats with light filler and sanding until my arms fall off.

Thursday, 6 June 2013

Hull prep and joins taped

Once the final piece of ply was on the bottom it was time for more trimming.  Ran the electric plane along the join between the sides the the bottom and gave it a bit of a sand to a curve in preparation for fibreglass taping the joins.

Before that I had to mix up epoxy and light sanding filler and fill every screw hole in the hull.  Lets just say that took a while, much like using a putty knife when getting ready to paint a wall.

Below is are two side shots of the dry filler before I sanded them all down to make them match the hull, another arm killing job.


Then it was time to see how the fibreglass taping would go.  The tape is 200mm wide 420 gsm biaxial and I cut four lengths, one for each chine 6.1m long:


And carried the roll up onto the top of the hull and lay it down on the bottom/side join and cut to length:


To apply the tape, paint epoxy onto the hull full width of where the tape will go, push the tape onto the epoxy (which will hold it without any other support) then go along with a brush and foam roller in one direction pushing towards the outsides to ensure the glass is fully wet out.  Ensure there is not too much epoxy which will cause it to float above the wood (apparently, just learnt that from BoatCraft Pacific's epoxy building pamphlet!).

This is the first chine join done:


Looking side on:


I did both sides, then took my scales and epoxy up on top so I could mix as I went without getting down.  I thought the chines would be harder, but I actually found the bottom/side join worse when working on top.  I was surprised the epoxy would hold the tape while I finished it, making it easy to walk along from rear to front as I went.

Finished shots, overhead from the front looking back:


Close up of the side/bottom join where the stem cover piece will come up over:


The second side looking to the transom:


Final shot looking from the transom forward, sorry it is dark but I had to shut the door due to back lighting:


Next is to glass the whole hull, that should be fun....

Thursday, 30 May 2013

Second layer on the bottom

After finishing the prep it was time to put the last layer of ply on the hull.  First piece of ply is full width as the hull is not too wide .

Below is the first piece ready to attach, zig zag scarf on rear which is located over a hardwood cross piece on one of the frames:


In place from from the front:


And rear:


By now the bottom was wider than a single piece of ply, so marked the centreline and worked out each side.  There is another frame just behind where the above join is, I had to scarf extra onto a sheet of ply to make it long enough to reach a frame near the rear of the hull so decided to put the extra up the front where I can screw is down to both frames.

Below is preparing the joins:


Then gluing the scarfs:


Once that was done I could cut the zig zag joins on the end of the second pieces and trim the third pieces (almost a full sheet as well in length).  I dry fit them using a couple of screws front and rear only, drilled and countersunk all the remaining screw holes and put all the screws in place.

Below is looking rearward:


And forward:


Close up of one of the zig zag joins between the second and third sheets:


Screws across into hardwood cross pieces and along the join to the sides are 1" (25mm), 200mm grid in between of 5/8" (about 15mm) which if I didn't screw them in too far should not come through on the inside.

Epoxy on the first layer ready for the second sheet first half:


And finally some comparison shots.  Looking towards the transom from the back of the first sheet before:


And after all screwed in place:


You can just see in the photos that the joins on the first layer are covered by a solid sheet on the second.  No two joins are on top of each other in the two layers.

Next is to fill all the holes, trim the join between the sides and bottom in preparation for fibreglass taping the chine and bottom joins, and then the whole hull.

Thursday, 23 May 2013

Prep for second layer on the bottom

Now that the sides are finished it was time to get rid of the extra wood at the top where the curve meets the bottom, and also at the chine where the two curves meet.  Using an electric plane I took them down at the top until the sides met the bottom.  I think I may have a little bit more to take off but there was a lot of sawdust created.

I started at the stem where I took the extra off at the front where it met the stem.  Below is the final result from the front before:


And after:


And showing where the stem meets the first bottom layer/sides:


At the transom looking forward at the top of the curved sides meeting the bottom before trimming:


And after:


Looking further forward:


And one of the zig zag scarf joints sanded ready for the second layer:


Next step is the mark the centreline and dry fit the second layer, the middle is wider than a single sheet of ply so you work out from the centreline each side until it narrows to within the width of one sheet of ply.  The joins in the second layer are over a different frame so the joins in the first layer are overlapped by a continuous sheet of ply, but you still join over a hardwood cross piece on the bottom of the frame.  This will make sense in the next post.