Monday, 24 March 2014

Front Cabin fit out continues

I am going to have to create a few posts per step in the building process.  I am much slower at the inside fit out.

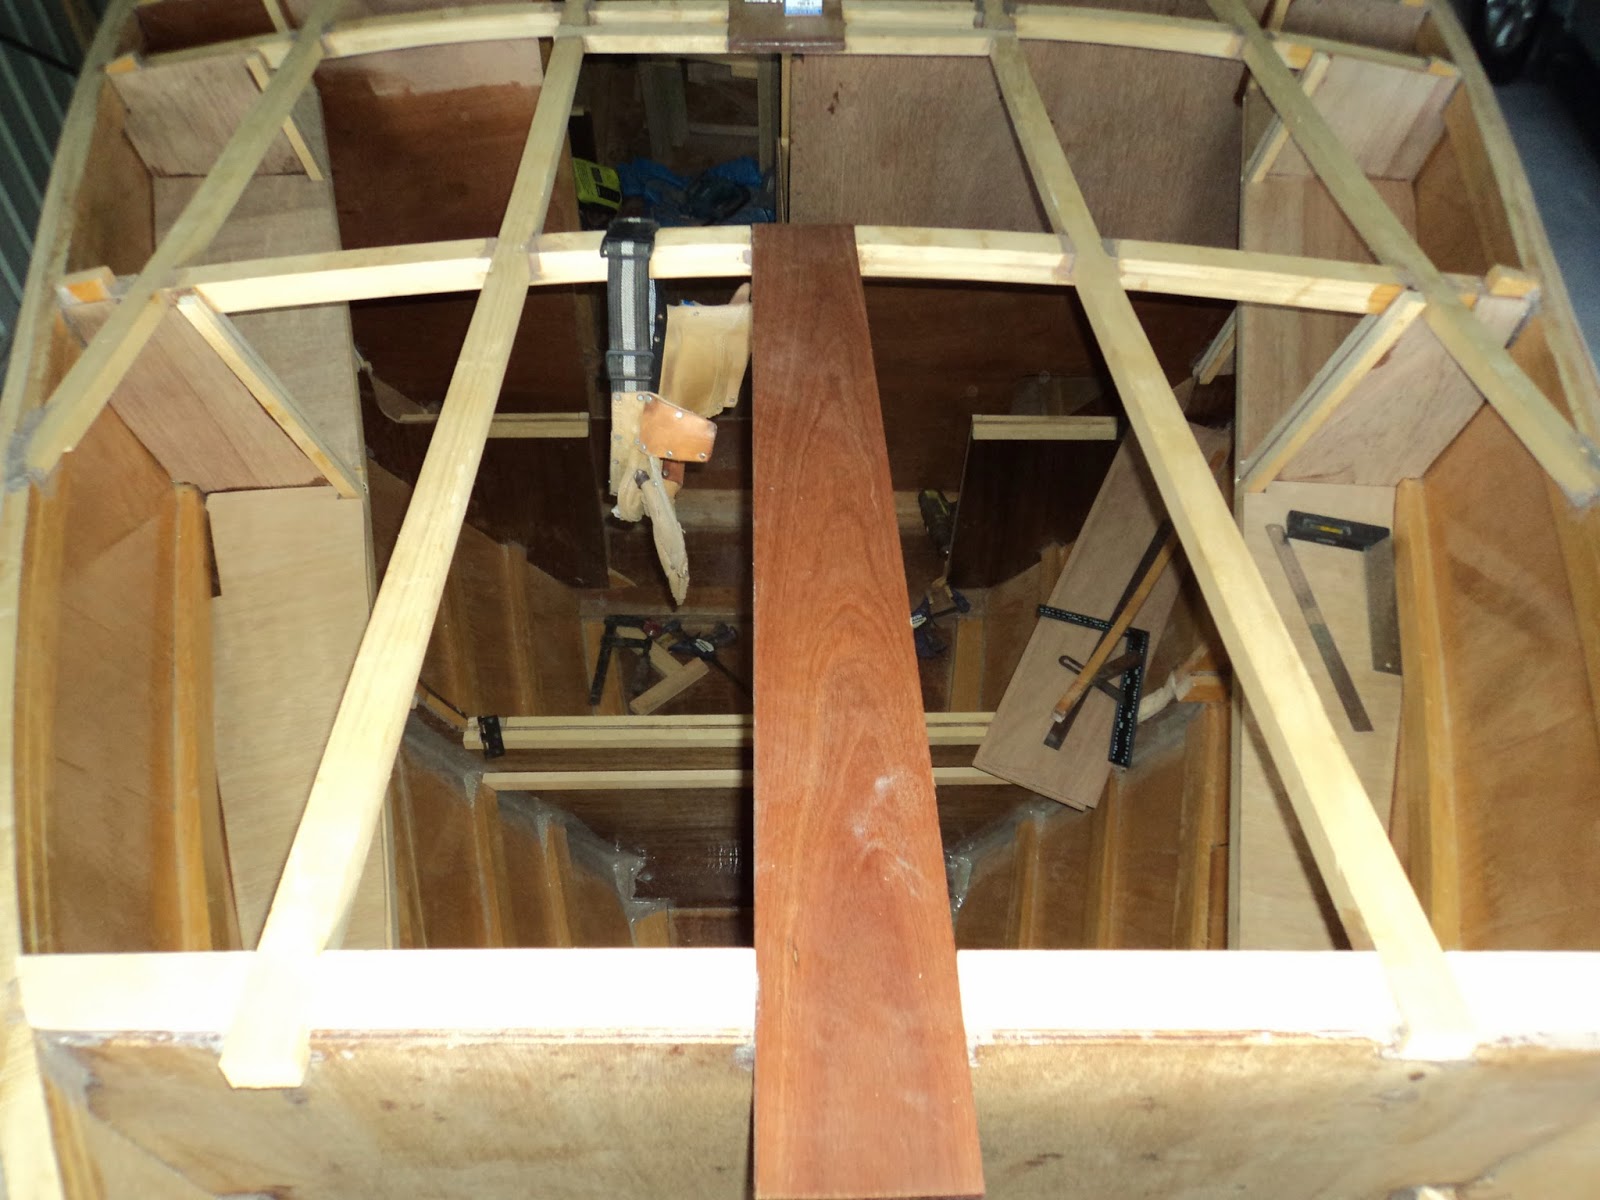
In our last instalment I had made up the base for the double berth up front.  I removed them and started on the under berth and overhead storage.  I measured up and cut 9mm ply supports for frames 2 (smaller one) and 3, with 20mm x 20mm hoop pine for attaching the ply fronts.


These were then epoxied onto the frames each side.  Below is the port side showing where the front will attach to the forward end of the galley.  The front faces are angled back slightly (I moved the one on the galley which I had positioned upright) to hopefully give an illusion of more space in the cabin.


Once they were in I put 20mm x 20mm  pieces length ways to support the top shelf, and cut 9mm ply to fit. Below is looking aft from overhead, bottom of the shot is frame 1:


Below is the port side looking across.  The shelf is level, the hull curves upwards!:


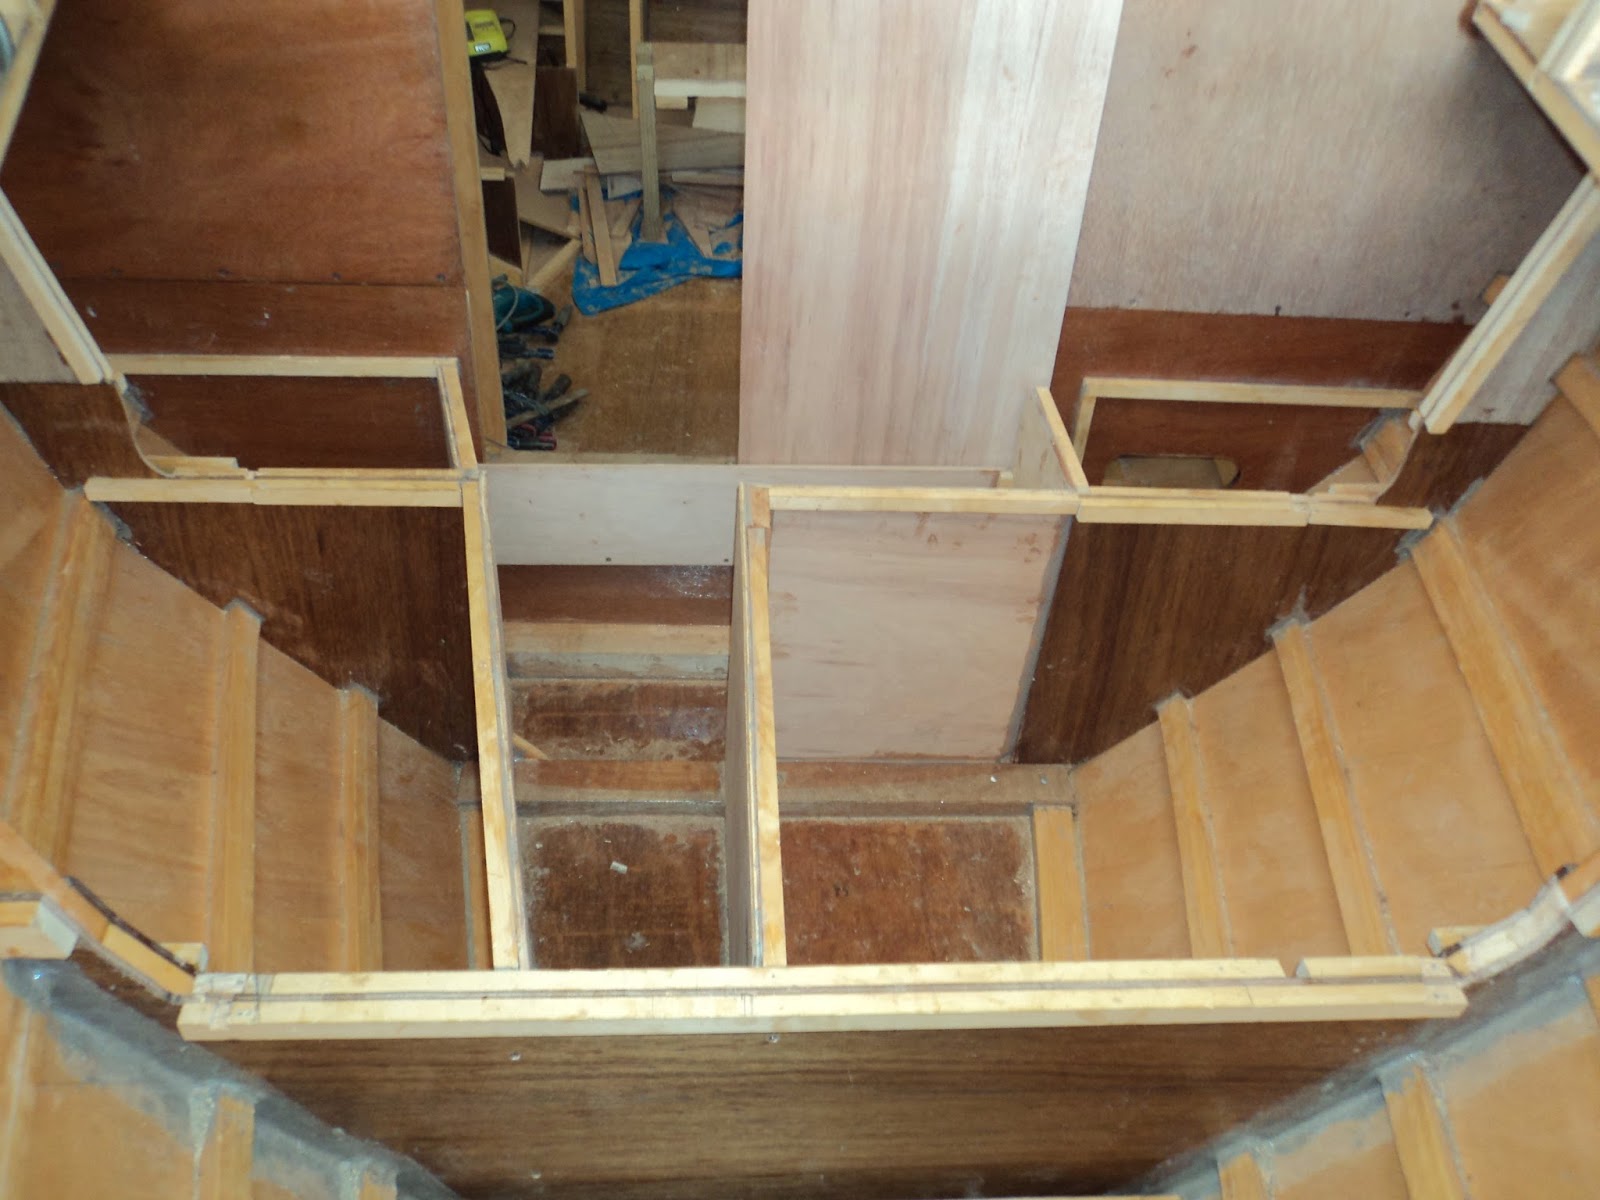
I then moved on to the under berth lockers using a similar system of 20mm x 20mm framing with 9mm ply sides.  Below is the stb starting:


Stb in place and almost finished port side.  The space in between is so you can walk forward to access the lockers when the smaller (or both) are tilted up:


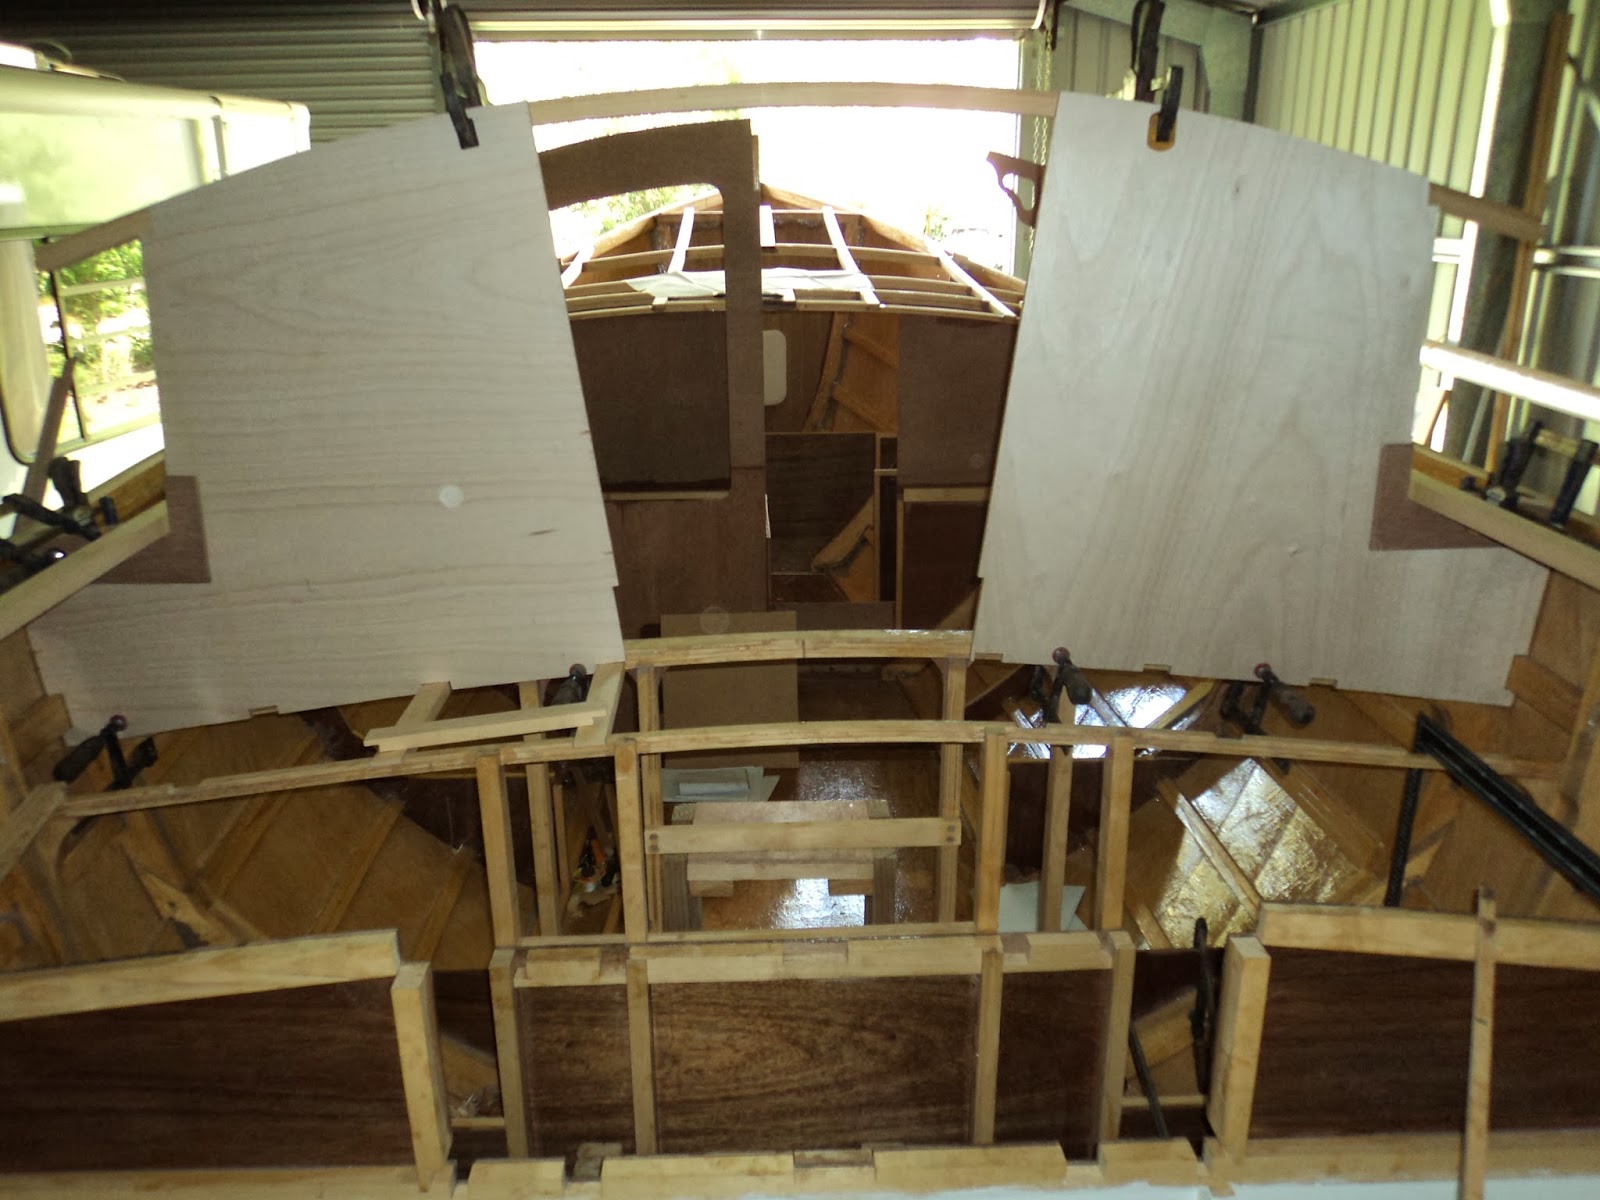
Overhead looking aft, note sliding door sitting to the right of the access:


Stb tops dry fit with lids waiting for supports:


With the sliding door shut:

Looking forward, access to chain locker and port side dry fit:


Pre-painting the insides:


Port side in place:

Stb side:

Next will be to fit storage and a front underneath the overhead lockers.  Then fit supports for the lids and paint the lids/tops.

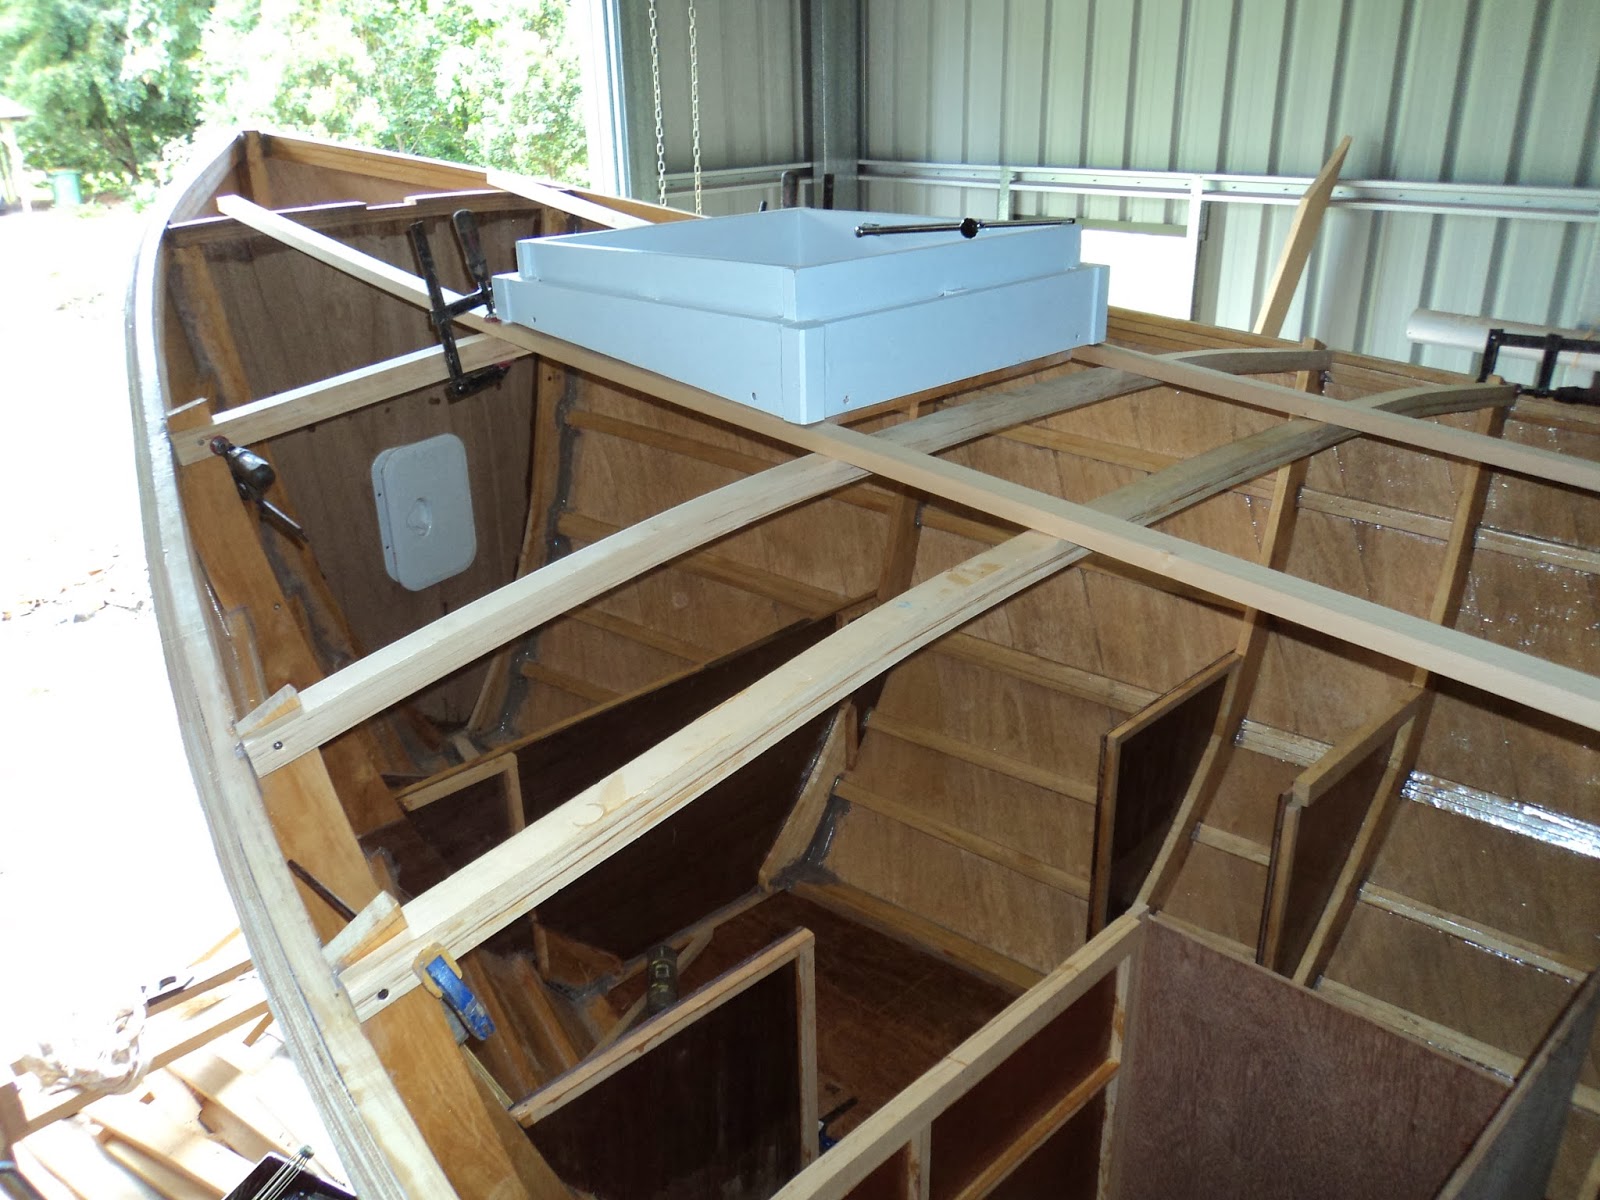
While I am waiting I started positioning the side deck carlines so I can fit the front deck.  A view looking down the stb side of the cabin:


That's all for now.  Didn't seem like I had made much headway until I started adding photos to this post!

Monday, 17 February 2014

Forward cabin and galley framework

Work has been a bit slow of late, other household duties taking priority.  I am also finding that the internal fit out takes a lot more time and care.

To finish bracing the galley/compression post area I put the 12mm side panel on, again screwed on 50mm centres into the compression post:


I decided to do the forward berth area before laying the deck.  This involves making a split double berth, overhead lockers, under berth storage and a forward chain locker.  Not all of this is finished as yet.  I was going to get a metal frame made up and cover it with slats, but decided to use some wood I already had and some left over 9mm ply planks from the hull.

I figured out where I would put the join, off set to match the access from the cabin and made up the first larger section, leaving spaces between the ply for ventilation of the mattress.


I matched some of the cross pieces to the partial bulkhead on frame 2 and frame 3  ply sections for the sides of storage lockers.  After many adjustments to get them to swing up I lay on top.  Too close to the roof and felt a bit claustrophobic.  Took them out again, cut about 150mm off the partial bulkhead and supports dropping the berth height.  Much better.

A shot of the underside of the two finished berths:


And in position closed, bottom left of shot is the compression post for orientation:


Swung up to show storage areas yet to be boxed in, must clean up a bit soon!:


In front of frame 2 will be a chain locker, top will be attached to the bottom of the second chine up the sides and will have an access hatch into the locker:


This piece of ply (with some off cut glass epoxied on) will sit on top of the side/bottom chine wood.


It will be removable for cleaning or repair/replacement.  A cross piece (see below photo) will hold the chain forward to allow access to clean out water/mud that comes off the chain into the bottom of the locker.  The cross piece will run across just in front of the bottom cut out.  That is the theory anyway, my own idea so no-one to blame if it doesn't work.

Cross piece below, sides match the hull sides with space for water to pass by:


Last piece of progress was the starboard side of fr 5.  The area opposite the galley caused me days of sitting inside the boat with a piece of cardboard trying in vain to figure out were to put the head.  I had about 5 different options, and was not keen on a marine toilet due to cutting more holes in the hull, issues with pipework and non-discharge areas.  I have come up with a solution, tweaked by my wife which should work out nicely.  That is for a later post though, so now I could finish frame 5.

Shot before:


And after, 9mm ply with 12mm doubler and 25mm solid wood where the side deck carline (?) goes.  I had originally build another version, much smaller in 12mm ply.  But after changing what I was doing, just trimmed it off a bit and used it to cut the side where it meets the hull.  After all the trouble of getting it to fit the first time, why do it again!  Note bookcase framework as well:


Supports for overhead lockers in fore cabin are underway, 20mm x 20mm wood to frame them, the bookcases in the main cabin and the seats/berths as well has been ordered.  Starting to feel like progress again.

Tuesday, 14 January 2014

Fore deck, bulkheads and compression post

Merry Christmas and a Happy New Year to all who stop in from time to time to check up on the boat.  Due to work over Christmas I didn't get a lot of boat time, but I have managed a few hours here and there.

With the three coats of internal epoxy done and the hull roughly trimmed it was time to start the fit out.  I started by fitting the curved laminated beams and king planks for the foredeck.

After cutting and dry positioning each beam I positioned the stringers and marked for the cut outs including the king planks.  The two stringers closest to the centreline run each side of the forward hatch that I built before I even started the boat.  Feels like a decade ago.


After cutting out for the king planks (full depth) I got carried away and cut out notches full depth for all the stringers.  They were supposed to be half lapped, thought it was going too well.....


Prior to epoxying in the laminated beam at frame 4 I had a few things to finalise, namely the bulkheads and compression post.

Below shows the before shot, ply in place is the aft end of the galley, the two pieces in front are notched ready for attachment.


And in place:


Next were the king planks and stringers, below shows the second of the 10mm thick hardwood layer of the king planks being epoxied into place.  All the laminated beams are epoxied to the frames at this stage as are the inside two stringers.


I was on the woodenboat forum looking at a Welsford Pathfinder build (Hi Rik!) and was inspired by the painted interior of storage areas.  Rushed straight out to the shed, got the paint brush and put down two coats of undercoat and two coats of exterior house paint under the cockpit.  Looks good!


Below shows the PVC tubes I epoxied into a rebate on the bottom of the hardwood cross piece in frame 10 to act as a drain.  Should let any water in there get down to frame 9 where a bilge pump will be located.


Then it was back to work, epoxying in the final two stringers, and preparing the compression post.  Below is the post, 75mm x 45mm kwila.  You may recognise it as an off cut of the hardwood keel pieces which was later pressed into use as a prop during the roll over.  It has now retired to a permanent position of pride in the boat after some surgery with the electric plane.  Notched at the top, you'll see why next.


The location before, the notch is so the post supports both the laminated beam, and also the king plank.  On top of here goes the mast tabernacle so strength is important.


Hammered into place with epoxy onto the king plank, beam, bulkhead and floor.


Close up looking inside of the galley:


And the forward side of the bulkhead, 25mm stainless steel screws on 50mm centres:


After that I needed to position the carlings (I think they are called), wood that support the deck on each side of the cabin and also the cabin sides.  To do this I figured it was necessary to make the front of the galley (as you look at it) and the aft of the cabin.  I am not curving the side decks to follow the hull, but going straight from rear to front.

Below shows the aft end of the galley, 25mm softwood doublers on aft side of 12mm ply with notches in place for carlings and cabin sides.  I have now cut a piece out of the bottom ply to a nice curve as it was 100mm too high.


And the aft end of the cabin, also in 12mm ply so quite strong.  Looking from inside looking to the cockpit, note the laminated roof beam and carlings sitting on each side:


And from the cockpit looking forward:


The bits of wood just in front of the cabin are supports for the bridge deck:


And close up showing notching into laminated beams:


I am going to have to bite the bullet and organise an engine etc, otherwise I will not be able to start closing in the cockpit and cabin.  I'll continue fitting out the forward berths, bookcases and storage first, and maybe laminate the forward deck instead...........

Saturday, 14 December 2013

Interior prep

After recovering from the roll over I started the interior prep prior to fit out.

First off I put extra braces on the cradle back at an angle to give extra support.  I'll take a photo in a later post, just to stop any movement.   Then I filled between the floor stinger and hull with epoxy.  There were a few places where screws were visible so I thickened some epoxy (thicker down the back near the transom where the slope of the floor was greater) and poured it in.  

Next I removed the cross pieces of the roll over frame and painted inside forward of frame one and along the sides with three coats of epoxy wet on wet.  I did it with a brush, giving the stingers one coat and the ply hull three and it took hours.  It will also have undercoat/sealer and then paint later on.  Below shows the result on the sides, still some ply without epoxy in this shot.


Below is a close up between frame 10 and the transom.


I then cut back the cradle and the tops of the solid wood on each frame, changed the blades on the electric plane and took off the extra ply above the gunwale stringer.  Below looking forward, really shows the interior now:


And down the back again:


And a shot from the side, doesn't really look much different though:


After cleaning up I cut 100mm wide fibreglass tapes for frames 9, 2 (half bulkhead) and frame 1, put a fillet of epoxy and glue powder down and then the tapes.   Below shows behind frame 9:


After frame 9 I decided to actually cut out the piece where the stinger was rather than epoxying it along the stringer (as you can just make out above).  Below is one of the tapes for frame 1, I still left a little bit of glass to go onto the stringer for strength, just not the whole lot:


Here is frame 1 tape in place:


I put a second layer of epoxy on the tapes to make sure the weave was filled, and at the same time used the brush to cut in the large open spaces of ply yet to be epoxied.  These were filled in with a roller, again three coats wet on wet.  The whole thing looks really shiny and a nice colour.  I am thinking about leaving a few laminated beams visible for effect but we will see.

Below is a shot looking to the transom from about frame 4 after the floor and ply bulkheads/frame epoxy had set:


That's all the prep, I have now started the supports for the cockpit and the forward deck.