Thursday, 7 April 2016

Cockpit seats glassed, hatch and deck pre prep

Work has slowly continued on, but I am getting close to being unable to avoid sanding and fairing the deck and cabin prior to paint.

The cockpit work continued with glassing the seat tops.  First pre fitting the glass mat which was cut carefully in position and left.  Below shows it all in place prior to epoxy being added, you can see the first lot of epoxy in the blue ice cream container on the cockpit floor.  Aft is to the left of shot.


Again I didn't try to move the mat and pre epoxy the seats, too hard to re position.  Many trips in and out of the cockpit for extra epoxy but three nice thick coats wet on wet for a very good coverage.  I was intending to glass the seat backs as well, but think I will just epoxy them when I glass the tops of the coamings.


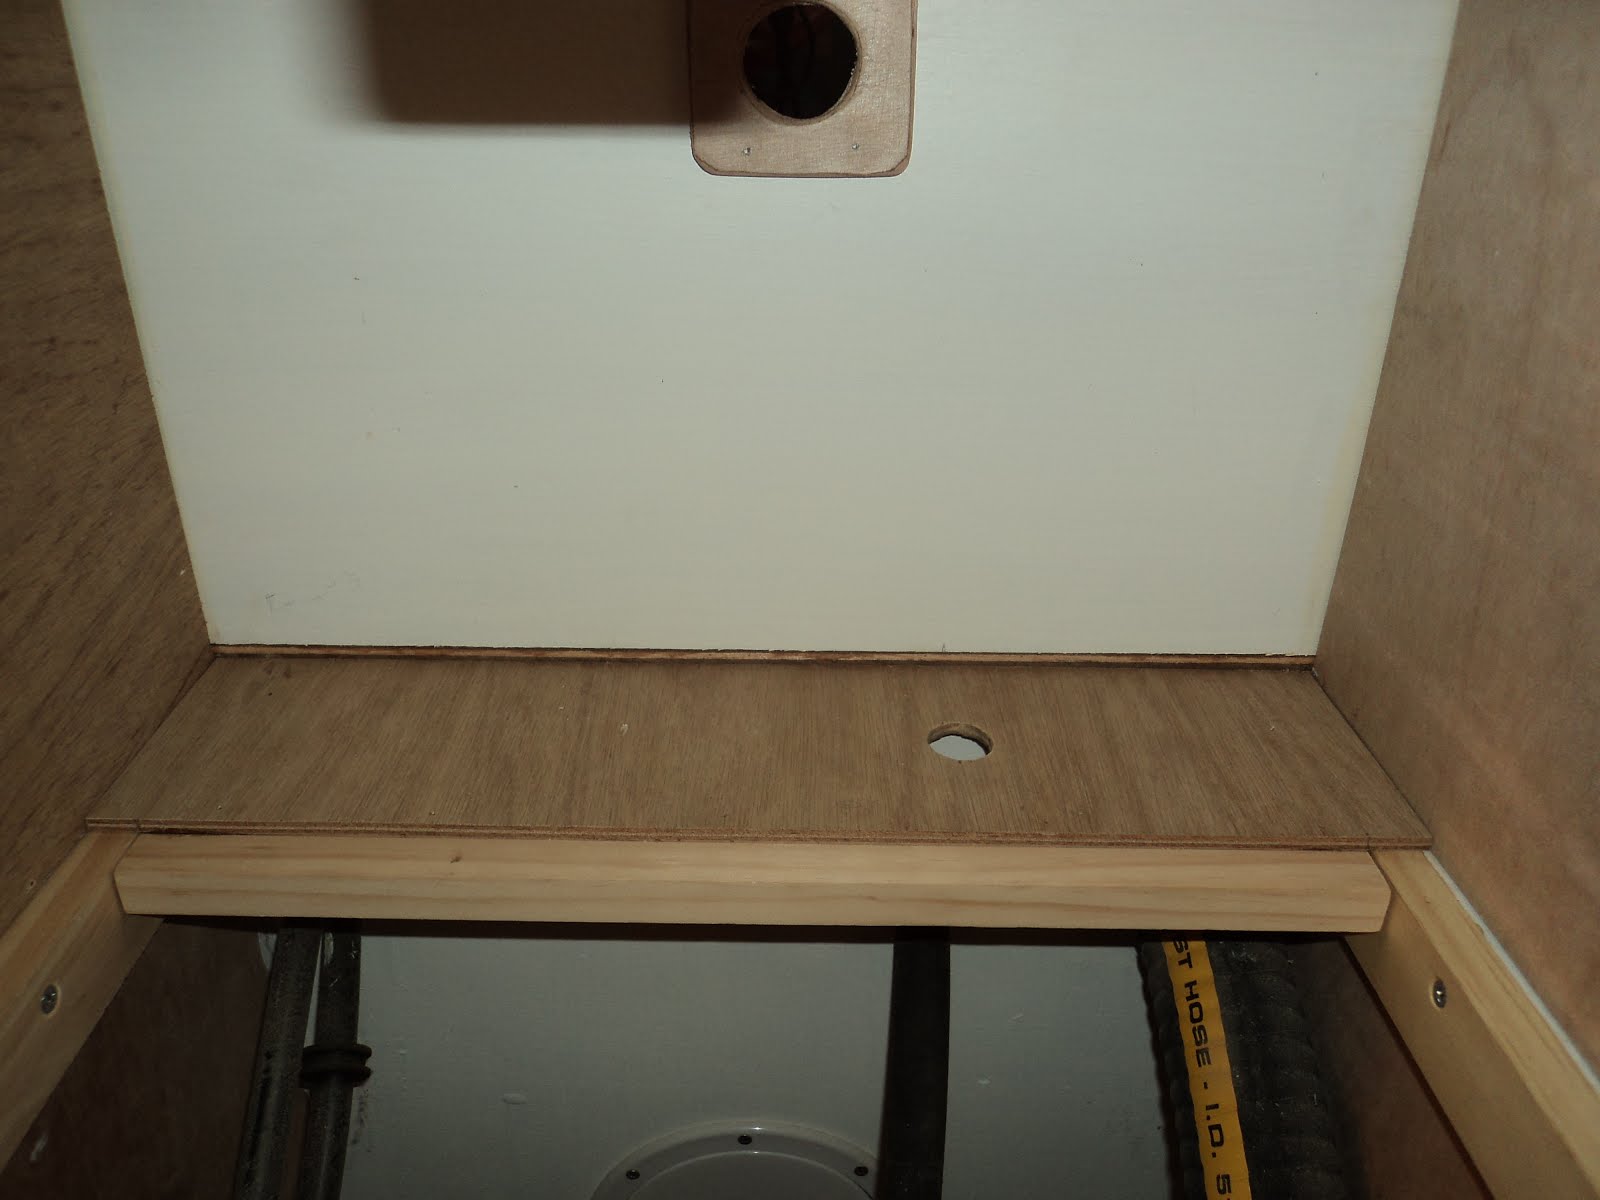
After that had dried I moved into the main cabin to finish off the doors to the hanging lockers each side of the engine space.  These must almost be the final pieces in the cabin until I get the engine/drive train fitted.  Below shows the stb door cut to size in 9mm ply.  I put a piano hinge on the wooden upright on the right (as you look at it).  To the right is the engine bay and storage above it, to the left the foot end of the cabin seat / berth.


I decided to put some dressing timber strips on the front to make them look similar to the other doors in the cabin, looked a bit stark to my eye.  Below shows the first one finished and the second one waiting.


They will have clothing in them, so I drilled a couple of ventilation holes at the top each side.  Then usual oil based undercoat sealer and two coats of exterior paint, you know the drill.  Finished off with some brass handles to match the rest and latches inside to hold them shut.


Below is a shot showing the inside, sorry it is so blurry but it goes the full depth the same as the engine bay above.


I have also completed most of the construction of the "turtle", the hard garage that the main hatch slides back into when open.  First was to sort out the inside drain for the hatch.  Each side I cut a 12mm ply spacer to form the drain.  It has a nice slope towards the cockpit, below is only dry fit but when I epoxied and screwed it on I gave the hardwood with the screws and the top of the ply that forms the base of the drain a thick coat of epoxy.


On the inside of this will go another piece of kwila hardwood, below is only dry fit at this stage but is low enough that the hatch slides over the top.


Below shows the depth of the drain out the outflow end, it will run down where the washboards go onto the bridge deck.  The gap just below the rule was filled with epoxy glue powder, I have yet to put the inside kwila pieces on each side, I'm thinking of painting the drain and inside edges first, after epoxying the inside face of the final piece as well.


And an overhead shot giving you an idea.  I picked 12mm  because I could get a cloth and finger down to clean it if I need to.


The turtle will be curved on top to match the cabin top, I used the piece I cut out of the curved beam at the rear of the cabin to set the curve and form the front edge.  The whole thing will be removable, screwed onto permanently mounted pieces of wood on the outside of the hardwood hatch rails. Below shows the forward end of the turtle, note the curved beam I mentioned earlier, and solid wood blocking to transfer the weight to a cross piece.  I anticipate people sitting on it, and it will be glassed on the outside (and maybe the inside).  Above the curved piece you can see the pine side screwed in place for dry fitting.


Below shows the sides and forward end dry fit in place.  Note the spacers on the left, required to ensure the outside hardwood cover of the hatch can fit inside.


I have decided not to construct it until after I have faired the cabin top to ensure that there is clearance underneath it.  Below shows the spacers and inside surfaces all getting epoxy coated.  I will pre paint them as well, leaving the glueing surface of the spacers clean for later attachment.


I'd almost run out of excuses not to start fairing, so put my mind to that.  I had been thinking about stanchions and lifelines, and looking at Mr Whipple's photos.  While looking at the possible bases I began to realise that due to the slope of the front deck, and the side decks, the uprights would be all at different angles.  A check of Mr Whipple's old blog showed hardwood (I believe) spacers attached to the deck for mounting surfaces.

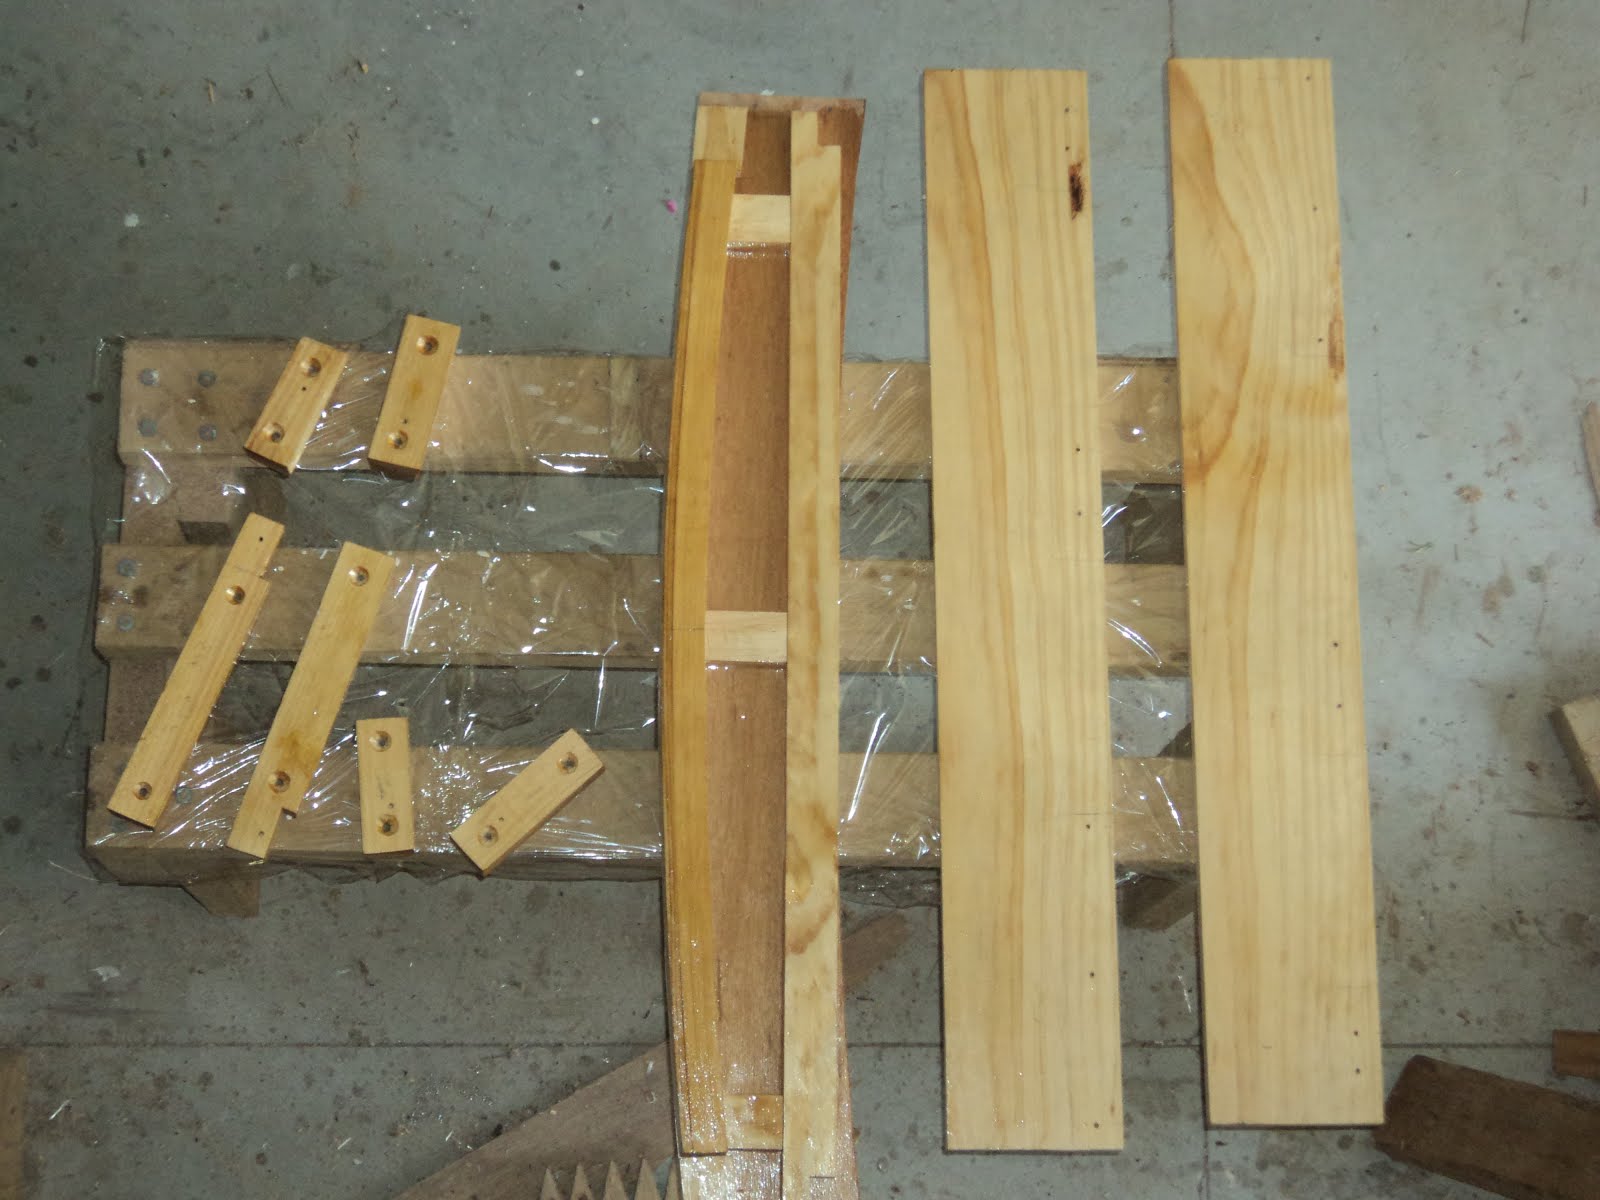
I wasn't keen on trying to plane a flat surface on the bottom of a hardwood piece which had to slope in two directions.  I decided to cut the hardwood pieces, then cut spacers to hold the pieces level while the epoxy glue set.  But how do you measure them?   Below shows one of the kwila pads resting in position on the deck.  100mm long, 70mm wide and 19mm thick.  Should make a nice solid base to screw into.


I cut a piece of ply the same size in 12mm so it wouldn't bend, then drilled a hole in each corner large enough that I could hand screw a 14g 1 1/4 inch screw down.


Put it in position where the hardwood piece will go.


Put a small level on top and figure out which end needs to come up (you will also have a corner touching the deck) and screw one of the screws down on the outside until it is level front to rear.


Then adjust until it is level towards the cabin, you will have to adjust both the outside screws to keep the front to rear level.


Then measure down to the deck on the outside for your spacer.  I used both 12mm ply and then solid wood when it went beyond 12mm.   Below shows the final piece after attachment.  Once you cut the spacer you adjust the angle with the electric plane (carefully! Only had to remake two out of ten) positioning it in place and resting the hardwood on top to check balance with the level.  Make sure you mark which corner (or forward side in some cases) that touches the deck for later assistance.  Below shows the front to rear profile.


And the angle to match the deck.  The spacer was attached with glue and a couple of small tacks punched well into the hardwood.


And in position with other ones behind.


To attach I mixed epoxy glue powder thickly and stuck them down.  Below is before starting, this is the second one from forward on the port side, so quite a bit of slope to the deck here.


With the bottom of the hardwood overfilled, I also put some down where it met the deck.


And in place.  I only did minor clean up because I didn't want to bump any of them.  Only one required a lead weight, the rest sat without it.  Most challenging were the ones up on the front deck near the anchor well due to the slope of the deck.  These have lots of epoxy to clean up after they are dry, but six of the ten are quite neat.  Time will tell, I only stuck them down today!


Next will be final clean up of the deck, glassing the coaming tops and epoxy seat backs prior to a sanding/fairing nightmare.

Thursday, 10 March 2016

Cockpit continued and deck lockers

Last post the front of the smelly locker at the rear of the cockpit went on, along with the drains from the cockpit to the transom.  Work continued from there in the cockpit, firstly with the cockpit edges of the quarter deck and bridge deck.

The quarter deck was first.  The curved beam was perpendicular to the centreline but I had bought the quarter deck out on a curve to meet the side decks, so cutting the fill pieces was interesting.  Decided on 6mm ply like the deck to take the curve, three extra layers for a total of over 30mm with the glass on top.


And a wide shot:


While they were clamped in place I decided the time had come to cut the lids off the deck storage at the front of the cabin.  Spent a bit of time measuring widths of wood supports under the roof and remembering how wide the supports were, then pencilled out the shape on the cabin top. Remembered the cabin front was 12mm ply and pushed the lid 10mm forward.  Turns out later lucky I did.


With the curve of the cabin top I used a tenon saw to start the cut on one of the long sides until it was through the 12mm top, then you could slide in the jigsaw (note the adjustment on the aft side).


And with the lid off.  Note the edge of the cut at the top of the photo which turned out only 5mm from the top of the sloped cabin front.  With the slope on it the jigsaw blade would have been hitting the ply if I hadn't adjusted the mark.  Sometimes you can be lucky!


Once the clamps came off the quarter deck, two layers of 9mm ply went under the bridge deck with epoxy.


When I covered the delilah post with 9mm ply to meet the seats there were gaps down both sides. The cover piece angled back, and curved forward and was a pain to cut.  I knew I would cover it down the track more neatly, below is the result in 9mm ply with epoxy glue around the edges and onto the post.  Also note the fillet on the bottom of the quarter deck front onto the curved beam.


Then back to the bridge deck to trim up the edge.


And the result from a distance just after cutting.


With all the sides of the cockpit in place, I got out the glass roll and trimmed up a piece to cover the floor, the front and rear to the top and partially up each side.  Below shows it about to be epoxied (blue ice cream container top left and roller).  The right hand edge has just fallen down.  I usually pre coat the ply but it was so involved cutting corners and around the floor locker access and fuel filler that I decided to leave the glass mat in place and wet it out rather than try and lift the mat out and later re position it.


After glassing.  Three coats of epoxy wet on wet, nice thick layer on the floor.


Then out came the paint brush.  Good layer of oil based undercoat over the epoxy, then two layers of water based exterior house paint.


I was worried that something would fall on the PVC drains and crack them, so built 9mm covers for the tops both sides, supported down onto the floor.  With all the extra work I should have just built the entire drains as per the plans, but I was worried about getting the locker waterproof from the drains and it is done now.  Below is with the covers in place.  They are not glued in, just screwed each side so I can push them into the middle of the locker to get at the pipes if I need to down the track (hopefully NOT!).


I also gave the storage lockers the paint treatment, after epoxying the cabin side bit that I had missed on construction, the edges of the ply cabin top and the lids (didn't paint them yet, they need more epoxy). I also put solid wood stops on the edges to hold the lids up.  I will put a hinge on the short edge closest to the centreline (left of picture) with a bolt or latch on the outside.  But that is after fairing and painting the cabin.


Last bit of the cockpit seat after trimming off excess glass on the sides was the smelly locker lid / rear seat.  It was pre coated underneath with epoxy, and while I was painting got the same treatment as outlined above.  Picture shows it glued and screwed in place, the clamps are holding the middle bit of the curved beam I cut out long ago and put aside.  It is now the doubler under the forward edge, 24mm thick (3 x 8mm laminated, 20mm wide).  I have to trim the cockpit edge once everything is set.


Then I will be glassing another layer on the sides of the cockpit floor (the mat didn't go all the way up on the sides) and the seats / coaming top.  I have also started the final storage area doors each side of the engine bay, photos to come.

Wednesday, 2 March 2016

Coamings and glassing cabin

As usual I changed my mind on the coamings.  I was looking at them and realised that the outside piece needed a fillet of epoxy on the inside due to the angle and gaps, while the inside one was straight against the supports.  It would be impossible to do the fillet inside the coaming if I did the inside seat back first.

So I did the outsides , I was going to glass them before but then would have had screw holes etc. Below shows the port side in pace, screws on the outside and into top of supports:


Once they were both in place I gave them a coat of oil based undercoat/sealer (already epoxied) followed by a couple of coats of exterior house paint as usual.  Below is the starboard side:


While they were drying I coated the storage covers previously made, and made up the storage above the engine space.  First was cutting a hole for the diesel tank breather:


And then cutting the sides and base:


I left the base in two pieces, the rear piece which has the hole for the breather pipe to come up and meet the fitting in the cockpit I made permanent, the front will be screwed in so you can pull it out if you need to make access to the rear behind the engine easier:


Then I epoxied and screwed the inside seat/coaming and coaming tops into place, with fillets down onto the seats, the cabin rear and the join with the aft hull covering.  Hardwood has 4 screws down through the top and into the supports underneath:


Looking aft from the starboard side into the storage, will need to paint over the epoxy/glue:


I had also pre primed and painted the above engine storage sides etc and epoxied them in.


I was on a roll, so cut out some paper and positioned the holes in the cabin side for the portholes. Tried a few options, the smaller hole at the front is between the galley rear and cabin front (in front of it is storage, yet to cut the lid out).  I decided to evenly space the rear bigger portholes between the galley and rear of the cabin.


Crossed my fingers and hit them with jigsaw.  Pleasing to see no space and good glue line between the two 9mm cabin sides on the pieces that came out:


A shot from inside, favourite photo of this post!!


When I was painting earlier I finished off the storage access covers.  Below is the stb access to the underseat storage:


And the draw (top) and access to under galley storage/cassette toilet:


Fibreglass was next on the job list, below shows the pieces cut for the cabin sides and front:


The port side looking aft before:


And after, including the outside of the coamings.  All got a thick coat to hold the mat which was then wet out, then two more coats wet on wet after about 45 mins drying time between each until the epoxy was tacky:


Down the starboard looking aft:


Across the front:


Got carried away and did the smelly locker front, the last piece of the cockpit puzzle:


Overhead with the floor glassed and the PVC drains through to the transom:


And the exits from the transom:


You may have noticed an increase in output, kids are back at school and I took a few rostered days off work.