Nothing like putting an end date to focus your attention. My original plan was a sedate 10 year build, allowing family responsibilities to reduce and leave me some time to build sailing skills around work. I built the first frame around May 2012, and had a 16-18mth break from building when work travel increased for a while. So 2019 it is, say seven and a half years in the shed if I can make it by the end of this year. We will see how it goes, but I've put it up as a target. It was never a rush, and am glad to have taken my time.
Christmas and New Year did not see much movement in the shed, but a few things are underway.
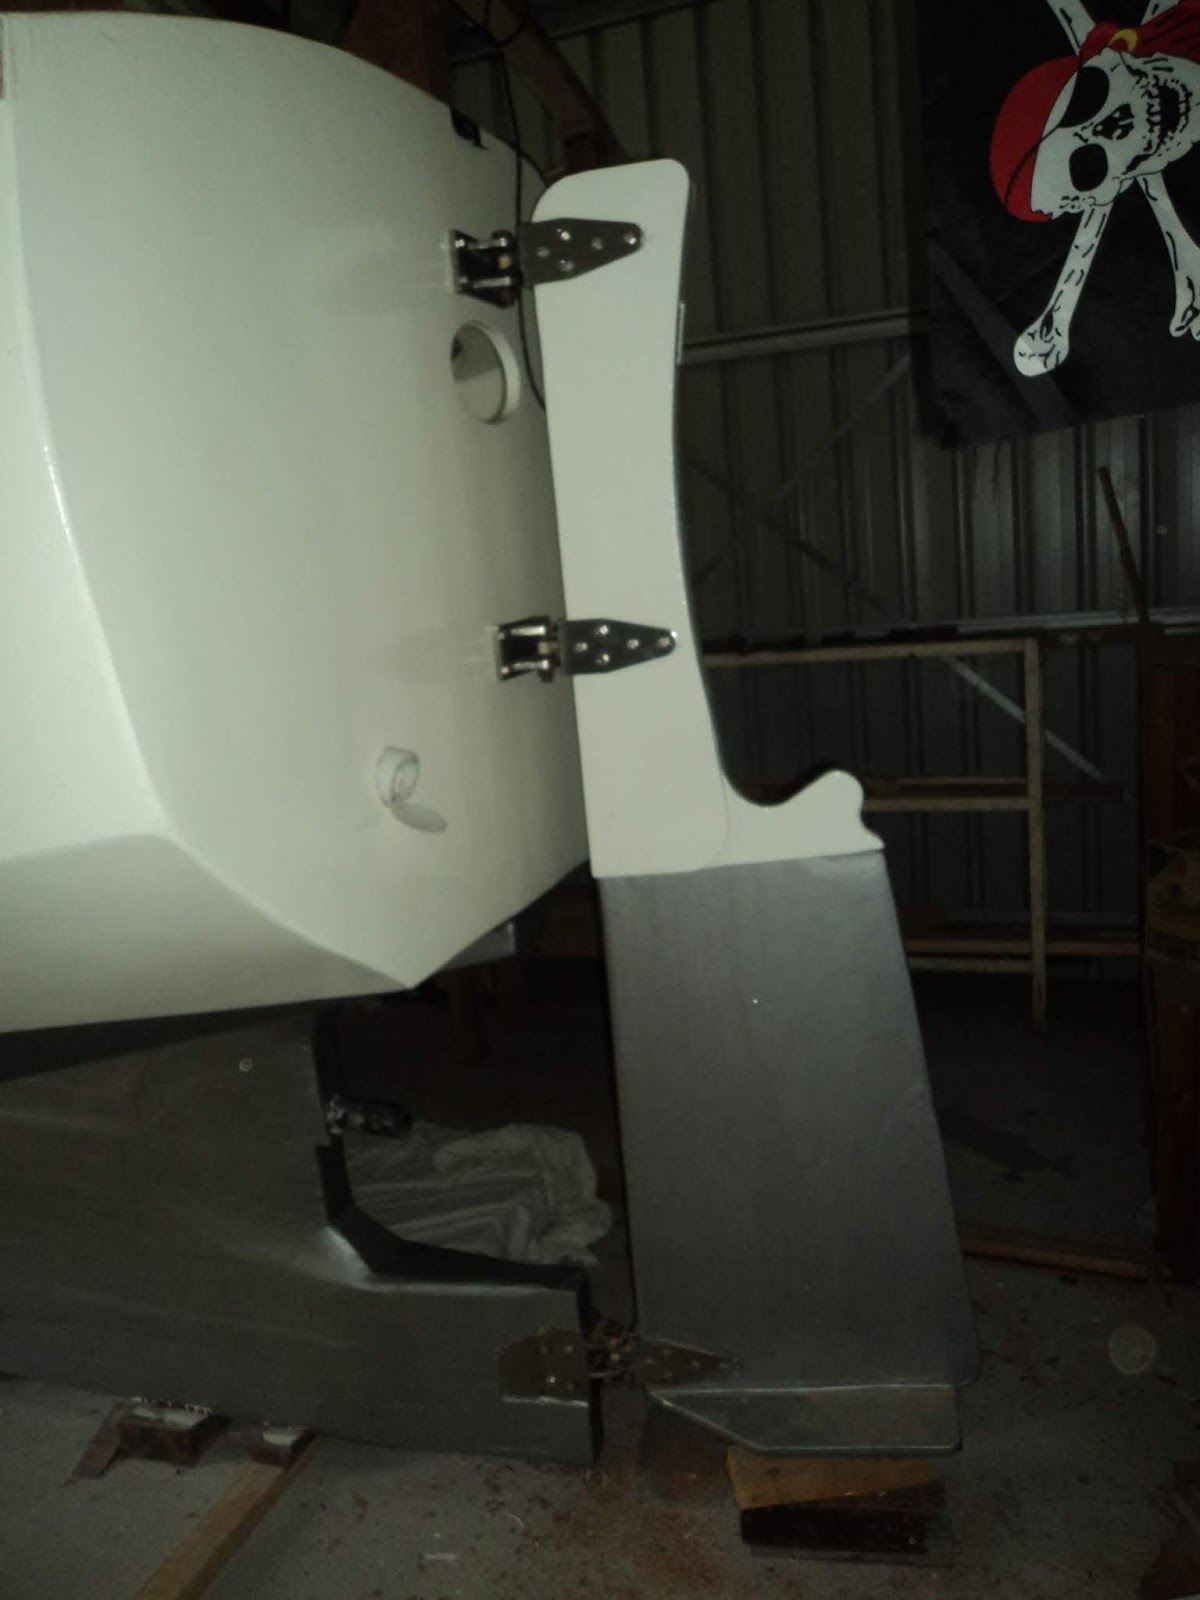
Rudder Fittings:
I got three silicon bronze bolts with castle nuts, 16mm diameter and 90mm long which go through a nylon bushing (see below):
And from the side close up:
One fitting is already on the transom, need to fit the bottom fitting the keel and hang the rudder. This will allow positioning of the middle one correctly. Two of the three are drilled for a pin to lock the bolt in place already (little Christmas project at my fathers one morning), with the third to be done when fitting the rudder as the fitting was already on the boat and didn't want to drill it without checking.
Rear quarterdeck railing:
The other progress is the rear railing. My original prototype was based on the same height above the rear quarter deck as the lifelines are on the side deck (below from a previous post).

I was a bit concerned about strength after I notched the hardwood rails into the posts, and similar concerns were expressed by people on the woodenboat forum which confirmed my own worries. But one suggestion was to have no railing at all. When standing on the cockpit floor the rear quarterdeck is mid torso height, but the space between the end of the cockpit seatback/coaming and the rear samson posts worried me. Another of the forum members suggested a small taff rail (don't ask me, I don't make these names up!) and posted the below photo (from channelcutteryachts.com).

I liked the idea of a low rail, with large supports but would have a narrower handrail. I dragged out the last kwila keel sleeper I had left, 150mm x 75mm thick and did some brainstorming. Rail would be laminated in place from hardwood, with the curve matching the quarterdeck. Three layers of 65mm x 12mm Tasmanian hardwood (ending up 36mm or 1 1/2 inch thick), which follows the side deck forward to the rear of the combings as I originally planned with the thin hardwood earlier prototype.
Below is the first support in the middle of the quarterdeck, which was adjusted on the base so it was level in each direction, and on top. It is mounted through the quarterdeck, and a hardwood 20mm thick kingplank underneath with 2 x 140mm x 10mm galvanised coach screws.
Each of the side ones were made vertical and level, which took a lot more effort and again coach bolted, but through the quarter deck only (but they are beside the forward rail which braces them). Below is one of the side ones about to be trimmed and sanded, lower one is the middle one shown above).
And sitting in place:
Then I epoxied on the first layer of hardwood, pulling it down with ratchet straps and a countersunk 14g x 50mm screw down into each hardwood support to hold it while the epoxy set. Thick fillets each side of the support posts to strengthen the post to rail joins.
The forward posts on the end of the combing are 70mm x 50mm hardwood, which I left over length. The side rails are notched into the posts and epoxied. Below shows the forward posts with tarps down for epoxy.
Each layer at the join between the side and aft rails alternates at the join for strength, below are all the pieces ready for epoxy this morning.
And after some ladder climbing with slippery pieces, in place from the side, you can see the alternating wood left over length for trimming once the epoxy is dry:
And from the cockpit looking aft, as close to the middle as I could get.
And a shot of the starboard side of the transom:
The rail is about 26cm above the deck edge on the quarterdeck and sides, which should match the height of the lower side deck lifeline. I am going to use the posts on the coaming to attach the aft end of the lifeline fittings, and will adjust the top of the post down the track.
Next up is to trim, sand and finish the railing, prior to painting and sealing to the deck. They will be sealed at the same time as the rubbing strakes go on, which is hopefully during a two day working bee in the next week with a few helpers coming over.
I'll take some photos when it is cleaned up, but I am happy with the strength, height and look so far.
Mal