Tuesday 27 May 2014

First deck layer done, second started

For no other reason other than I was procrastinating I finished the decks each side of the cabin and glued/screwed them down.

Below shows the epoxy spread thickly, you can see the screw holes from the dry fit waiting for the plank to be added:


And the plank in place, 6mm ply in one piece and very quick:


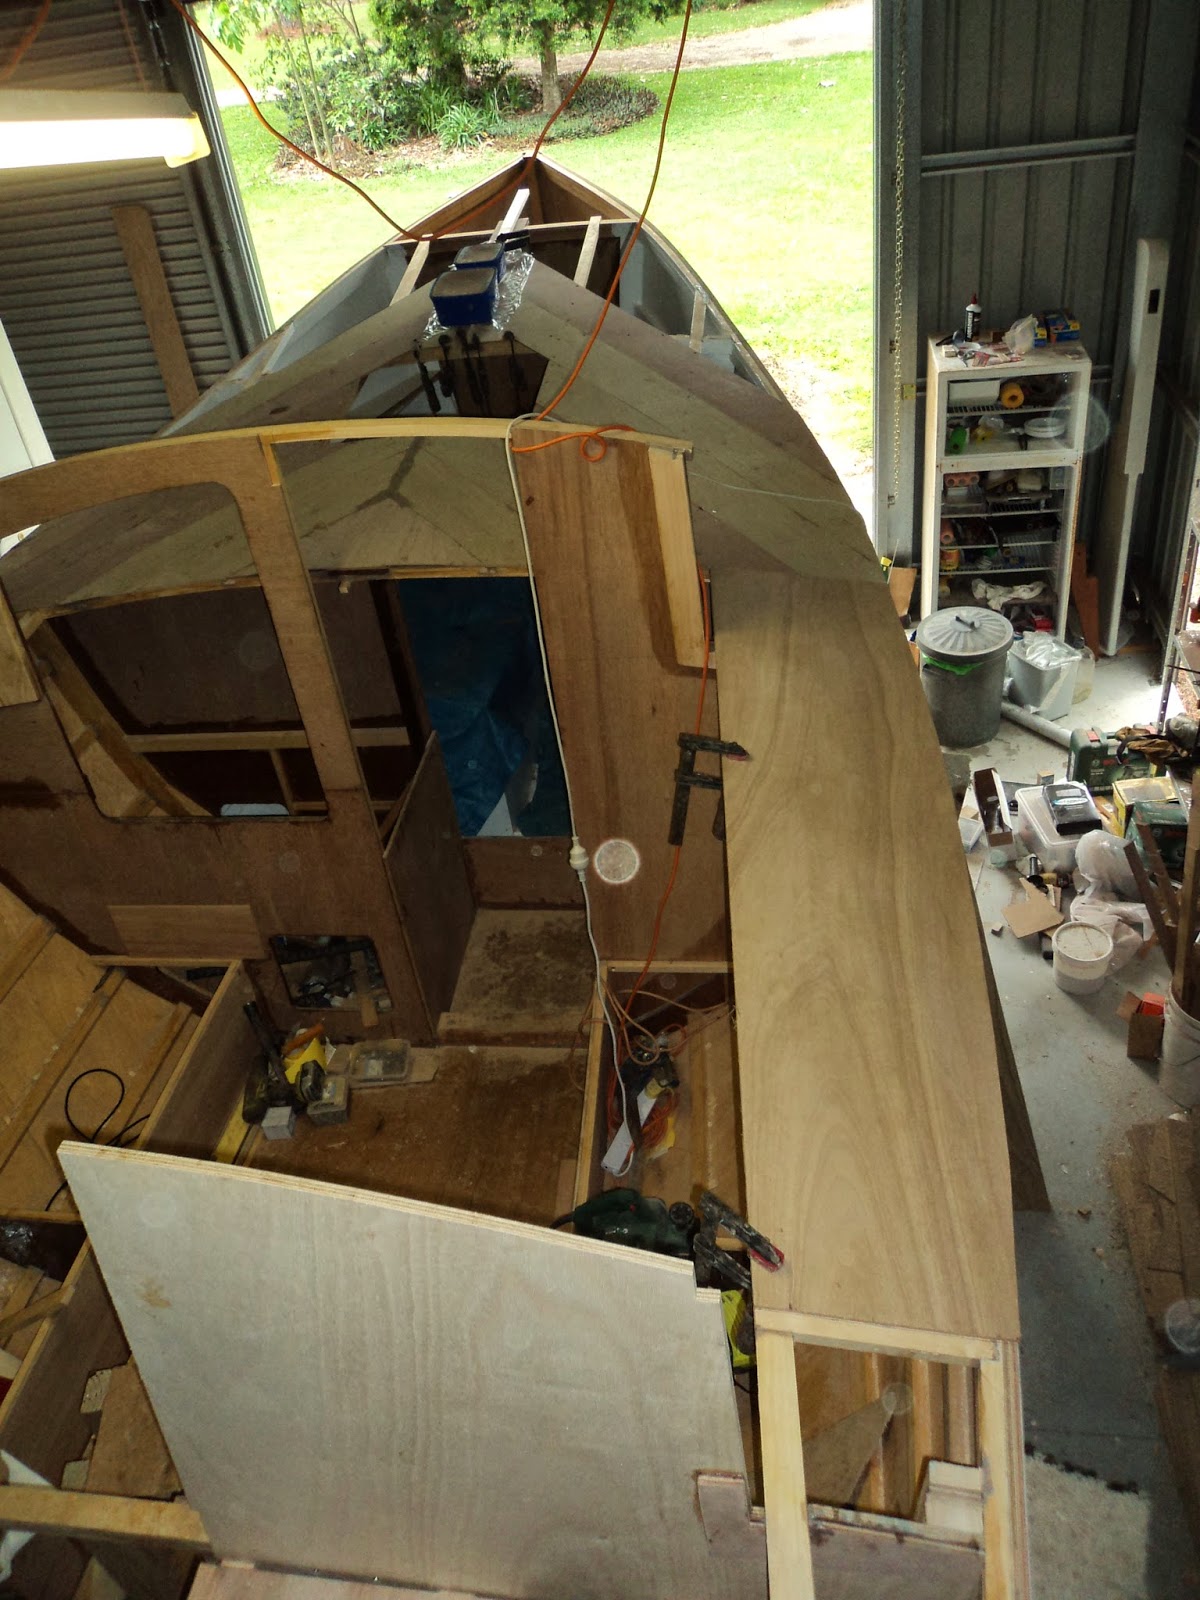
And below a wide shot of both done.  Because of the amount of support underneath, and it being a single piece, I can now use the galley front wall as a step up onto the side deck to walk up the front.  The front you still need to walk along the hull edge or laminated beams as the 6mm ply is not edge glued together yet, only to the side and beams.


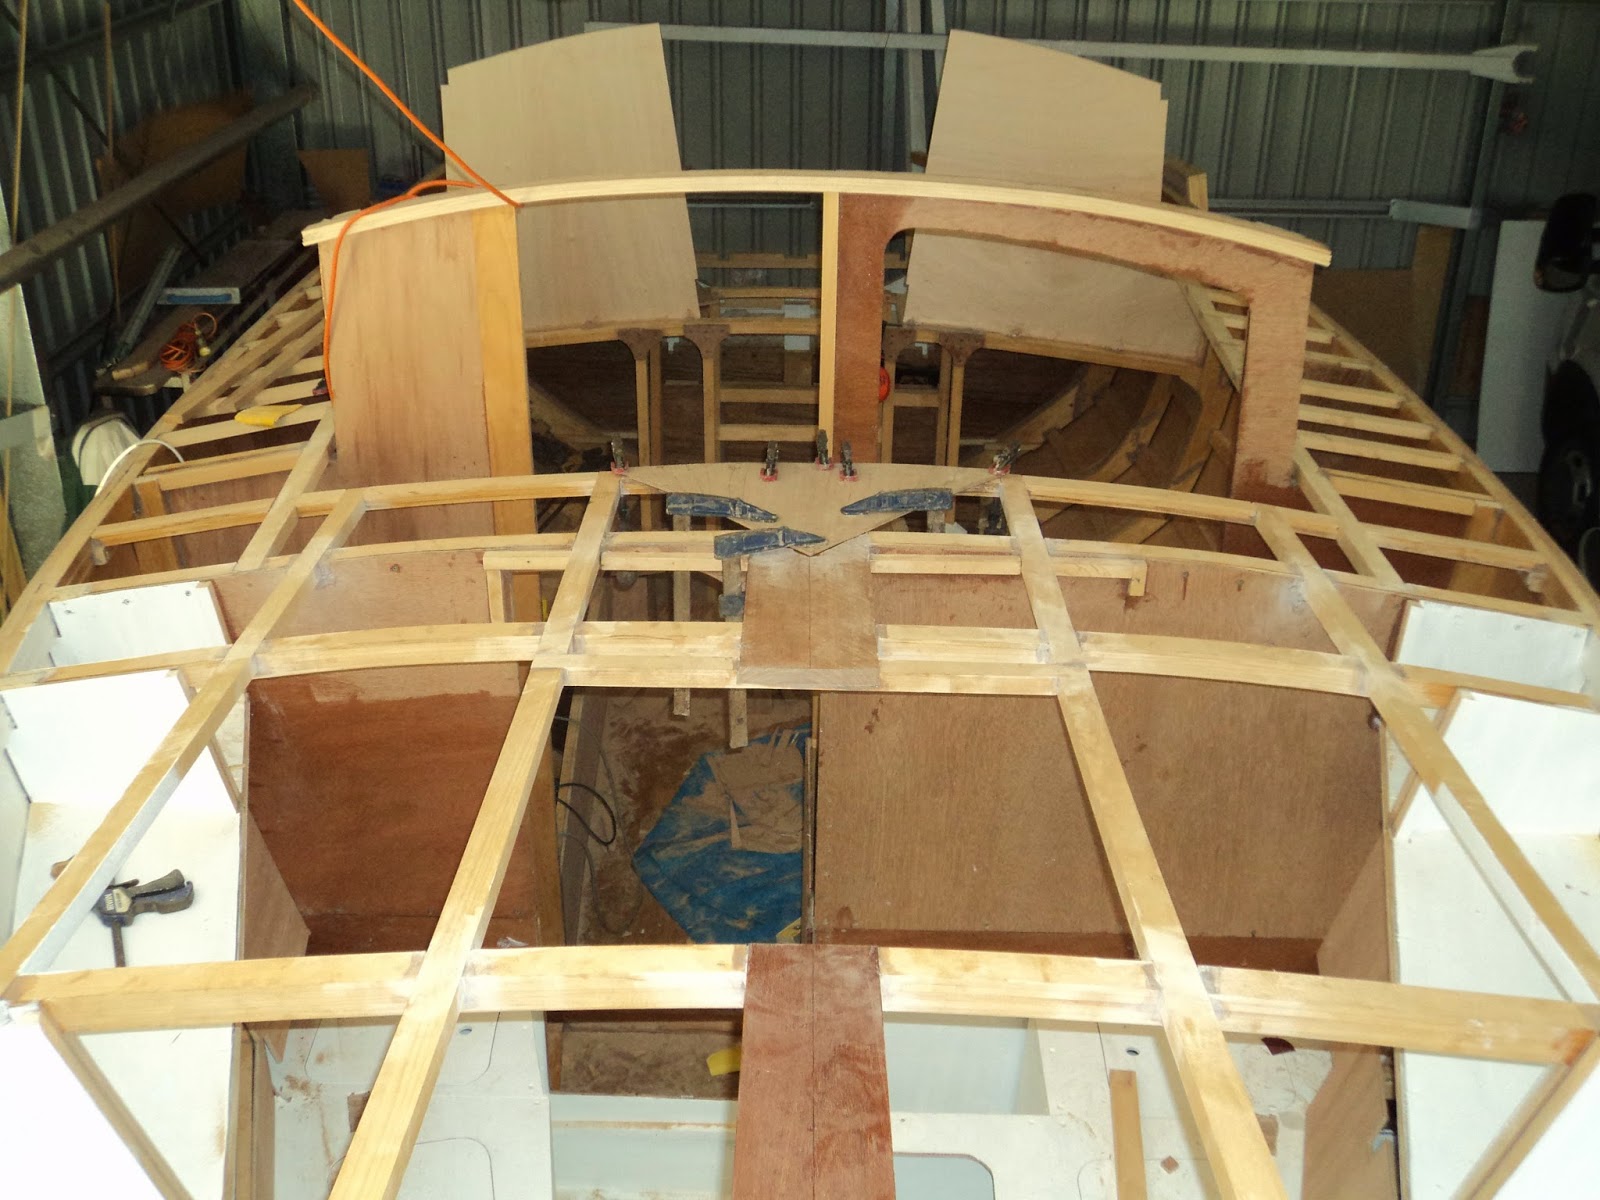
Because I was avoiding the front deck, I kept going behind the cabin aft as far as where the curved quarter deck meets the gunwale.  Same sort of support as the deck beside the cabin, but I had to figure out how far to come in.  This side deck will form the bottom of the combing as well as deck cockpit seat back support (it will make sense down the track hopefully).


From the side, supports are 40mm x 20mm half lapped into the longer piece and gunwale, the long piece is 40mm x 30mm:


This is the port side rear deck pre-drilled for dry fitting.  Gives you and idea of the size, at the top right note the notching to go around the 12mm ply doubler on the rear of the cabin under the side deck support.


And the starboard side glued/screwed in place.


Now I had run out of excuses, back to the front deck.  I had dry fit all the way after gluing most of the first layer.  I  took off the unglued pieces to get at the king plank and anchor well.  I had cut a hole in the king plank just (and only just) big enough for the top of the sampson post to go through.  I then had to make the bowsprit support which is glued to the forward side of the first bulkhead in the anchor well.  It is also bolted through the sampson post (and through the laminated beam at the top).

This is the support which is made from 80mm x 20mm kwila pieces glued and screwed down the sides.  The screws are 14g x 1 1/4 inch, pre-drilled as they are massive:


And the finished product, top on an angle to fit under the king plank where it protrudes into the anchor well:


After much swearing, drilling, skinned knuckles and climbing up and down onto the front deck every time I dropped or forgot something I managed to get it dry positioned with the bolt holes drilled through everything including the sampson post.  Then I pulled it down to pieces, added epoxy and screwed it together.  Run up onto the deck, added glue to the back,climbed down inside and added glue to the back of bulkhead one and attempted to get the sampson post in place.  After much struggling I succeeded and bolted them all together cleaning up the joins with small fillets of epoxy from the squeeze out.

Then because I thought it would be a good idea I mixed up extra epoxy and stuck down the remainder of the first layer of the front deck.  After a bit of clean up, got a beer and took a few photos.  None of the process sorry, too busy.  Below is the bowsprit support in place, with the deck on top of the king plank.


And the sampson post from the inside.  The bolts are 10mm galvanised, they need to be strong to take the weight of the boat at anchor and spread the load across the boat.  There will be two more bolts to come through from a hardwood support that sits under the end of the bowsprit inside the hardwood I just added above.


The top of the sampson post sticking up through the first layer of the deck.  The hole is for a stainless steel bar to tie rope on.  You can just make out some shaping on the edges each corner under the hole for the rope to go around:


Below is the finished first layer, ice cream containers are holding down the edges till the epoxy goes off over the king plank up the front (120mm wide):


I've now started on the second layer of the deck.  The first layer used small screws just to hold the ply in place while the epoxy set.  This second layer has 1 inch screws on 75mm centres along each curved beam and forward/aft support, and 50mm centres along each side of the king plank.  When I reach the gunwale they go up to 1 1/4.  I can now stand safely on top of the second layer and it feels very strong.  Still a layer of glass to go on top as well, this deck is not going anywhere!


The decking should progress relatively quickly now I am back into the swing of it.  That's the theory anyway...

Wednesday 14 May 2014

First layer front deck

It was a blast from the past with the return of planking.  It feels like a lifetime ago I was working on the hull, and I was happy to see some fast visual impact again on the build.

In our last instalment I had put a triangle piece of ply over where the mast tabernacle goes which would cover this vital area in a single piece whilst also setting the angle for the planks.  6mm x 200mm wide for the front and side decks, and surprisingly light and flexible after the 9mm used on the hull.

Below shows the first four planks screwed and glued in place.  They are only glued to the laminated deck beams and support pieces running forward/aft.  Screws are 8guage and just long enough to hold them in place.  In theory I should remove them but I have countersunk them just under the top surface and will leave them.  I used a template so I know where they are and can screw through all layers into the beams etc on the second layer.


While I continued to dry fit deck planks I cut the first of the side deck layers.  It was extremely quick and easy, I will drill/screw it down shortly after I have cut the other side as well.


After the first four I continued to dry fit forward:


And then epoxied into place, ice cream containers contain rocks for weight:


Once I got this far forward I had to put in the 120mm x 20mm hardwood support and 12mm ply anchor well floor.  From this earlier photo (upside down sorry) just below the white hatch you can see the horizontal 45mm x 30mm hoop pine floor support with a darker hardwood 45mm x 20mm doubler:


This is from between frame 1 and the stem, looking upwards to the floor of the anchor well with frame 1 at the top of the picture.  Note the 6mm gal bolts go through the doubler, support plank and the 12mm ply floor:


And towards the stem:


Looking from above down onto the ply floor.  Note the screws joining the two halves to the support hardwood piece, and the deck king plank on the right of the shot coming past the laminated beam on frame 1.  It is not as wide as the aft part under the mast and fitted under the deck in case I want a powered anchor windlass down the track.  The anchor well floor will be taped to the hull and frame 1, and also covered with fibreglass cloth:


Once that was done, I have continued to dry fit the deck which is now complete.  Overhead of the anchor well looking forward:


And looking aft:


Side decks next, I may not epoxy down the first layer until I have fitted the hardwood pieces for the bowsprit/frame 1 join into the anchor well, and through frame 1/Sampson post.  I have a few more days off, should make a bit more progress....

Saturday 3 May 2014

Front cabin and deck support prep - deck started

It is almost decking time, but first lets review:

I continued with the initial fit out of the overhead storage in the front cabin.  Basic support was 20mm x 20m hoop pine and then 9mm ply shelves/fronts.  I have not cut in the openings and am still thinking about styles and surrounds.

This is the starboard side.  At the top will be closed storage (two or three doors to be cut), below that to the right will be shelving with the front leaning against the bulkhead fitted underneath.  To the left of the shelves will be open I think on top with just a front, and will be used for things like your book, kindle etc.  On the top left where the notch is will have a 200mm high front (one of the planks left over from the hull) again with an open top for storage:


A close up of the shelving:


I've also been starting to fit out the seat/berths in the main cabin.  First fitting (and bending in) the top supports which follow the curve of the bottom to lower chine stinger:


And then trimming and fitting a 9mm front while boxing in an extra small section that will be a step and also opening into the lockers each side of the engine box (middle right of the below picture).  I really need to have a clean up:


I've finished the side deck supports all the way back to the rear of the cabin, here is a shot of the first deck piece in place.  I've made this a single piece of 6mm ply because the mast tabernacle (support) will eventually be bolted through the deck and king plank between the three clamps bottom middle and the curved beam.  I figured the less joins in here under the bolts the better. The space just forward of the king plank end is where the hatch goes:


Another view from the front showing the hatch space and also a bit of the lockers in the forward cabin.  The side deck supports can also be seen:


And below an overhead shot looking aft while standing on top the hull between frame one and the bow.  The profile of the cabin and deck are beginning to show themselves.  Happy times!!


More decking is next, and should progress relatively quickly visually (I hope).