So I did the outsides , I was going to glass them before but then would have had screw holes etc. Below shows the port side in pace, screws on the outside and into top of supports:

Once they were both in place I gave them a coat of oil based undercoat/sealer (already epoxied) followed by a couple of coats of exterior house paint as usual. Below is the starboard side:

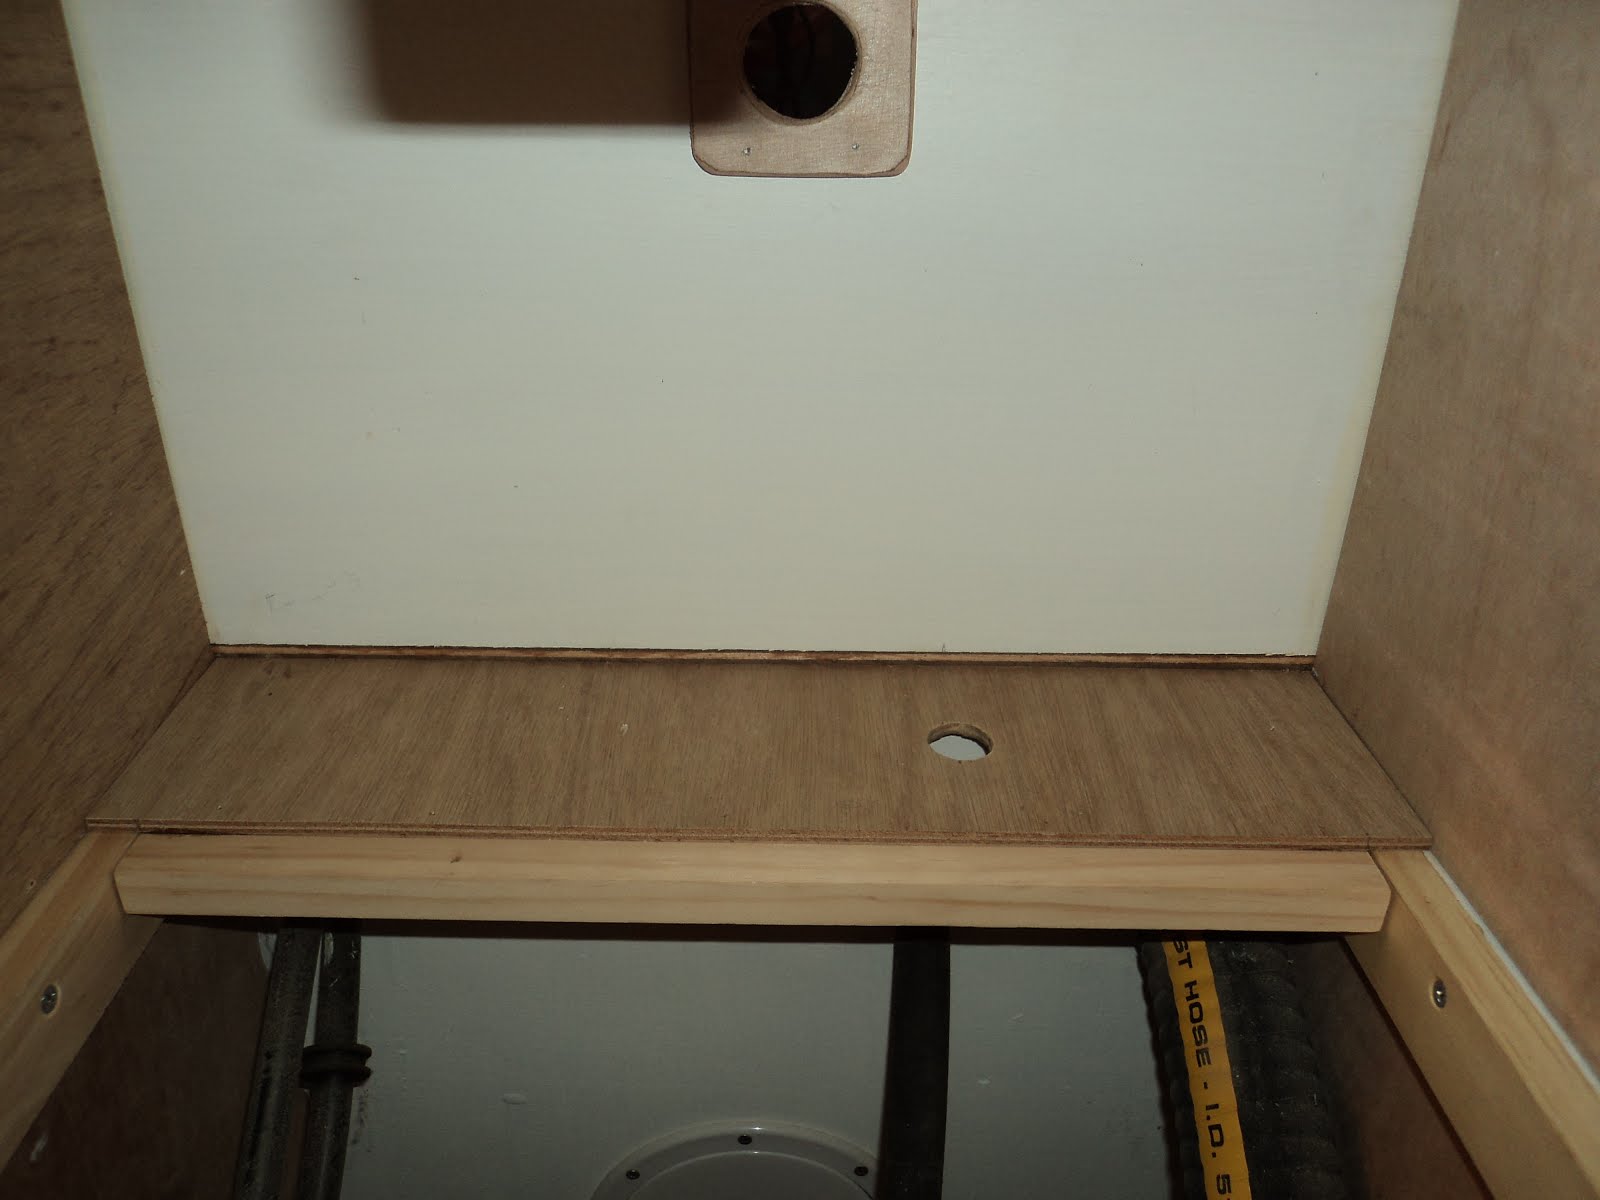
While they were drying I coated the storage covers previously made, and made up the storage above the engine space. First was cutting a hole for the diesel tank breather:

And then cutting the sides and base:

I left the base in two pieces, the rear piece which has the hole for the breather pipe to come up and meet the fitting in the cockpit I made permanent, the front will be screwed in so you can pull it out if you need to make access to the rear behind the engine easier:
Then I epoxied and screwed the inside seat/coaming and coaming tops into place, with fillets down onto the seats, the cabin rear and the join with the aft hull covering. Hardwood has 4 screws down through the top and into the supports underneath:

Looking aft from the starboard side into the storage, will need to paint over the epoxy/glue:

I had also pre primed and painted the above engine storage sides etc and epoxied them in.

I was on a roll, so cut out some paper and positioned the holes in the cabin side for the portholes. Tried a few options, the smaller hole at the front is between the galley rear and cabin front (in front of it is storage, yet to cut the lid out). I decided to evenly space the rear bigger portholes between the galley and rear of the cabin.

Crossed my fingers and hit them with jigsaw. Pleasing to see no space and good glue line between the two 9mm cabin sides on the pieces that came out:

A shot from inside, favourite photo of this post!!

When I was painting earlier I finished off the storage access covers. Below is the stb access to the underseat storage:

And the draw (top) and access to under galley storage/cassette toilet:

Fibreglass was next on the job list, below shows the pieces cut for the cabin sides and front:

The port side looking aft before:

And after, including the outside of the coamings. All got a thick coat to hold the mat which was then wet out, then two more coats wet on wet after about 45 mins drying time between each until the epoxy was tacky:

Down the starboard looking aft:

Across the front:

Got carried away and did the smelly locker front, the last piece of the cockpit puzzle:

Overhead with the floor glassed and the PVC drains through to the transom:

And the exits from the transom:
You may have noticed an increase in output, kids are back at school and I took a few rostered days off work.
No comments:
Post a Comment