Saturday, 17 November 2012

Stringers continue

Slowly but surely moving along.  I am only scarfing together long bits six at a time (three each side) as I move up and adjusting the notches takes a bit of time.

Finished the lowest ones (while upside down), someone pointed out it is the most important one as it defines the visible line of the edge of the deck.  I should have started at the top (under water) then the middle and the most important one last as I got into it.  I still have four each side between the main ones so too late now.

First one finished:


Middle one first piece:


Middle one side done, first on the other:


Below is the middle one finished, on the top left hand side the first one on the chine to bottom stringer is done.


Thursday, 25 October 2012

Gunwale stringers 1

Started on the gunwale (I think that's what they are called) stringers.

First thing to do was join my wood to make it long enough.  For that I made up a saw jig which fits the wood inside tightly, with an 1:8 angle across cut to fit the saw.  Pictures will explain it:

Below is the jig from scrap looking from above


This is cutting the scarf to make the join:


And below is a close up of the end result:


Once I had six long bits, adjusted the cut outs on the frame and epoxied three on one side all in together at once.  What a nightmare trying to force three pieces together, bend them and clamp them by myself while the epoxy in the pot goes off.  I ended up chucking most of the first lot of epoxy and having to make up a second lot.

This is the final result of the first one:


For the second side I have decided to change tactics.  Seemed much quicker adjusting the cut outs in the frames, but I have the first ones to measure off to see how much to take off.  Decided to epoxy the lowest one on alone first, making sure it follows the marks on the frame.  The other two will then be dropped in together on top over the day or two when I get the chance.

From the front with the second side epoxied and clamped in place:


Saturday, 13 October 2012

Started on the chines - method

Each of the main stringers, the front to back bits that fit in the frames and give the hull support and shape until finished, is made up of three pieces of 20mm x 25mm Clear Hoop Pine.  The designer said it was easier to laminate them in place from three pieces rather than try and bend a 60mm x 25mm piece of wood around the curves.  Having started on the first one, I believe him.

There are three main ones each side.  The top and bottom, and a middle one which is located where the two curved sections meet.  It will become clear hopefully as the photos and chines go on.

There are also two small ones which run from the back of the cabin to the transom, and change the top (when right way up) curve into a straight side.  Basically the hull section has no curve above this little "tumblehome" (I think) stringer to the top of the hull, it is a straight line and actually ends inboard of the curved hull below it.  On the below photo, from the centre stringer piece to the bottom is straight (boat upside down still), above that is curve up to the middle full length stringer.


It also had the advantages of being short, and wouldn't be seen by anyone as it will be inside and underneath the cockpit when finished.  A perfect one to learn on!

I will explain the process, then as subsequent stringers go on I will stick to photos and brief descriptions.  To fit the stringer it is necessary to:
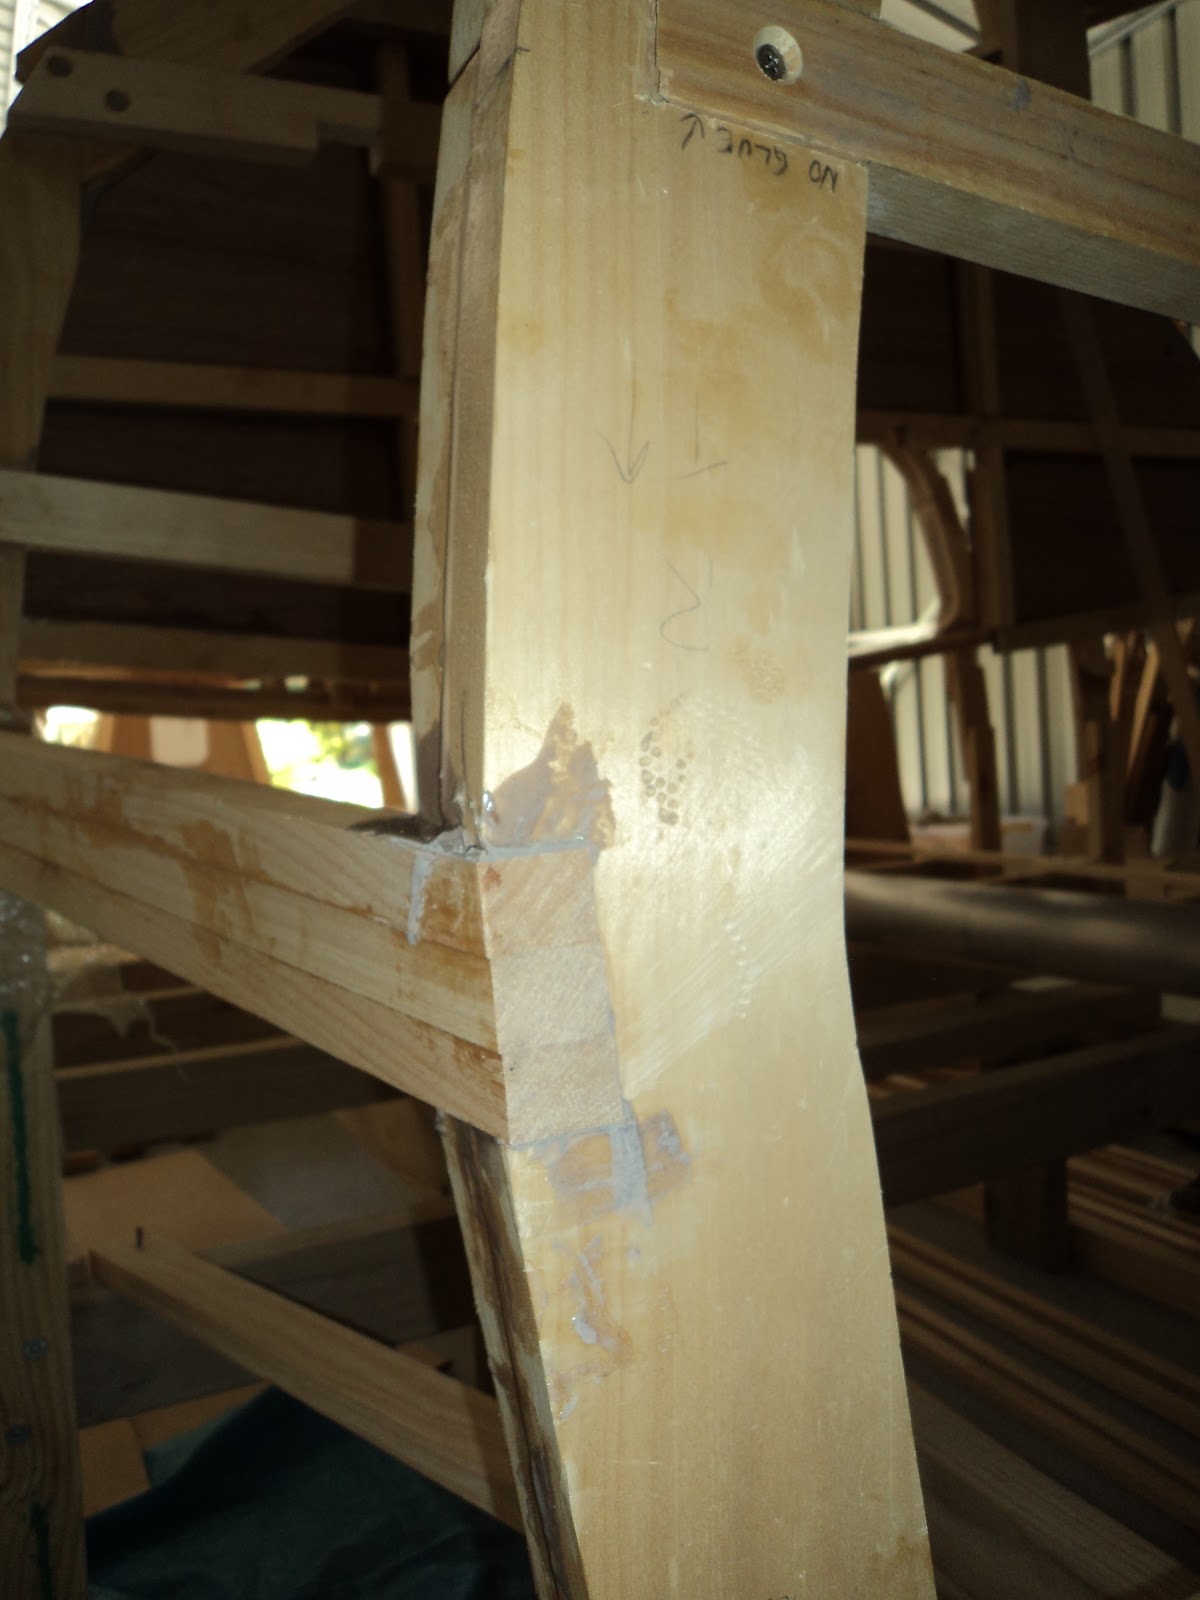
1.  Using a single piece of wood first, adjust the cut outs on each frame so that the stringer forms an even curve.  I initially was using a chisel, but got a rough wood file which seems to work much better.  You really only need to take extra wood off the frame edge on one side where the stringer touches it.  Trust me this involves putting the wood on and off a hundred times until you think it is right.

Below you can see how the right hand part of the frame was adjusted as the wood curves in on that side.


2.  Once you have the first one on, I put the second and third on together and got them to line up with the first which was clamped in place separately as a guide.
3.  Once all three are on, pull them all off and epoxy glue them on.  I glued the first (bottom one) on by itself and then the top two together.  Final adjustments with the use of many clamps, including making sure that all three lined up vertically and horizontally.

Below you can see the clamps holding the pieces together in each direction.


Once all the stringers are on it will still be necessary to taper part of it to match the change in hull curve.  It is a bit hard to see, but the very top of the three stringers is a couple of mm outside the curve and will be sanded to match the curve above it shown by the frame.  From the middle stringer piece to the bottom of the photo should be a straight line with no curve.


Some wider shots.  All clamped on and glued:


From the side:


From above:


Finished with the ends trimmed:


Mast done for now

I have finished for now with the mast.    The three pieces bottom, pipe and upper will be connected by two cross pieces of 6mm threaded rod at each join.  This will make a mast 9800mm long, so I am in no hurry to finish.  Painted them all and here is the final shots, firstly from a distance:


Then a close up of the bottom piece and boom jaw support platform (just sitting there)


And two shots of the 6500mm long tube, first showing the 3mm wall thickness:


And then a shot of it full length.  It goes from nearly bulkhead one to the transom!


Gaff and Boom Part 2

Managed to keep going with the gaff and boom.  Once the boom jaws were finished I painted the whole thing and attached the jaws with three 8mm galvanised cup head bolts.

Below is a close up from below, there still needs to be leather around the inside but I will get to that:


And from a distance.  Overall length is 4250mm plus the end of the jaws, but is surprising how light it is.


Then I followed the same process with the gaff.  First I cut and shaped the jaws, this time from Qld Silver Ash hardwood.  Then a cut in the main part for a pivot piece (3mm plate).


Below is with them sitting in place yet to be attached, a curve was also made in the end of the gaff.


And an overall shot, length is 3300 plus jaws.


Tuesday, 25 September 2012

Gaff and Boom Part 1


Before starting the mast I had laminated the Oregon for the boom and gaff.  Below is the gaff being laminated from 60mm x 30mm Oregon with a little shaping, 3300mm long plus jaws.  The boom is 4250mm long plus the jaws, two laminations of 90mm x 32mm Oregon cut to shape.


I drew and cut the boom jaws from spotted gum.


Then drilled the boom to suit.  Below is dry fit only, to be bolted with 3 9mm bolts and some leather on the jaws after that.  The gaff jaws are still to come.


Back from a break - Mast started


I have had a little break, putting the frames up went much quicker than I thought and had to order more wood for the chines.  This is all 25mm x 20mm, but I now have to scarf/join them all together so I end up with 34 pieces each around 8m long before I can start fitting them to the frames.  That part has me a bit worried, the build guide says take your time because the hull will show the bumps if you don't.  

So I decided to make something else instead.  Ordered some Oregon Pine, some spotted gum hardwood and away I went.  The main section of the mast was ordered and delivered, a 100mm diameter, 3mm wall thickness tube of marine alloy 6500mm long.  It weighs 16kg, and is easily carried by myself, and makes the whole thing a lot easier to build.

The top and bottom pieces are hollow to save weight.  For example, to make the bottom get two pieces of 120mm x 40mm and sandwich two 40mm x 40mm pieces each side leaving the centre 40mm x 40mm space empty.  For the top you use 100mm x 30mm. 

But you need to add strength in places and to cap the top and bottom.  This requires extra 40mmx 40mm pieces in the otherwise empty middle.  The top and bottom, and where important strength is required you add 40mm x 40mm pieces, 400mm long for mast fittings and the mast pivot at the bottom.  The end result is two semi hollow boxes, the bottom 120mm square and the top 100mm square.

Overall length of the mast is 9800mm which is longer than my shed.  

Below is the base of the bottom piece, that will have a pivot fitted and go into the tabernacle (800mm high metal mast support on deck):


And showing the length.


And after final shaping.  I cut down the upper section to fit inside the alloy tube, it is 1200mm to the flat surface the tube will rest on.  The outside hardwood pieces (small) are vertical legs for the boom support (see later photos).

The top wooden piece is 2400mm long, 300mm of that to go inside the tube.  There are two positions for rigging hardware, so it maintains the 100mm width for strength for the first 800mm.  However I planed large sections off the corners to end up with a hexagon shape, I was too lazy to go for a circle and the added benefit I see is a flat surface to bolt the rigging fittings through both sides.  The final 1300mm tapers from a 100mm wide hexagon to a 70mm square

I was adding internal plugs for the top and bottom, and supports at each of the two rigging places so I decided to make some adjustments.


As I needed to run wiring down the mast, I planed a corner off each of the inserts to leave a space for this.  


I also cut the tops of each insert on an angle down to the gap, thinking that any water that gets in through the mast top or rigging bolts will run down and eventually out where the bottom of the pipe meets the wooden base where the electrical wire will run.


Below is the view down from the top.


 Epoxy it all together:


 With the mast top platform sitting on it.


A bit of sanding on the inserts to get them sliding into the tube and then on to finish the boom support.  Below is 3 layers of 9mm ply that will be screwed to the small hardwood uprights shown earlier.


.