Below is building up the front, note the string level. This continued on the front but I didn't get photos because of a mad rush to glue it all down, more on that later.

Down the aft I managed to glue the threaded rod in early you will remember. To overcome this I came up with a cunning plan. First I drilled some 10mm holes in four bits of wood. Each was placed over one of the rods, and then cross pieces screwed between them, with the edges of the cross pieces lined up with the edge of the keel wood underneath. Finally long pieces were screwed between them all to lock it all together.
I used 10mm holes for 8mm rod so I had a margin of error when I drilled the future keel wood. Below are some photos showing firstly the drilling jig sitting in place but not positioned or clamped to drill. MARK fwd and carefully align with the edge of the keel wood and the direction and top face, the holes will be in the wrong place if you don't place it correctly before drilling!

Close up showing how it is all secured together for accuracy:

And an after shot showing the third layer aft piece:

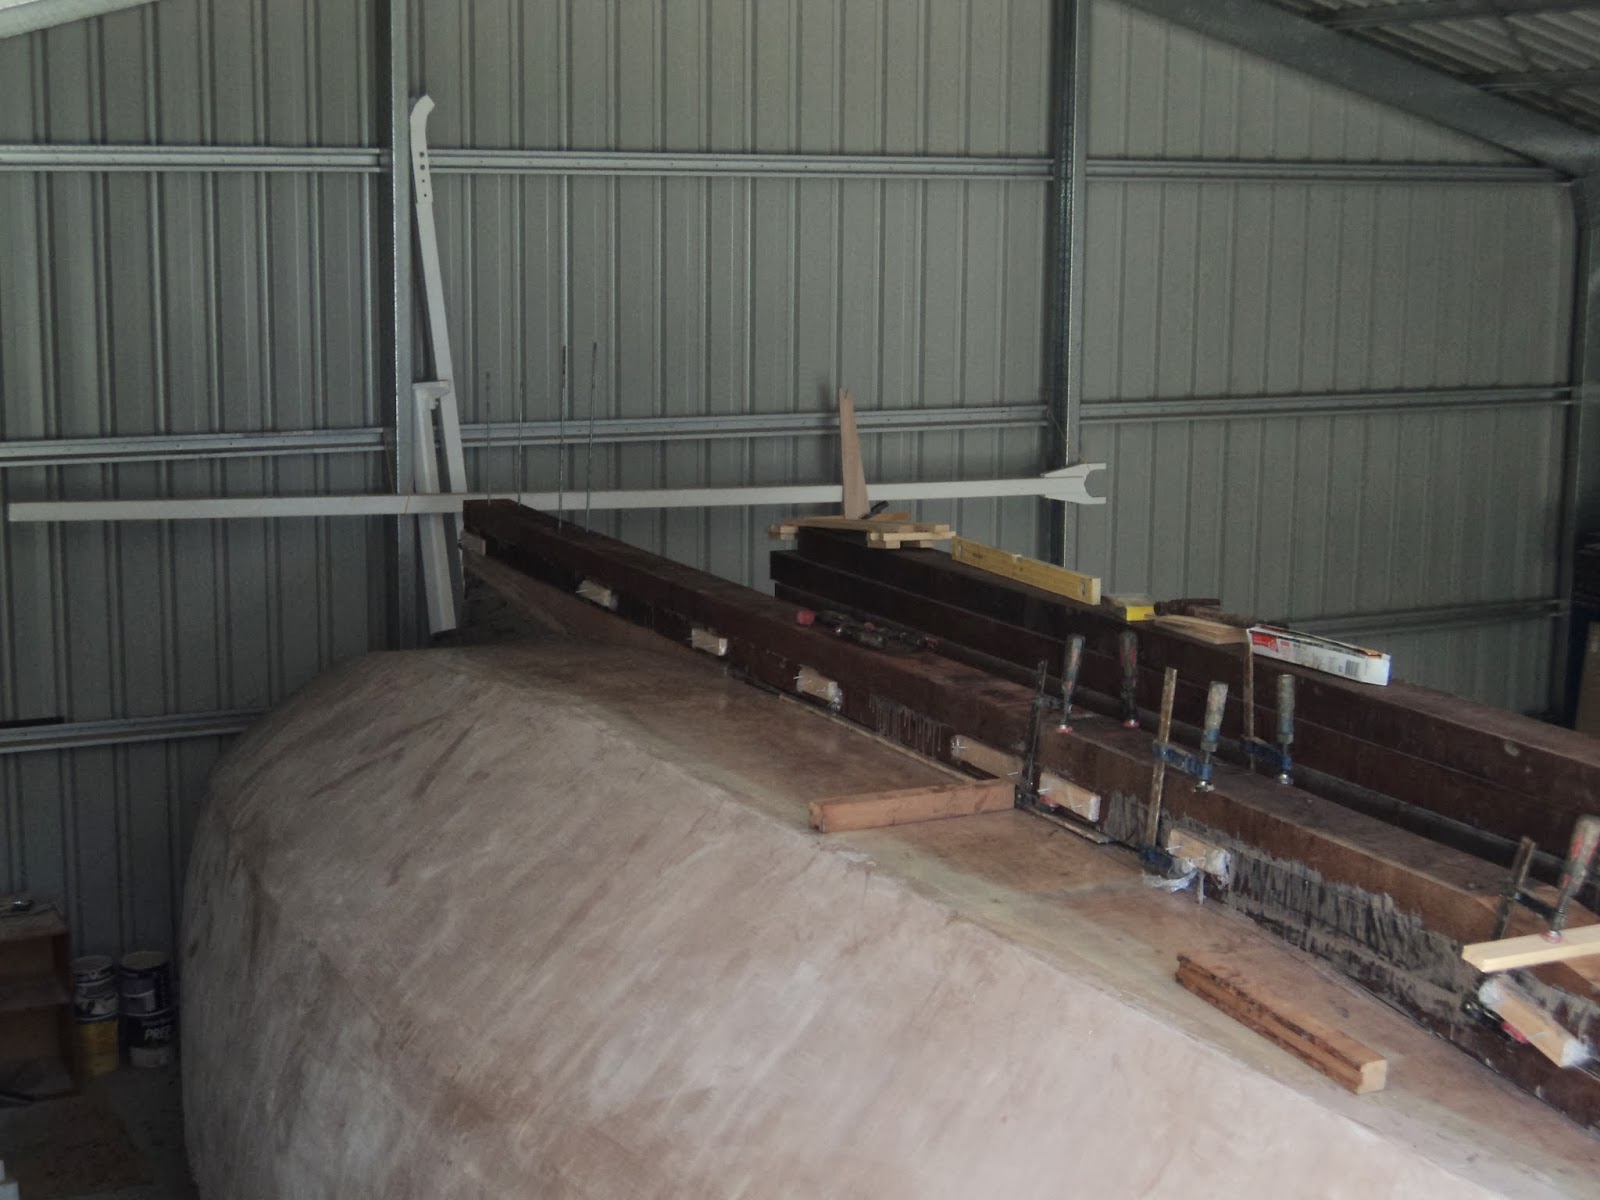
Now some shots of where I am up to, covering the tube and level to the hull (dry fit):

Same but closer and from aft:

Second of the level layers glued in place, note the forward packing pieces to make it level and angle cut for capping piece:

Still second layer but looking aft:
Level layer 3 aft glued from a distance, the next layer will go right back to the transom as the space for the propeller has been left.

Same but close up:

I have decided to glue up each layer as I go instead of making the whole keel dry and doing a final single glue up session. However when I placed the first full length piece I have managed to leave some gaps between the keel and the hull due to curve in the piece and not enough weight to bend it down. After much consideration I have decided I will glue up the remainder of the keel and after final shaping (the front and rear have to be planed down to make them thinner) I will fill the gaps with thickened epoxy glue and fillet/fibreglass tape the hull/keel join. It may not be necessary, but I will feel better knowing there is a layer of 200mm wide tape holding it in place. The finished keel will also be given a few layers of straight epoxy.
Onwards to more layers, final stack will be seven layers high, with the top two having a large space at the front for the lead keel.
Great work, Keep posting!
ReplyDeleteAlan
Swagelok pipe fittings