In our last instalment I had made up the base for the double berth up front. I removed them and started on the under berth and overhead storage. I measured up and cut 9mm ply supports for frames 2 (smaller one) and 3, with 20mm x 20mm hoop pine for attaching the ply fronts.

These were then epoxied onto the frames each side. Below is the port side showing where the front will attach to the forward end of the galley. The front faces are angled back slightly (I moved the one on the galley which I had positioned upright) to hopefully give an illusion of more space in the cabin.

Once they were in I put 20mm x 20mm pieces length ways to support the top shelf, and cut 9mm ply to fit. Below is looking aft from overhead, bottom of the shot is frame 1:
Below is the port side looking across. The shelf is level, the hull curves upwards!:

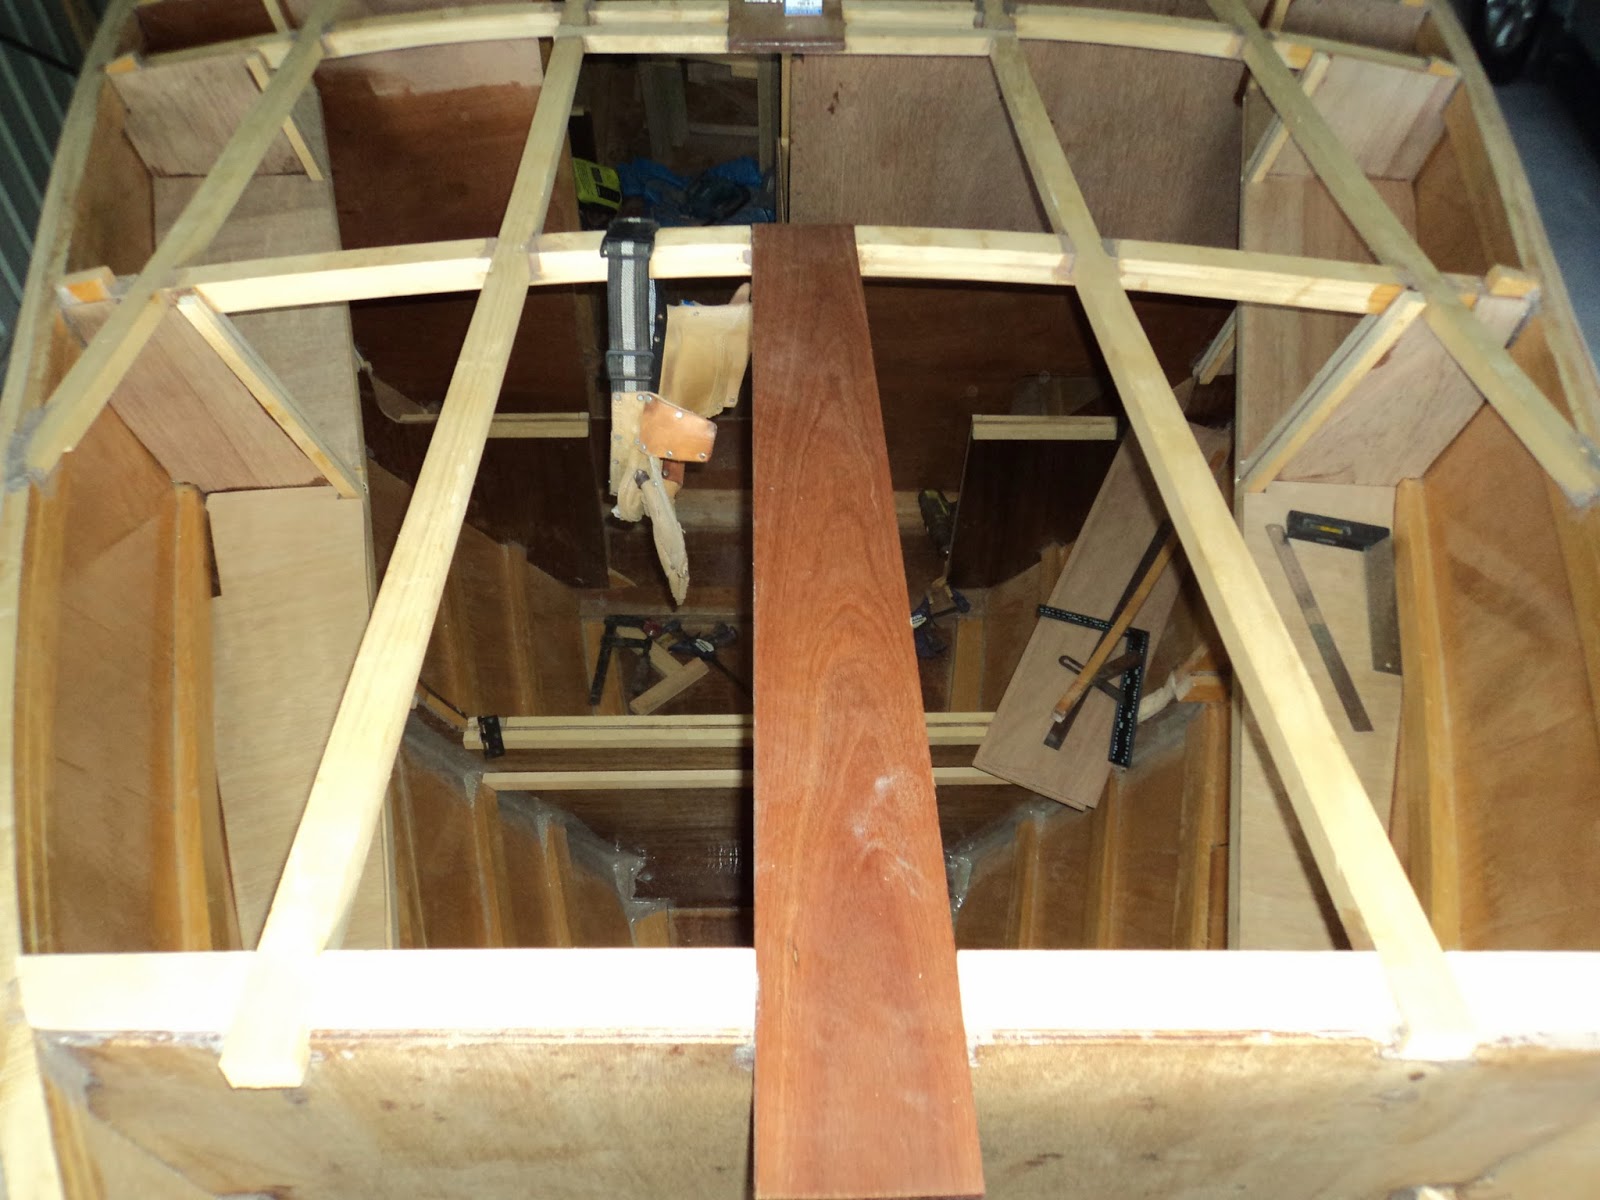
I then moved on to the under berth lockers using a similar system of 20mm x 20mm framing with 9mm ply sides. Below is the stb starting:

Stb in place and almost finished port side. The space in between is so you can walk forward to access the lockers when the smaller (or both) are tilted up:

Overhead looking aft, note sliding door sitting to the right of the access:

Stb tops dry fit with lids waiting for supports:

With the sliding door shut:

Looking forward, access to chain locker and port side dry fit:

Pre-painting the insides:

Port side in place:

Stb side:

Next will be to fit storage and a front underneath the overhead lockers. Then fit supports for the lids and paint the lids/tops.
While I am waiting I started positioning the side deck carlines so I can fit the front deck. A view looking down the stb side of the cabin:

That's all for now. Didn't seem like I had made much headway until I started adding photos to this post!
Wow mal, that is a lot of progress indeed. The sliding door to the forward cabin? JW really made a good design with this boat, like all his boats. How do you get all those panels to fit so nicely? Togglestick?
ReplyDeleteI meant jogglestick...
ReplyDeleteHi Rik, Similar system. I cut the ply so it slid in as close to the hull as possible then drew a series of small parallel lines out near the edge about 100mm apart. Then I measured out to the hull from the furtherest point and measured back from the hull the same distance onto each line. This left a series of points which gave me a curve. Was slow, and using a tick would have sped it up. I'll do that for in the cabin.
ReplyDeleteThese are some really trendy ideas & if you want to have such work done then we are offering Fit out Services in Tasmania and will redesign your office.
ReplyDelete