First thing to do was to make some holes into the engine bay for the exhaust (top right), fuel intake and return (top left) and an inspection port (bottom). The inspection port is to access the keel bolts just inside.
Then I started attaching hoses. Large one on the left is the fuel filler (later cut down), beside it is the vent pipe. The silver fittings on the right are the fuel intake and return. PVC on the forward and aft bulkheads are for the exhaust hose.
Then it was time for a vacuum and clean up ready to run the exhaust hose.
It will run from the main cabin, through the two openings, down slightly to the wooden cross piece in the middle (so water cannot run toward the engine hopefully), then a loop up the just underneath where the seat will be on the mid right then down and out through the transom. See below, hopefully it makes sense.
Close up of the supports for the loop:
Each of the cockpit storage floors were marked on the hull and had a support screwed into the hull, with the weight taken by the stringer:
Then the floors on the sides were epoxied and screwed down:
I then moved on to the main cockpit floor. I cut a hole for the fuel filler fitting, put a doubler underneath and then cut the fuel intake hose to length. Below shows the doubler:
I also cut a hole for a hatch into the bilge under the cockpit floor, and put solid wood doublers underneath. Then the cockpit floor was epoxied and screwed down, with all screw holes filled with epoxy.
After cutting the ply to make the engine bay / hanging locker walls, out came the paint brush for a coat of sealer/undercoat then two coats of exterior paint. Below shows the hoses coming into the cabin, with the lockers each side:
And a close up of one of the lockers. Still have the middle shelf and the top of the inside wall of the lockers to go:
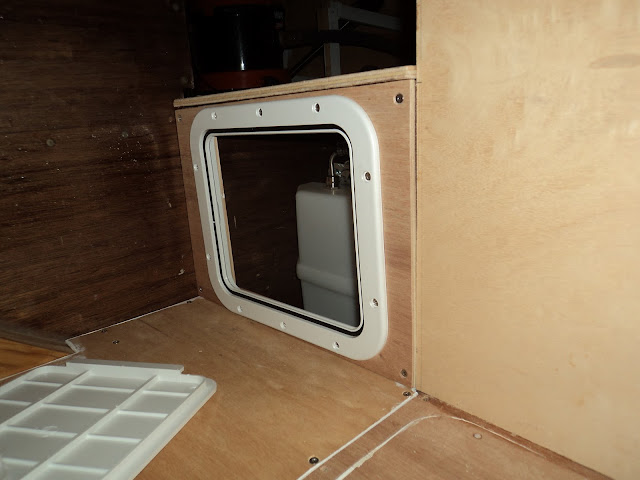
With the cockpit floor down I decided to seal off the fuel tank area so it wouldn't fill with dust etc. I had previously cut the ply for the aft end of the berth and the filler upright piece. After painting the underside of the berth bit I screwed it down (it will be removable to allow the fuel tank to be brought to the side for cleaning (and hopefully replacement if that is ever necessary, not by me I hope!). Then I positioned the vertical piece, cut out for the hatch and put solid wood reinforcement on the inside. Below is a shot from a distance looking down the berth:
The vertical piece with the hatch in place, the ply will only be screwed there so is removable.
And the removable hatch lid off. This will allow checking/maintenance of hoses etc, and also can be left off for ventilation when leaving the boat.
Next is the supports for the cockpit sides, and the sides as well.


Systems integration and buttoning up... Soon I will see you in our harbour...
ReplyDelete