Electrics
I thought I had taken photos but it turns out I didn't so a few lines will have to do until an update post down the track. Because the boat is tied to the shed and partially unsupported I don't want to get up and inside it to take photos until all the cradle is back fully in place.
So far I have:
- Installed two 105AH Absorbed Glass Mat Century Deep cycle batteries, one each side underneath the berths that go back under the cockpit. I tried a few different places but that was really the only place they would fit easily, and ran the cables to wire them up,
- Installed in the front cabin on each side a fan, reading light and two plug USB charging point,
- Installed in the head/desk area an overhead light and a small map light,
- Installed in the galley a light over the stove/sink area,
- Installed in the main cabin on each side under the storage lockers two lights (fwd and aft) and another two plug USB charging point,
- Ran wiring and wired up all the above on two lines (one down each side of the boat) with the port one also continuing aft and under the fuel tank around to where the panel will be.
- Ran a thicker cable for a fridge from the panel location around to underneath the seat near the galley
- Ran two dedicated lines from the panel location around to under the galley and up near the compression post to go out to meet the mast for nav/all round white lights, and
- Ran wire for a cockpit white/red LED light.
Photos to follow to make the above make sense.
Engine
I have been talking with the bloke who is helping me install the engine, working on a time for him to bring out his worker to show him around what needs to be done. He is gathering commercial fuel filters, shaft fittings, prop etc in the interim.
With my brother in law I lifted the engine into the boat. First we ran a three to one pulley up on the roof of the shed with the running end attached to a 4WD with a winch. With the weight of the engine around 95kg each part of the rope was holding a bit over 30kg.

As the weight came onto the ropes we used another one to the side of the shed to keep the engine from touching the hull. The 4WD winch allowed slow adjustment and raising.

Once higher than the combings we pulled the rope toward the centreline and lowered the engine down onto a board sitting across the combings.

Then we could move the pulley on the roof of the shed and lower the engine down onto the engine beds. I had to countersink the bolts forward of the feet to allow it to go into place, once that was done the blocks you can see underneath it were removed

Painting
The epoxy sealer undercoating continues, I now have three good thick coats on the underside of the hull and up top on the anchor well, deck, cabin sides and top, cockpit and rear quarterdeck. The coverage looks good, and I am happy with it to date (photos to come, sorry!).
Once I had those three coats on I could put the supports back under the boat and remove the sides of the cradle to allow the curved chines to be painted. I have now completed the first coat, with another two to come. I underestimated the surface area of the hull and need to get more sealer, but I think three coats will do. It will then have undercoat (maybe two coats) and topcoat.
Below is the front before, note the straps front and rear back to the shed. There are also extra supports each side underneath the middle of the hull:
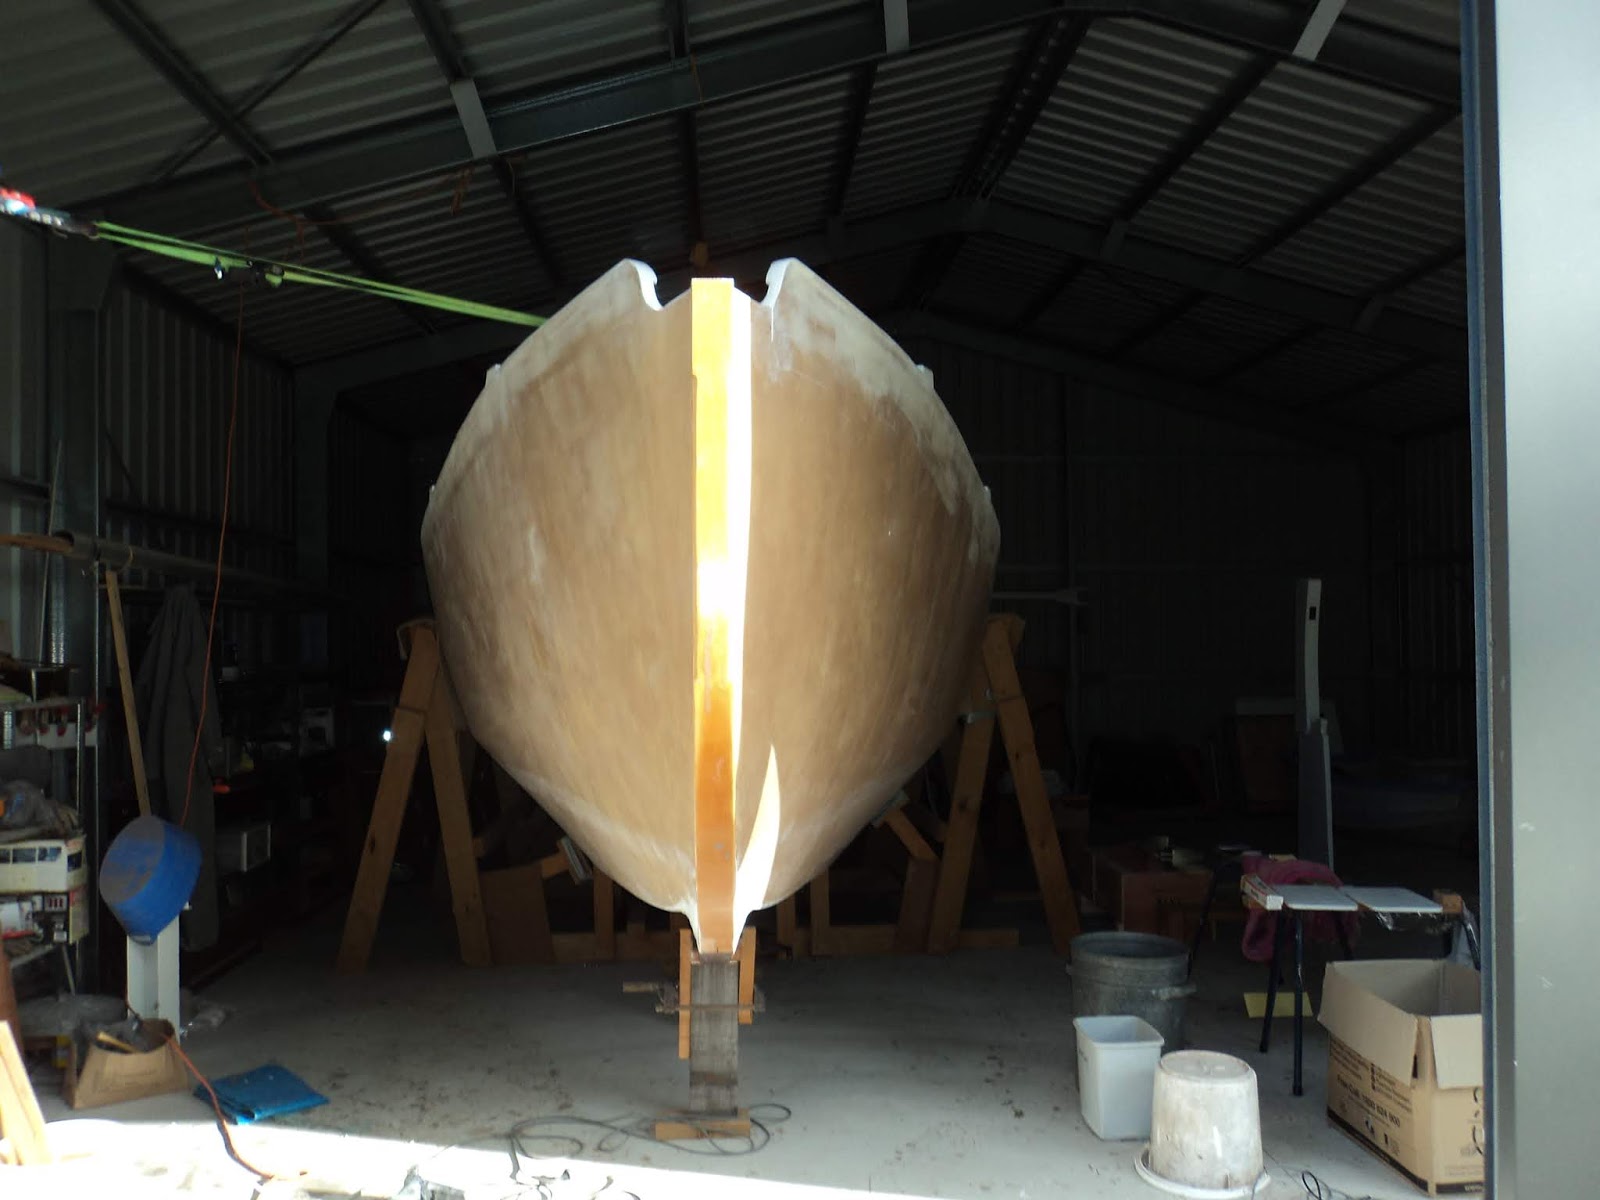
And after:

On the port side before, note both existing props under the hull with an extra one in between:
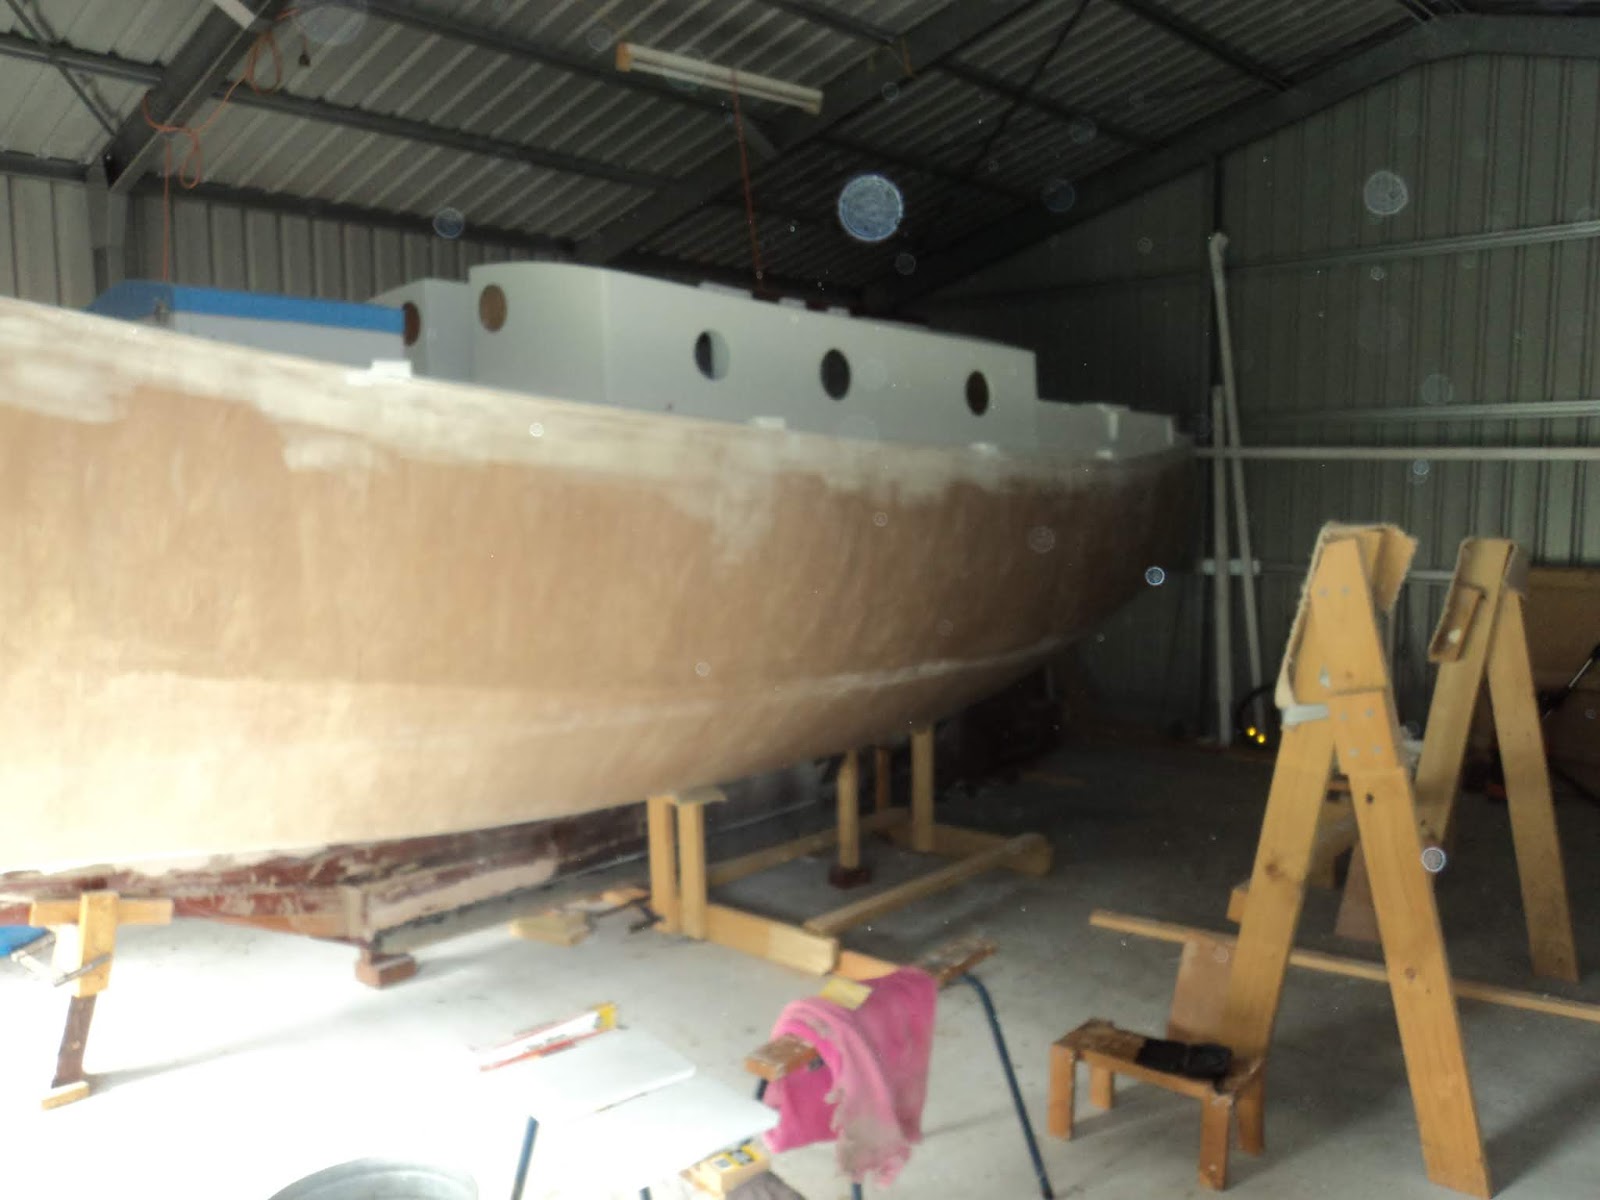
And after:

And from aft looking forward:

I have a few more but you get the idea. This is only the first coat as I said, and it is covering well. I will sneak in for a few internal photos of the electrical work before the painting is done.
Still to do for the painting:
- finish epoxy seal two more coats
- mark the waterline again
- undercoat/topcoat above the waterline
- undercoat below waterline, which will be a light grey. Should make the hull look good.
I'm back in the groove with the roller, and feel like I am getting closer to putting the hatches and some deck fittings on. Once it looks like a painted boat of course.
No comments:
Post a Comment