First off, the starboard side house battery storage, this is looking aft into the foot well that goes under the cockpit/combings. The battery is held in with metal strapping which is screwed to the frame forward and tightened with a wire railing tension fitting as the space is not big enough for a battery box or tie downs. Note holes aft for ventilation.

The following photos show the minimalist internal electrical fit out. Tablets, laptops, and other devices are so mobile it doesn't make sense to me to wire in permanent items. All lights are LED. This is the main cabin, light each end of the seat with double USB changing port above open shelves where you can put your phone/device in while it charges. The lights cannot be seen when standing in the cabin, hopefully will light but not dazzle. Both swivel back to allow focus of light, I will not be having an overhead light on the roof of the main cabin. I didn't want to run a wire across the roof to one, but can always do it if I change my mind. Might put a red light each side down below the seat front down the track if I think I need them for night use.
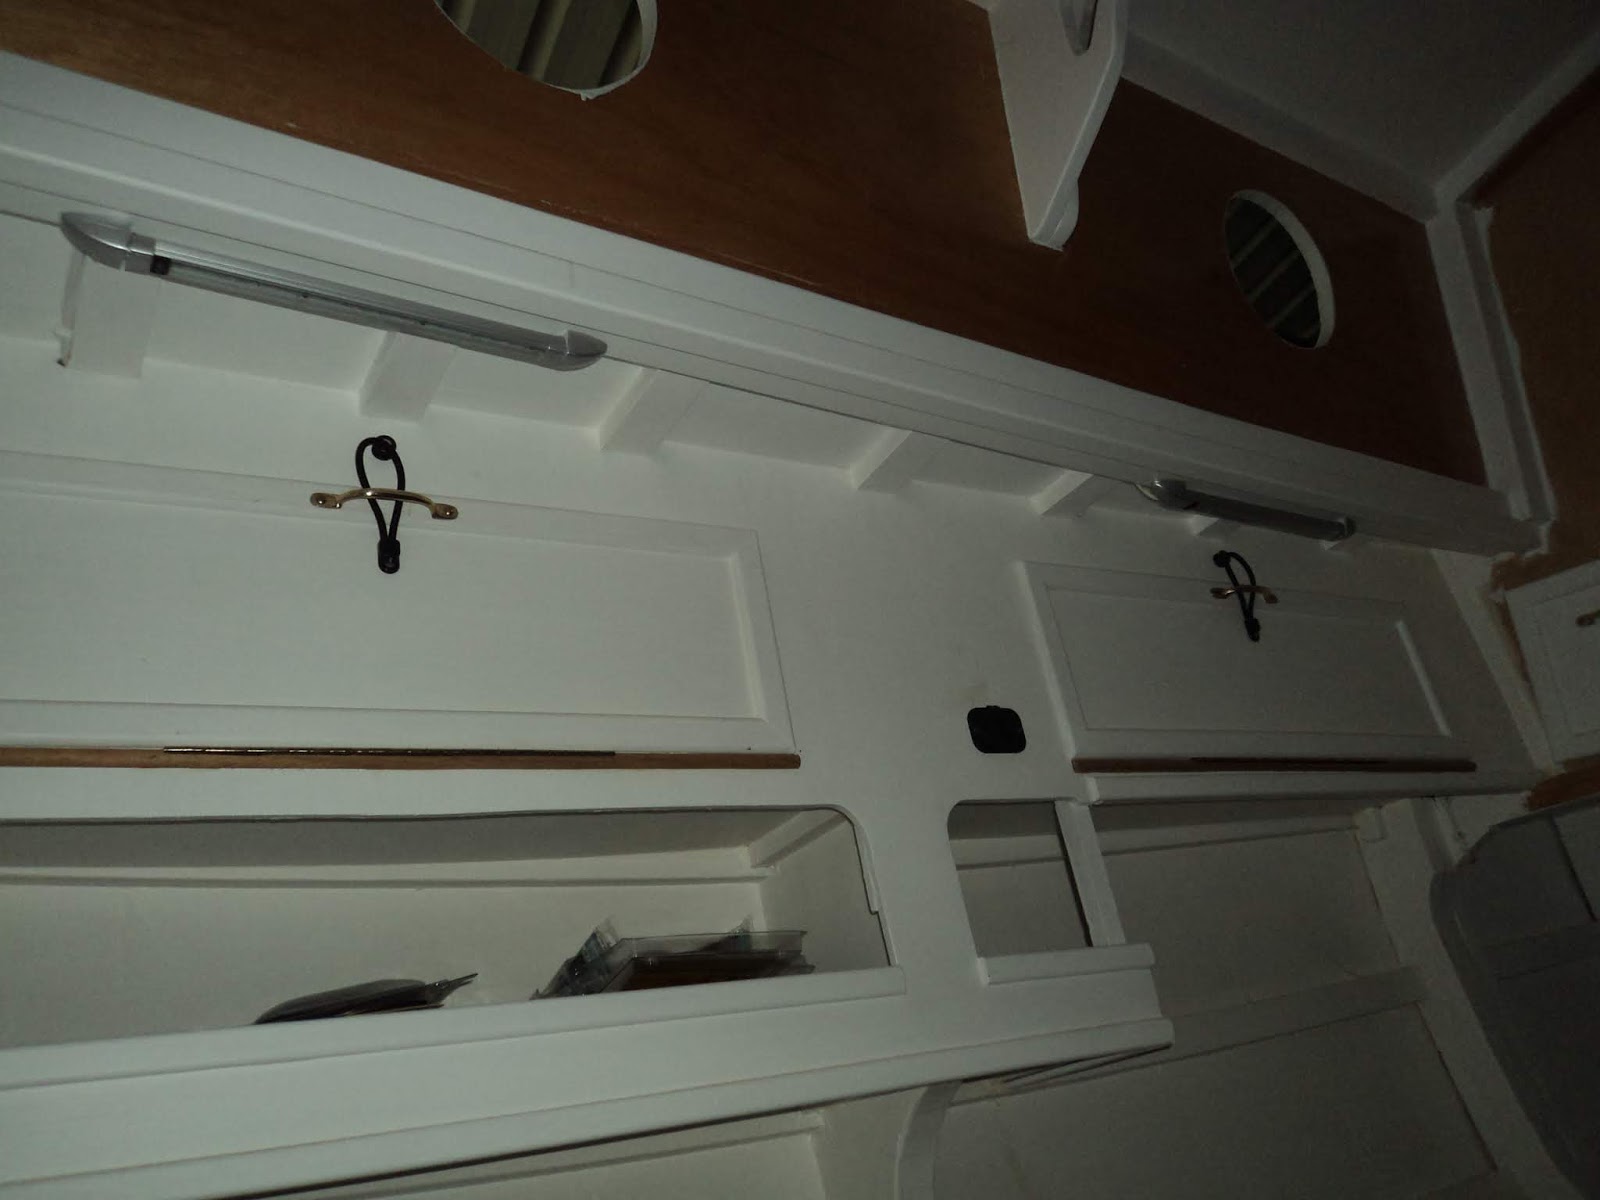
The port side of the forward cabin showing the double USB charging point followed by reading light. To the right of the second overhead storage locker you can see the fan. Second photo shows it better.

And further forward showing the fan. There is also a large light behind the beam just above the fan in the middle of the cabin roof. You cannot see if from the entrance to the cabin but should light up most of the berth. Once the power is on I will do some tests and show the results.

And the head/desk area with a larger light and a small adjustable map light.

I also took a couple of shots, first off the cockpit looking aft with three coats

And from the side, hole forward is the breather for the diesel tank with is underneath the cockpit floor level directly below the bridge deck.

And the cabin sides and top looking aft.

One with the second coat of the hull down the port side.

And just for fun I sat a few stanchions in place to get an idea of how it will look.

Painting continues, one more coat of epoxy sealer/undercoat the re mark the waterline and start undercoat/topcoats.
Awesome to see progress there!!
ReplyDeleteYour blog is fantastic. I was a bit intimidated reading JW's study plans (haven't read CW's build yet), but you makes it seem entirely doable. What engine did you go with? Any chance you have a rough cost/time estimate? I've seen JW estimate $30k (NZD?) and 1500 hrs, I know it cost Charlie more time and money than this. I'd be pleased if I could do it in four years and $20-30K USD. Thanks and good luck with the home stretch!
ReplyDeleteI would guess all in will be closer to US$40,000 but I didn't buy bulk materials in one big go. Engine I have chosen is a 14HP Beta marine inboard.
ReplyDelete