I was intending to try and launch early 2020 but with working away for 10 weeks, restrictions on people being able to work, come to the house and family studying./working from home I was just going with the flow.
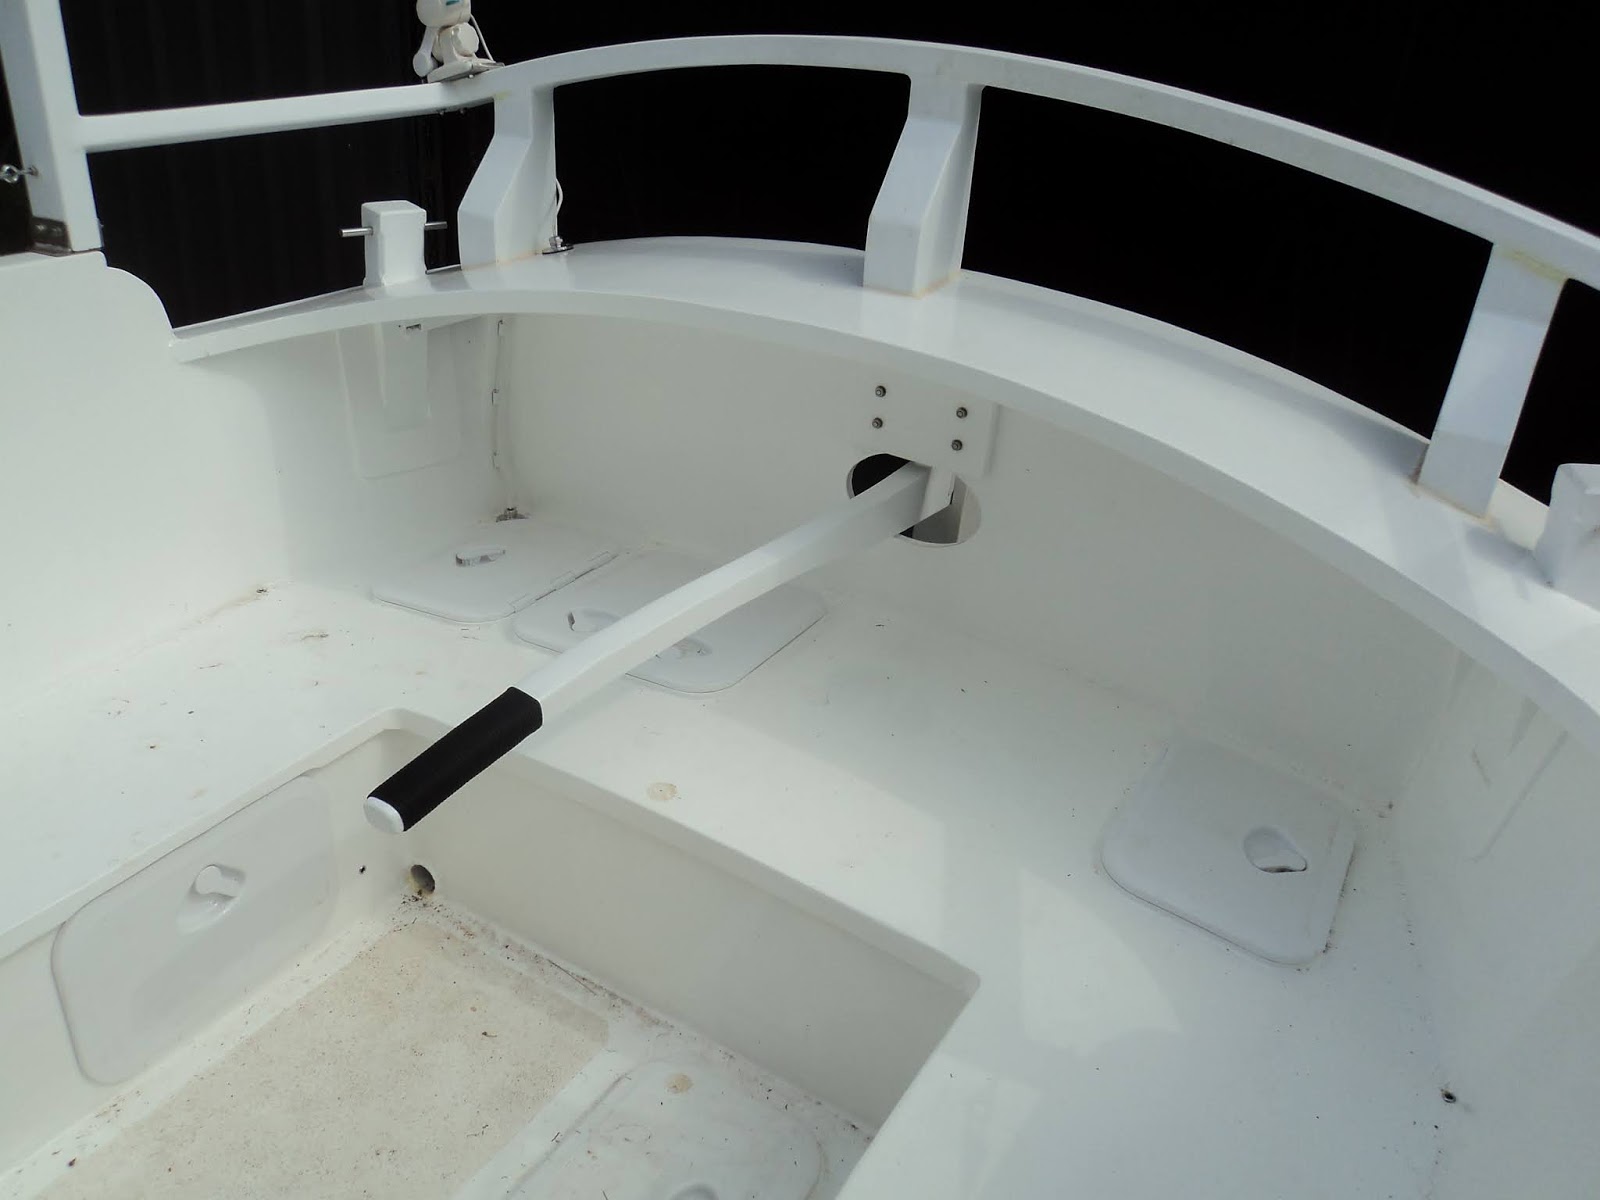
Late 2019 I fitted the tiller, which is detachable and wedged into the rudder with a bit of the left over chopping board used to line the anchor chain guide. Below is from outside:

And inside showing the whipping on the handle I did.
Next up was attaching the mast fittings. John Welsford chose a traditional style rig with hounds supporting loops of the stays at the top of the mast, and cranes supporting blocks to attach sails.
Below shows the roughing out of the hounds which are 35mm by 30mm Australian hardwood. I drew them out on the wood, drilled the holes with a scrap bit of wood against it and sawed out the main waste. Then shaped edges with the grinder and finished with sandpaper.

Below is after the hand sanding, these are for the top of the mast for the topsail (should I get one) and the throat/gaff halyards. More later which will show it all.

And below all finished. On the left are the forestay ones which include and extra block for lifting things or later use, middle is the staysail and right as outlined earlier the top two attachment points.

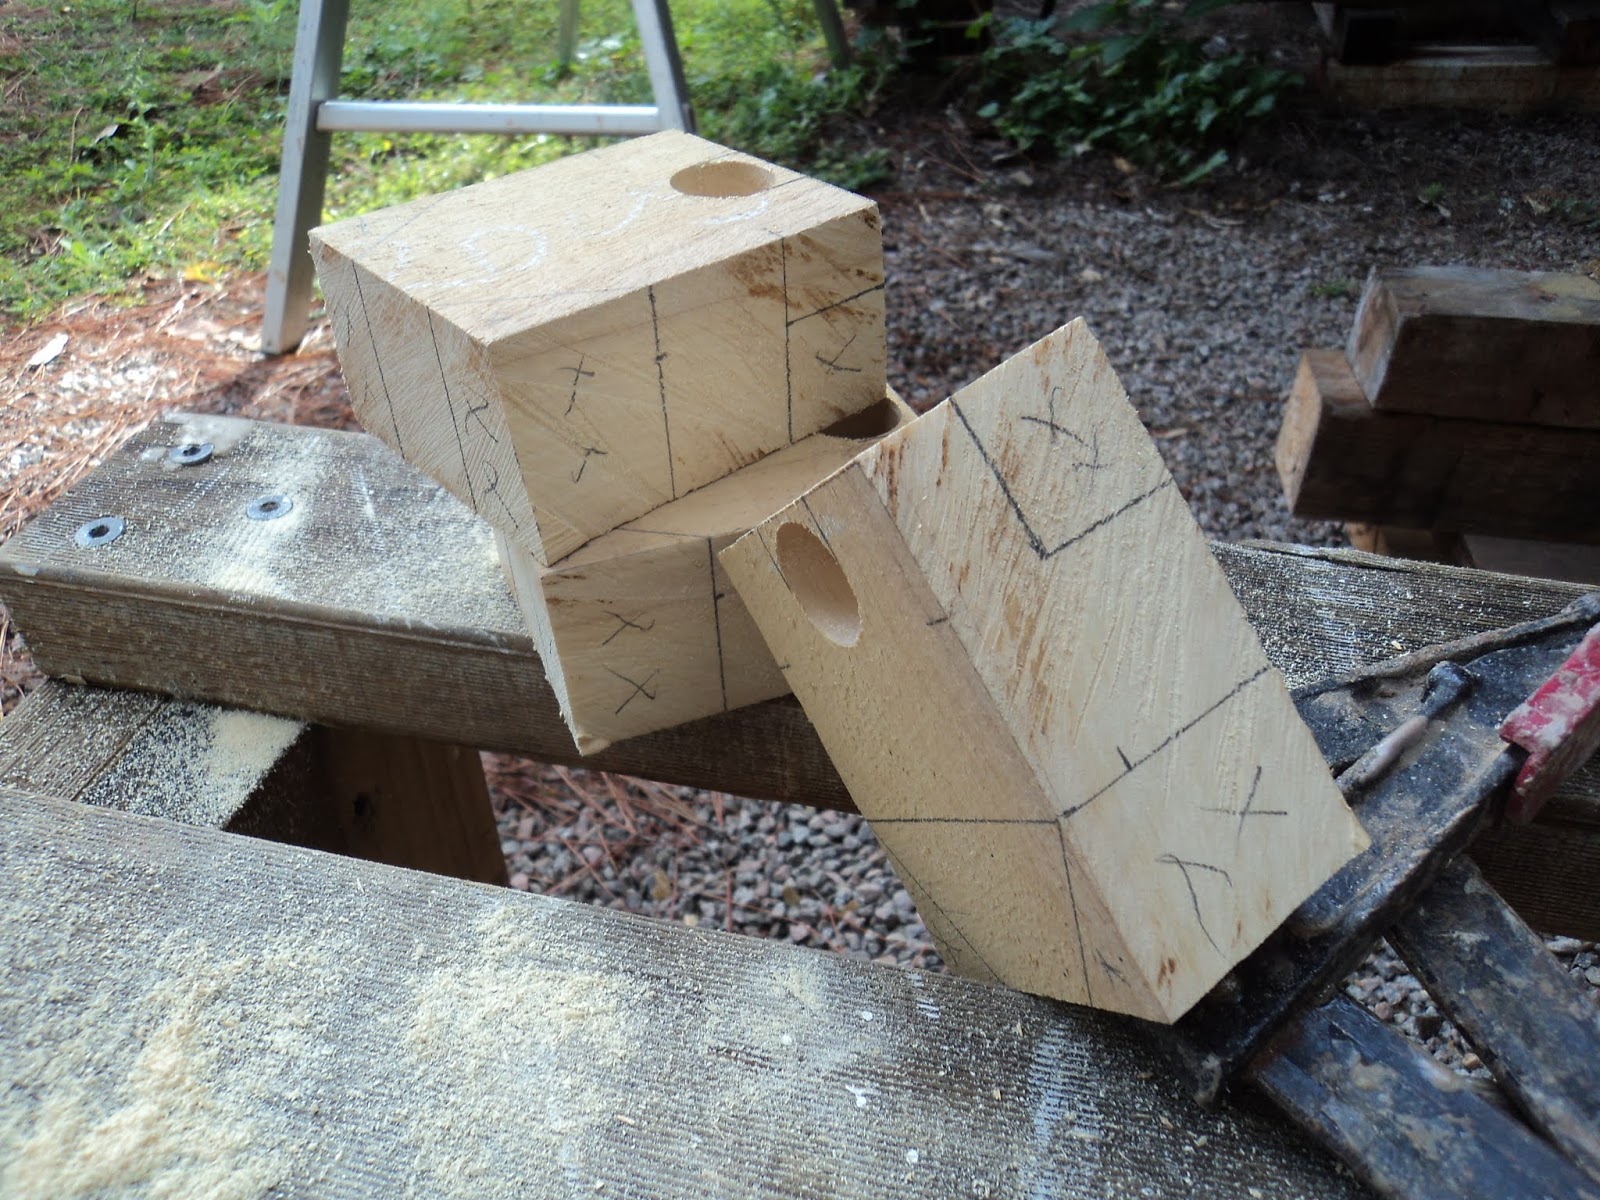
Then I started on the cranes to support the blocks. I did one first as a trial and then started mass producing the remaining four. Again Australian hardwood.

Blanks for the others pre shaping.

And a side view of the blanks showing the mark up for hand sawing. Hole is to make a space for the line to hold up the block which goes around the mast. Wood rasp to give the gap no sharp edges and a downward tilt for the line to follow.
Once all done they were undercoated (twice)

Then two coats to enamel exterior paint:

And all attached. Majority were through bolted with 6mm stainless bolts each side of all places were block supports were going through holes (hounds). with some 14 gauge screws on the narrow bottom extensions. Cranes were bolted as well, with some long coach screws used on the wooden upper section of the mast where there was no need to go all the way through. When I stood it up it appears the masthead navigation lights might have an issue as they keep blowing fuses. Will sort it once it comes down again.

While this was going on I was talking to the engine installer, a boat transporter and another shipwright near home who does a lot of gaff rigs about the rig. I decided to go modern, with 6mm dyneema for the shrouds (and block supports with stainless thimbles) on the mast. He gave me some instruction, practiced a few splices with me and sent me on my way. My son and I set up the mast, took measurements to the chain plates and I started (youtube has LOTS of videos which helped!).
Turned out to be fairly straight forward although I was slow but am getting more confident. Below shows the finish shrouds hanging on the mast. Note the bronze deadeyes.

As the COVID restrictions eased my father came down and we mounted the Harken 15ST winches each side. When I built the combings I didn't make the hardwood pads so it was easy to attach the winches, so he made a stainless mount for each side, four 6mm stainless bolts through a 20mm hardwood pad on top of the 20mm pine combing top. Two of the bolts are outboard of the combing and two inside which can be reached from inside storage spaces on each side of the cockpit. I'm yet to figure out sealing off the storage lockers, it's on the to do list.

And with the covers for them in place.

I started on the bowsprit whisker stays (?). The one down to the stem is 8mm dyneema, the two sides are 6mm same as the rest of the rigging. Deadeyes are bronze and 3mm dyneema lashing to bowshackles on the bowsprit end fitting or the small plates on the side of the hull.

My son and I had got the positioning close, a bit too close to the chainplates. He suggested reducing shroud lengths by 150mm so we had more space as they had not been preloaded yet. That worried me, but turned out to be no issue in reversing the splices and resetting them. Took a few hours while I listened to the football in the sun, not a bad was to fix a stuff up!
Below is looking from forward port side showing the two forward shrouds (end of the bowsprit and the stem head fitting), side shrouds in three each side (middle one is in line with the mast tabernacle) and two running backstays that end in a low friction ring that will be run through a turning block and clutch each side to the winches. If you zoom in you can see the 6mm dyneema loops through the mast hounds with thimbles where the sails and extra blocks will attach.

That is where we are at as of July 2020. Boat transporter has been out, viewed the obstacles and had his quote accepted. Boatyard is waiting removal of another yacht in the next week or so hopefully and this thing will be on a truck for engine hook up.
Sails are being discussed, roller on both front is the intention.
Time to get this thing in the water, but pretty sure I've said that before..........
glad to hear you and your family have stayed safe through the first half of the year. i'm still looking forward to seeing the Overkill in the water this year though. as always, this build is inspiring, and always makes me want to join in the Sundowner fleet some day...
ReplyDelete-scotty
Glad you are enjoying it. Hopefully in the water soon.
DeleteWow. Isn't spring starting soon for you? Looks like a summer full of sailing ahead...
ReplyDeleteShe looks beautiful with her mast up.
I see you are building again Rik. Hope to match some of your sailing photos soon!!
ReplyDeleteYes, although not as often as I like. It's ok, she is there for me to work on when I can.
ReplyDeleteLooking forward to see the sails bent on bro.