First you put epoxy/glue onto the hull:

Then onto the planks, I did two to three at a time. The red plastic scrapers to the left of the planks I use for spreading the epoxy. On the hull a flat one, on the planks I spoon the thickened mixture on then spread it with the larger one which has a series of notches cut into it. Disregard the thin one, it was too small so I went with two large ones.

The you screw it on and repeat. I found if you screw from the unplanked side towards the existing planks as you move across the screws it helps force epoxy across the plank and up through the gaps between the second layer planks. This should help eliminate hollow sections between the two layers.
End result on the first side half done:
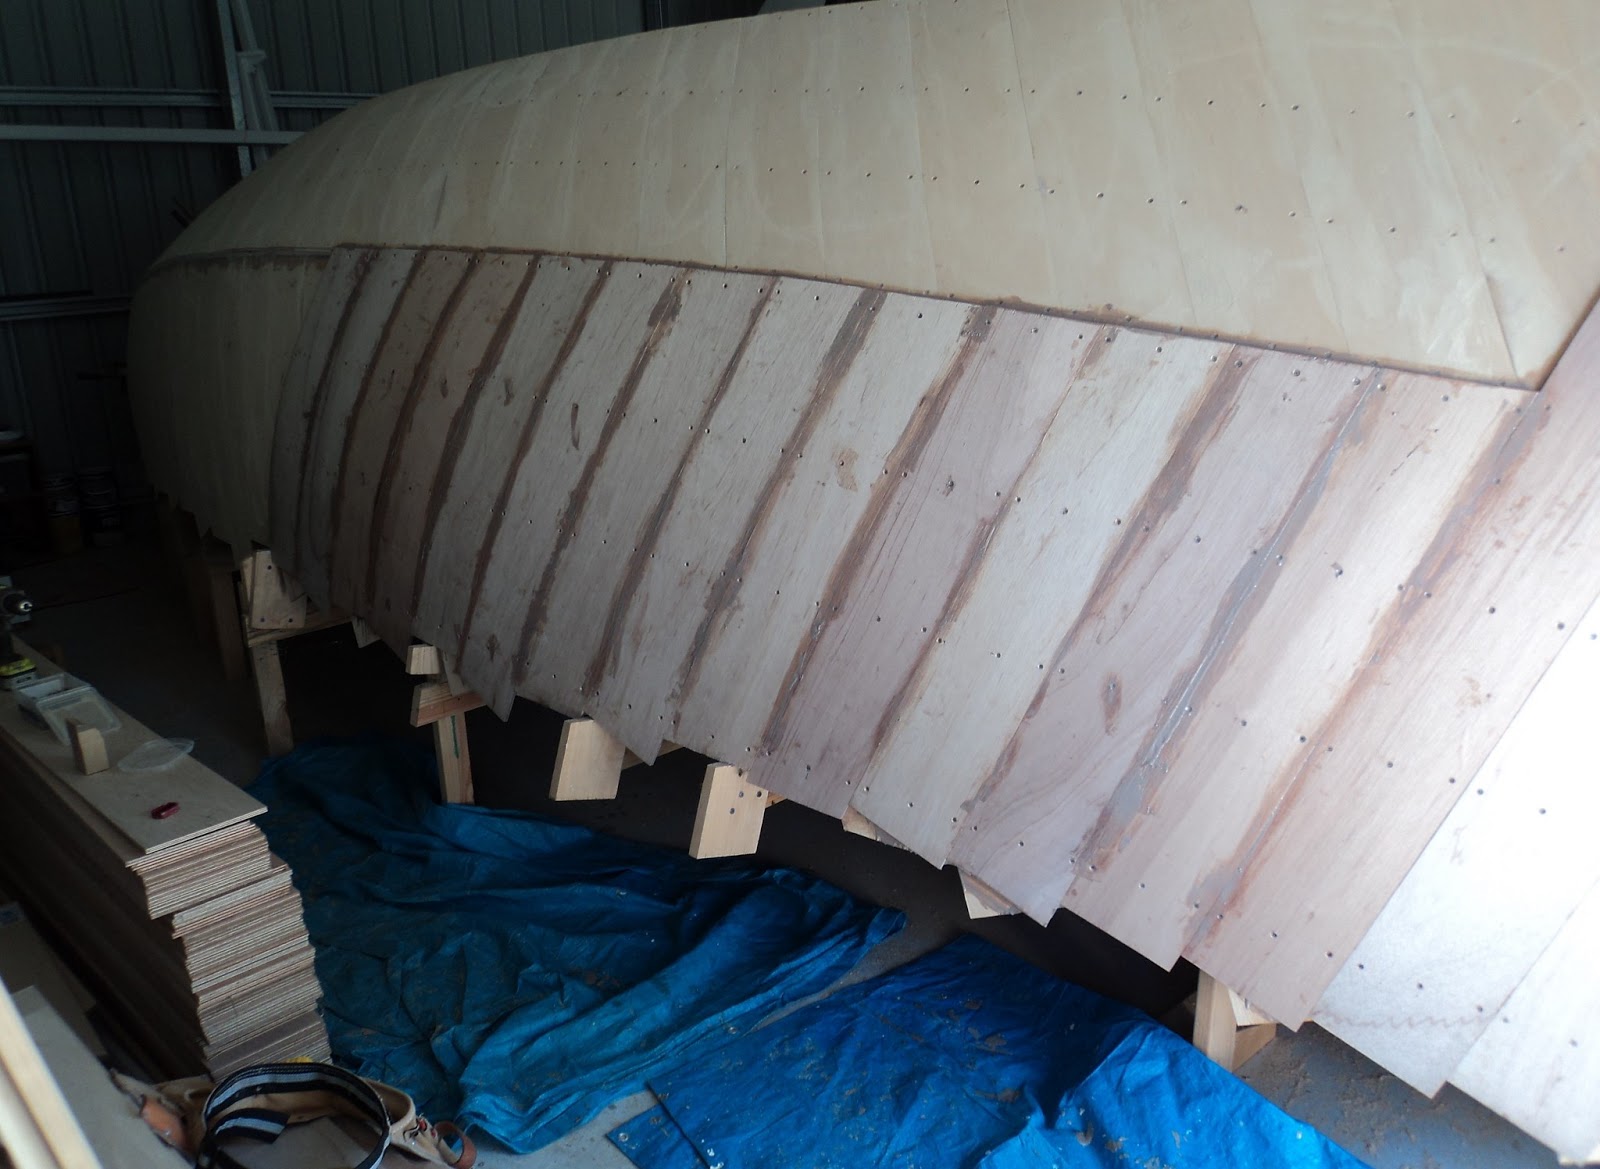
And the other side. I did the epoxy of the entire length of the second side in one go but it was hard work over about four and a half hours. Make sure you get inside and scrape away the extra epoxy that is squeezed out on the inside joins as well otherwise you will have a lot of work to do when you flip it.
From the front:

And looking across at the transom:
Next step is to plane the chine join for the upper chine to overlap.
No comments:
Post a Comment