I started at the stem where I took the extra off at the front where it met the stem. Below is the final result from the front before:
And after:

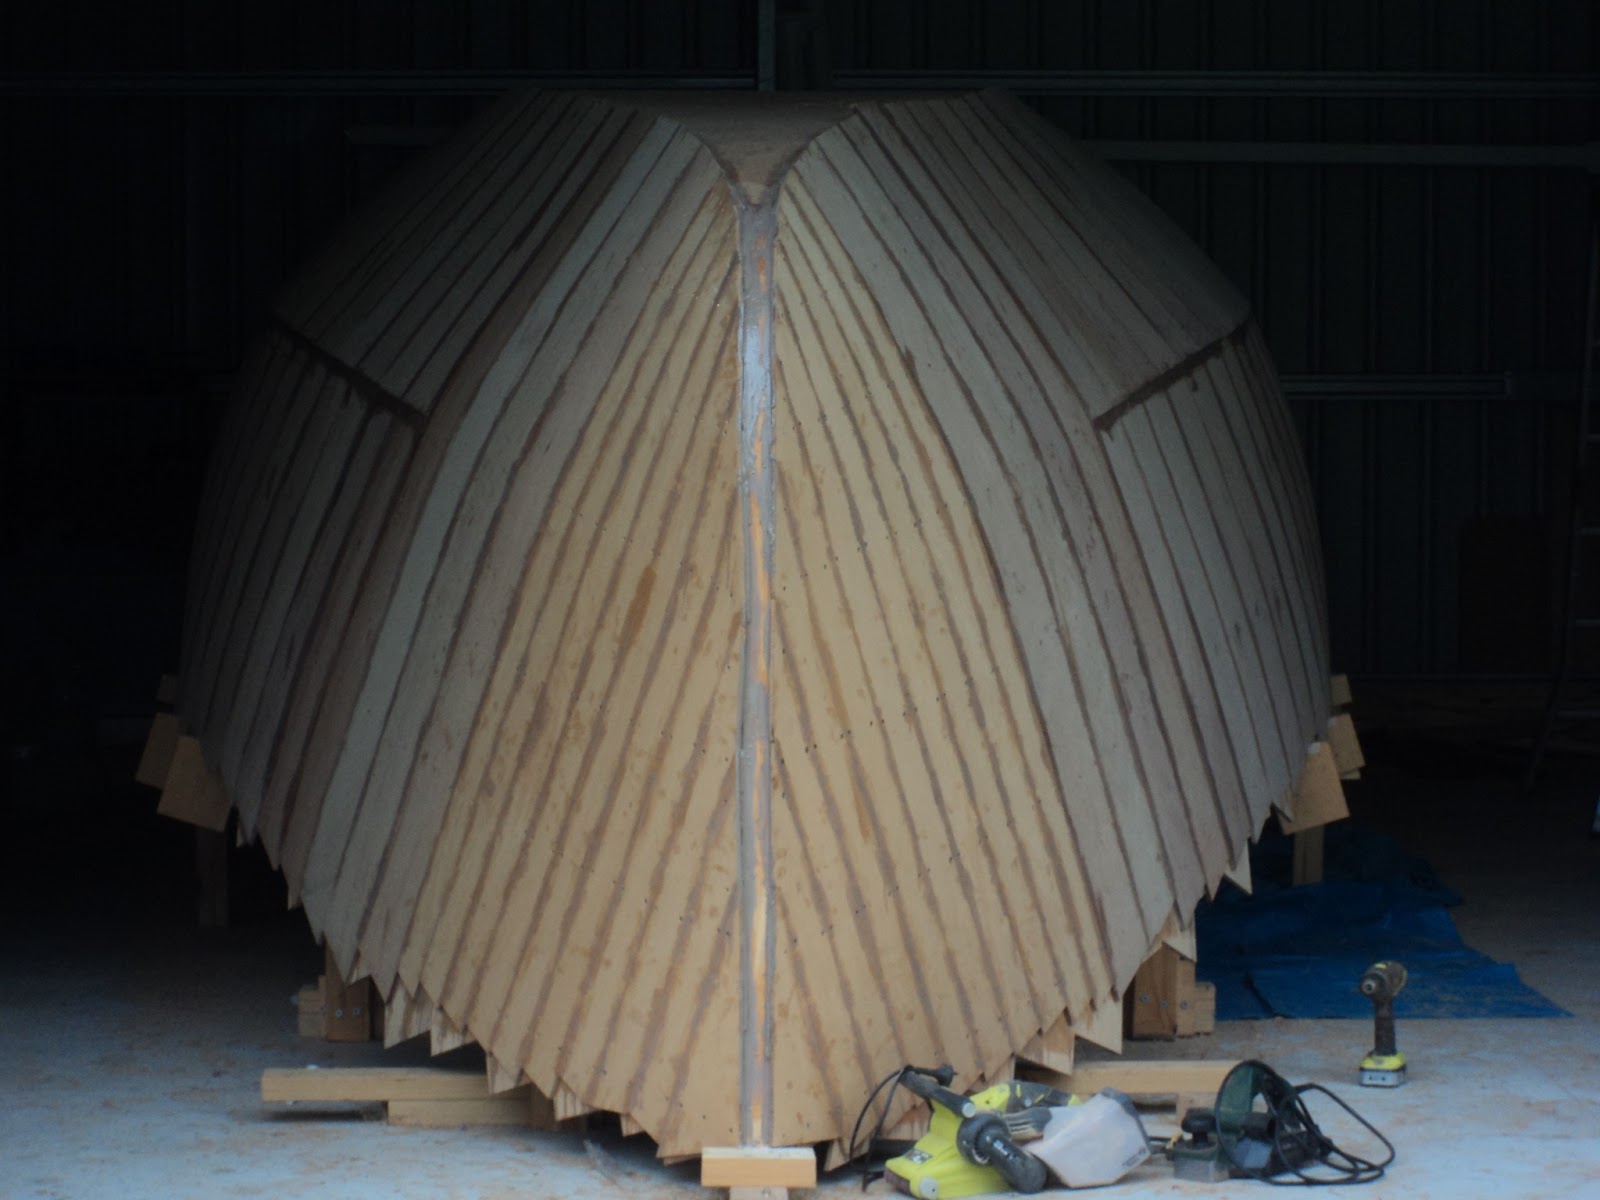
And showing where the stem meets the first bottom layer/sides:

At the transom looking forward at the top of the curved sides meeting the bottom before trimming:

And after:

Looking further forward:


Next step is the mark the centreline and dry fit the second layer, the middle is wider than a single sheet of ply so you work out from the centreline each side until it narrows to within the width of one sheet of ply. The joins in the second layer are over a different frame so the joins in the first layer are overlapped by a continuous sheet of ply, but you still join over a hardwood cross piece on the bottom of the frame. This will make sense in the next post.
No comments:
Post a Comment