The cockpit:
I had previously cut the supports for the seat front/top and put them under the boat. I'd forgotten just how much prep I had done. Nice surprise, simple bit of notching the they were in! Below is the starboard side:
And a short from aft looking forward:
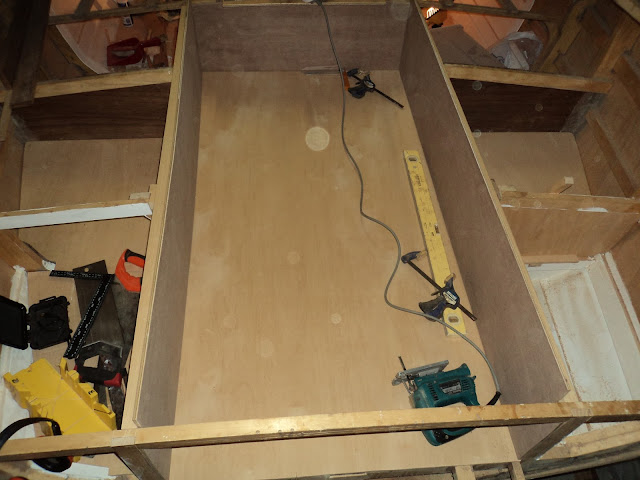
Felt like progress, got out the ply I had previously got (cut roughly to size) and dry fit them all. The aft end will be closed off at frame 9 and will contain the cockpit drains. It forms the locker for anything you don't want coming into the cabin (eg gas bottle and small camp cooker):
I then wrestled the ply sheets into place for the seat tops. These were notched to go over the frames and cut on a curve to meet the hull. This took a lot of time, blood and curses but they are fairly close. They will have small support pieces screwed into the hull underneath, and strips of wood on top to seal them up. Starboard side first, should have trimmed it back a bit where it overlaps the cockpit:
Port side, trimmed a bit closer but not exact. These will overlap the fronts of the seats by about 40mm and have a piece of wood underneath for a doubler to strengthen them:
I was on a roll, why not see what the transom would look like? Grabbed the curved beam and notched it into the tops of the transom frame (#10). Below is the stb side:
And a wider shot, Mr Welsford draws nice curves.............
I got the other curved deck beam for the forward edge of the quarterdeck, positioned it and notched it into the gunwale. Looking aft from the cabin:
And a closer shot from aft:
And a closer shot from aft:
Then I pulled everything out again, marking underneath the cockpit floor pieces so I could epoxy seal and paint them. Below shows the epoxy drying:
And a close up of the cockpit floor with one of the seat tops to the left. I have since under-coated and top-coated them with paint ready to install. The raw wood is where it screws to the underfloor supports:
Everything was removed from the cockpit, hence my feeling that I had not really moved forward. BUT, stand by for some rapid visual progress (I hope). On to the next catch up!


No comments:
Post a Comment